Click Here to Download the PDF version of the 2024 Beartracks
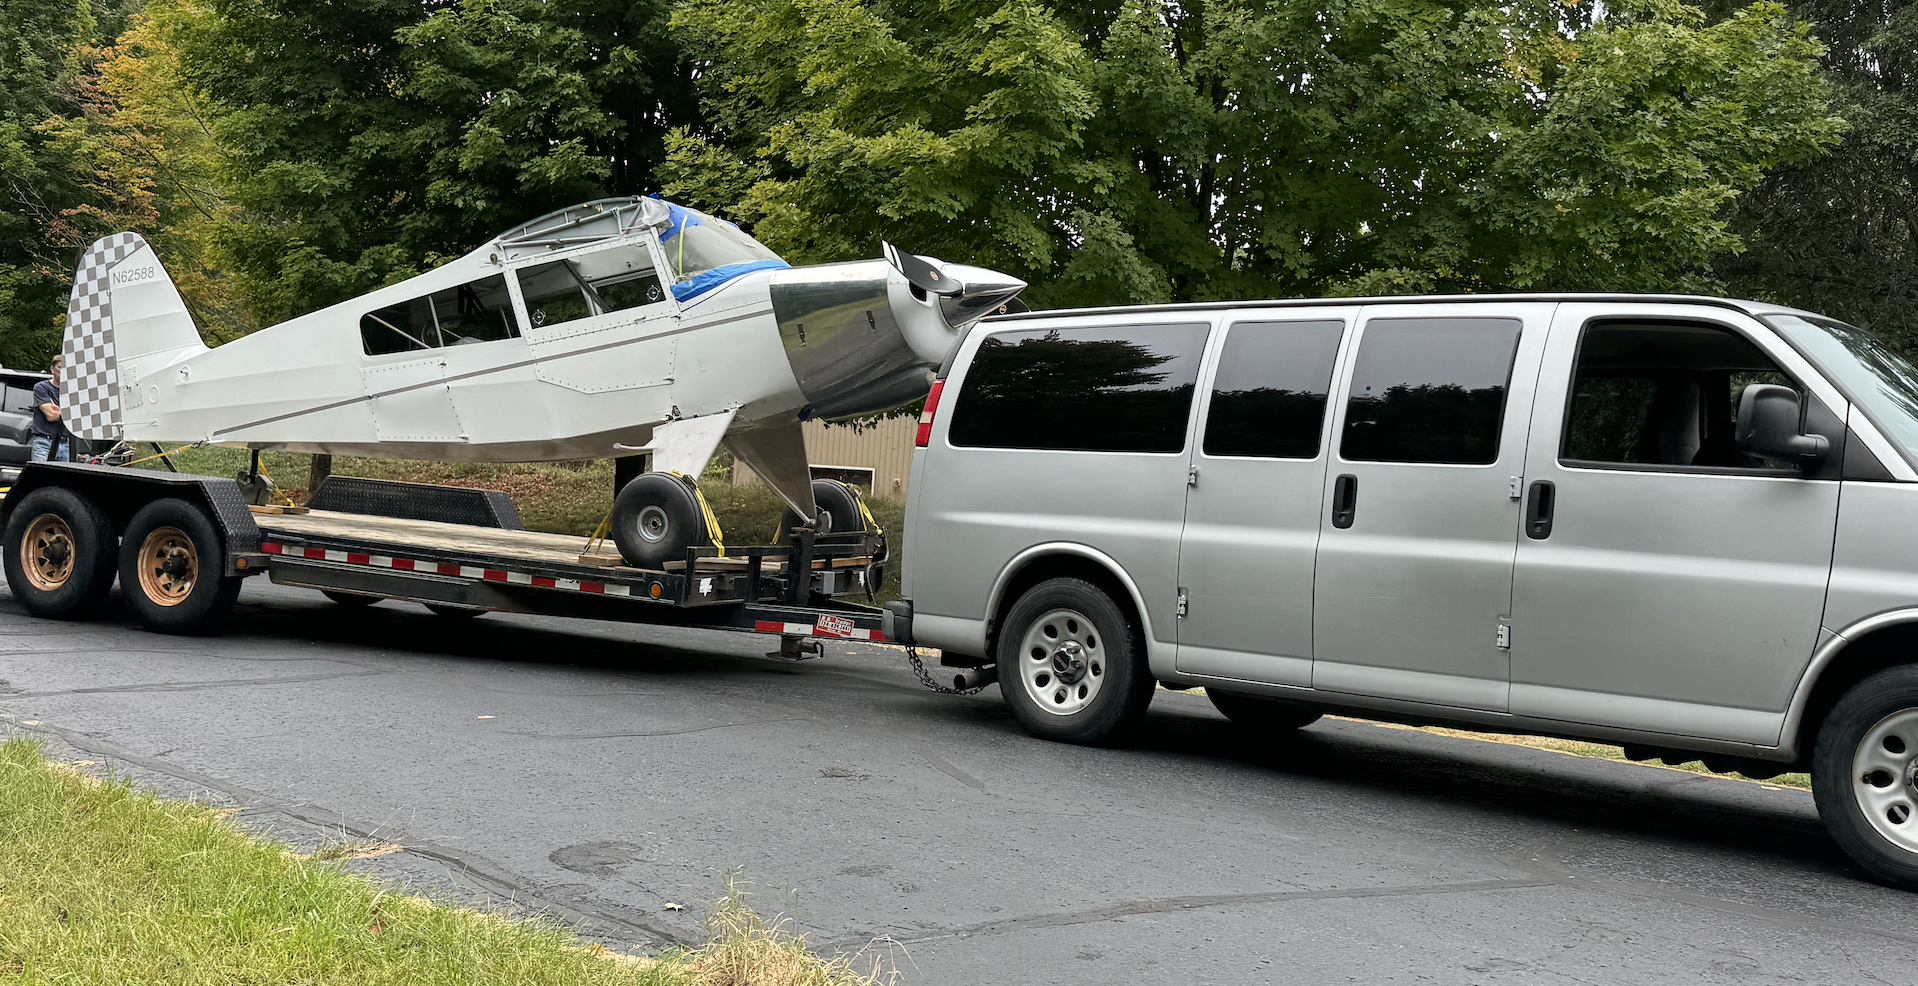
Bearhawk Patrol N62588 Nears Completion in Michigan
Source: 2024 Q4 Beartracks, Brooks Cone
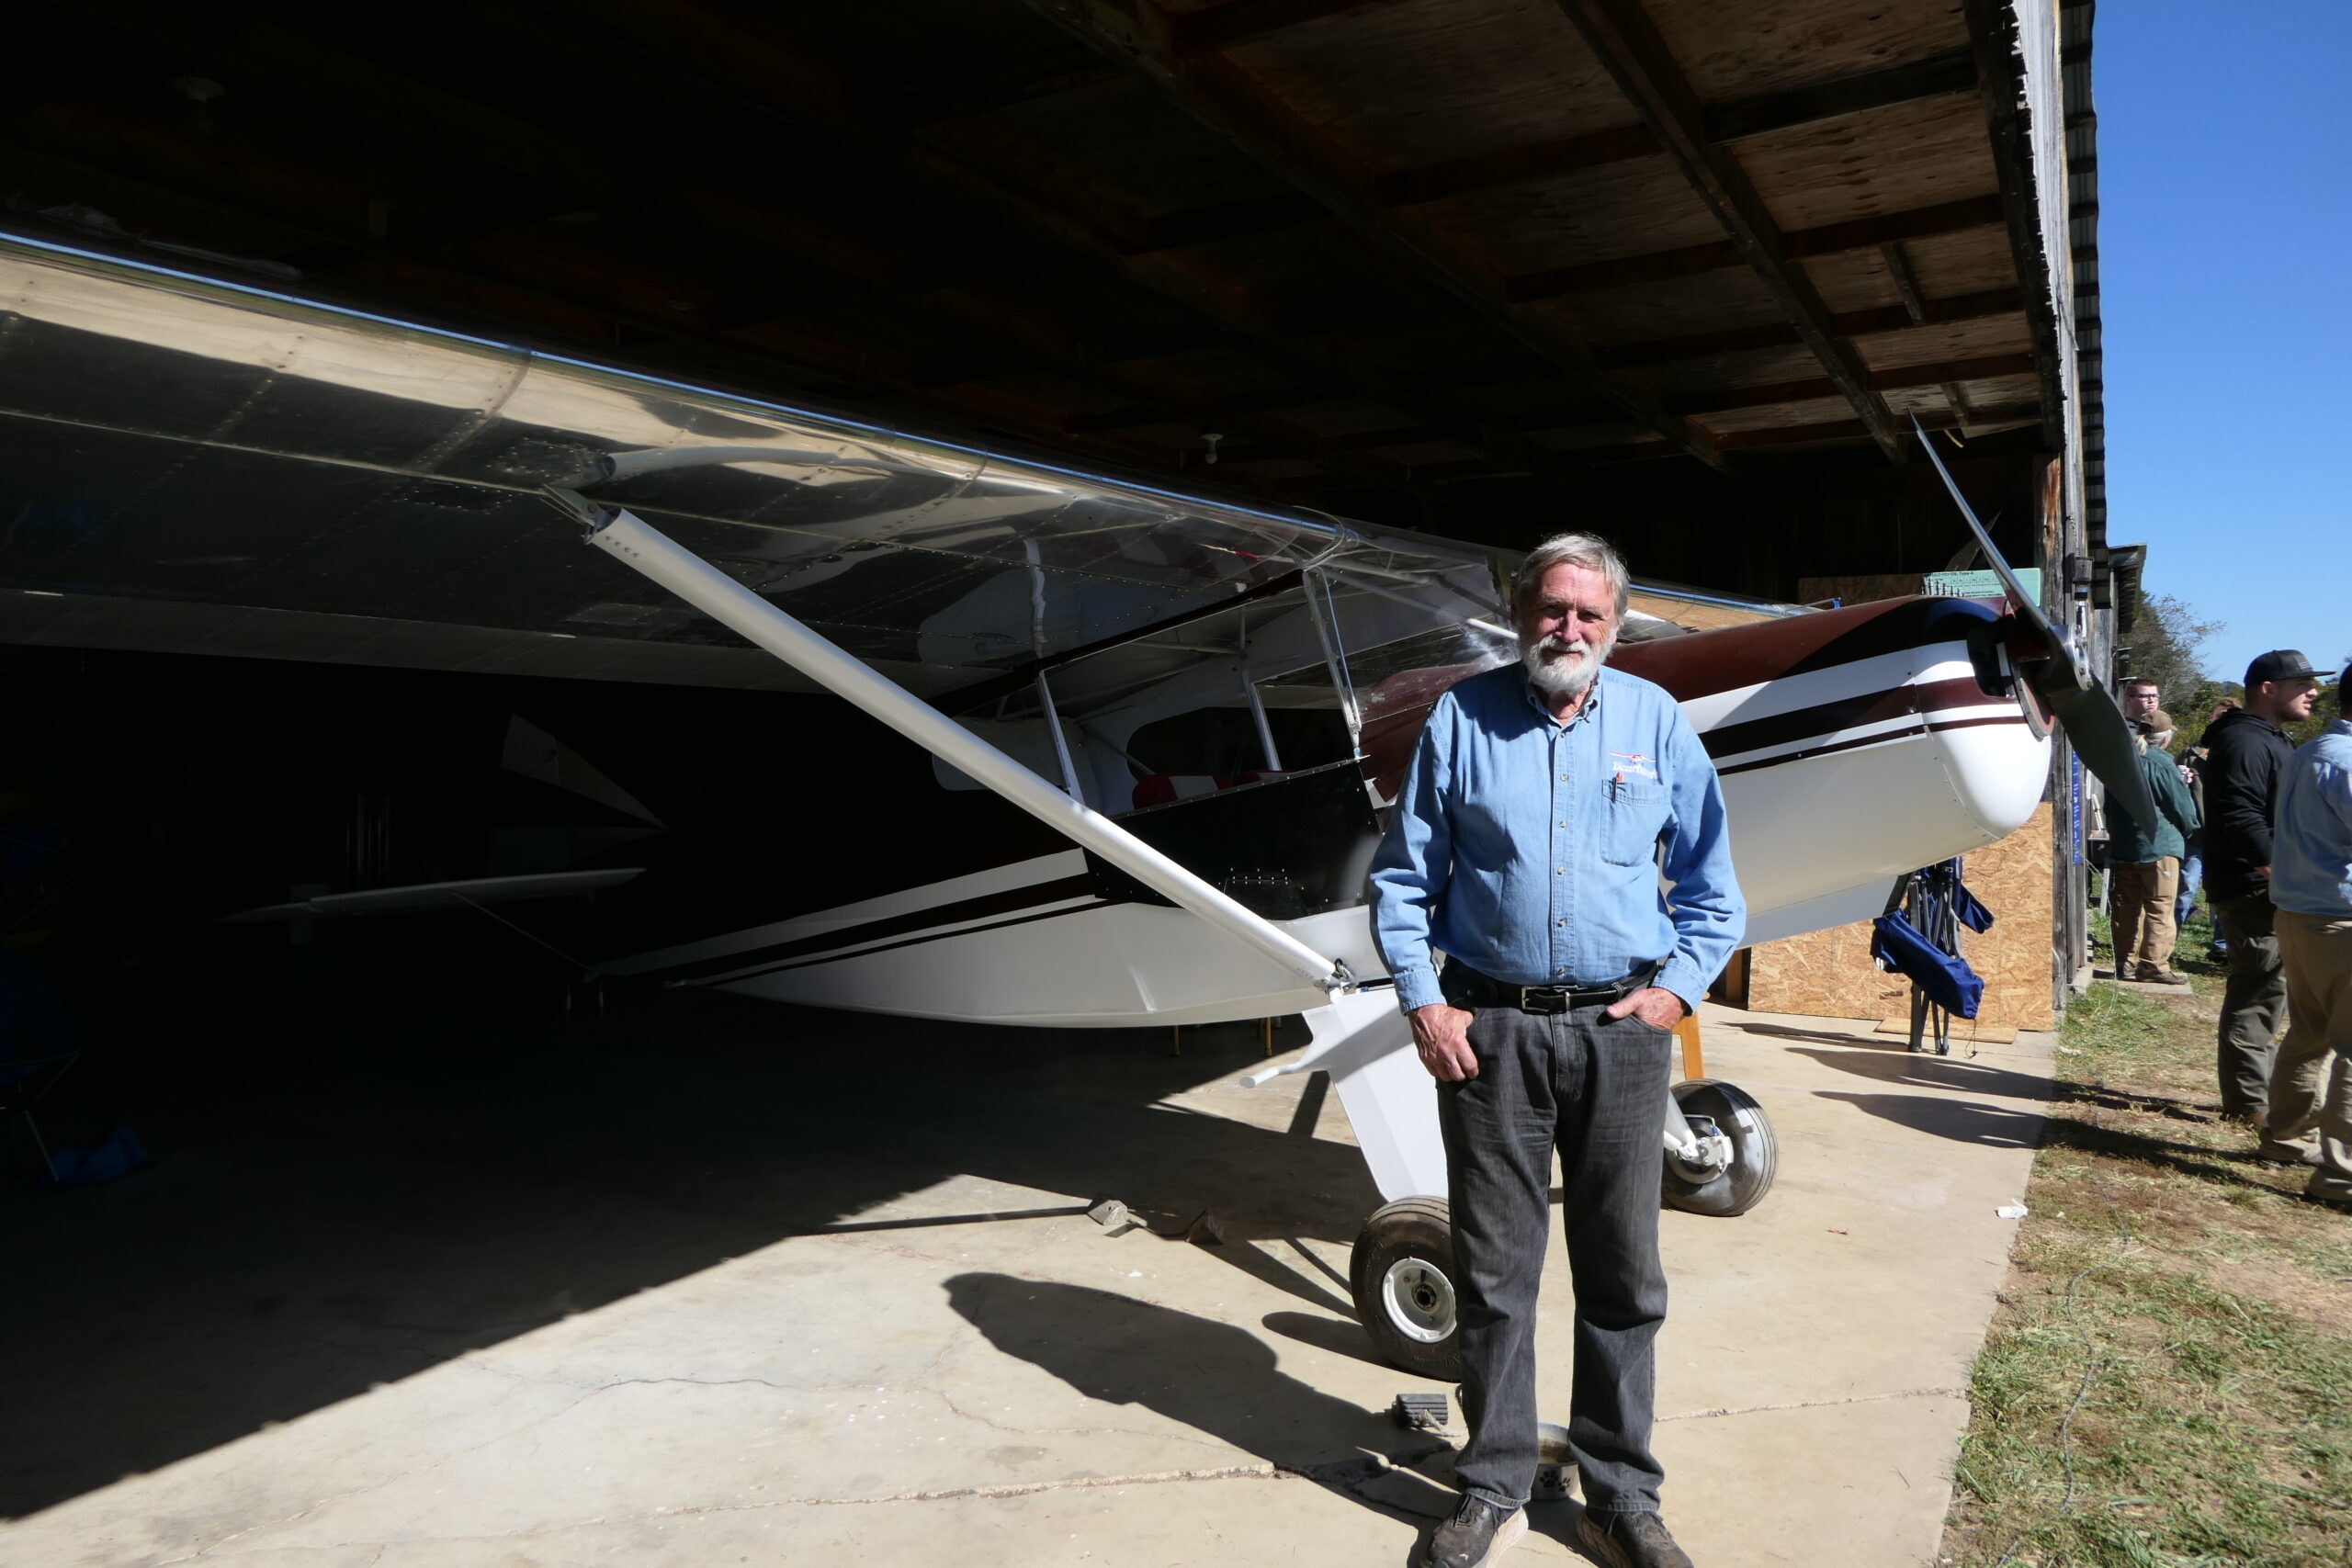
I started building a Bearhawk Patrol in 2017. I named her “Miss Goulet” to give tribute to my my wife. She was a math teacher once upon a time. The students loved her because she is welcoming, always smiling, hard working, very smart, and can make any subject fun. I think the Patrol will reflect her attributes beautifully.
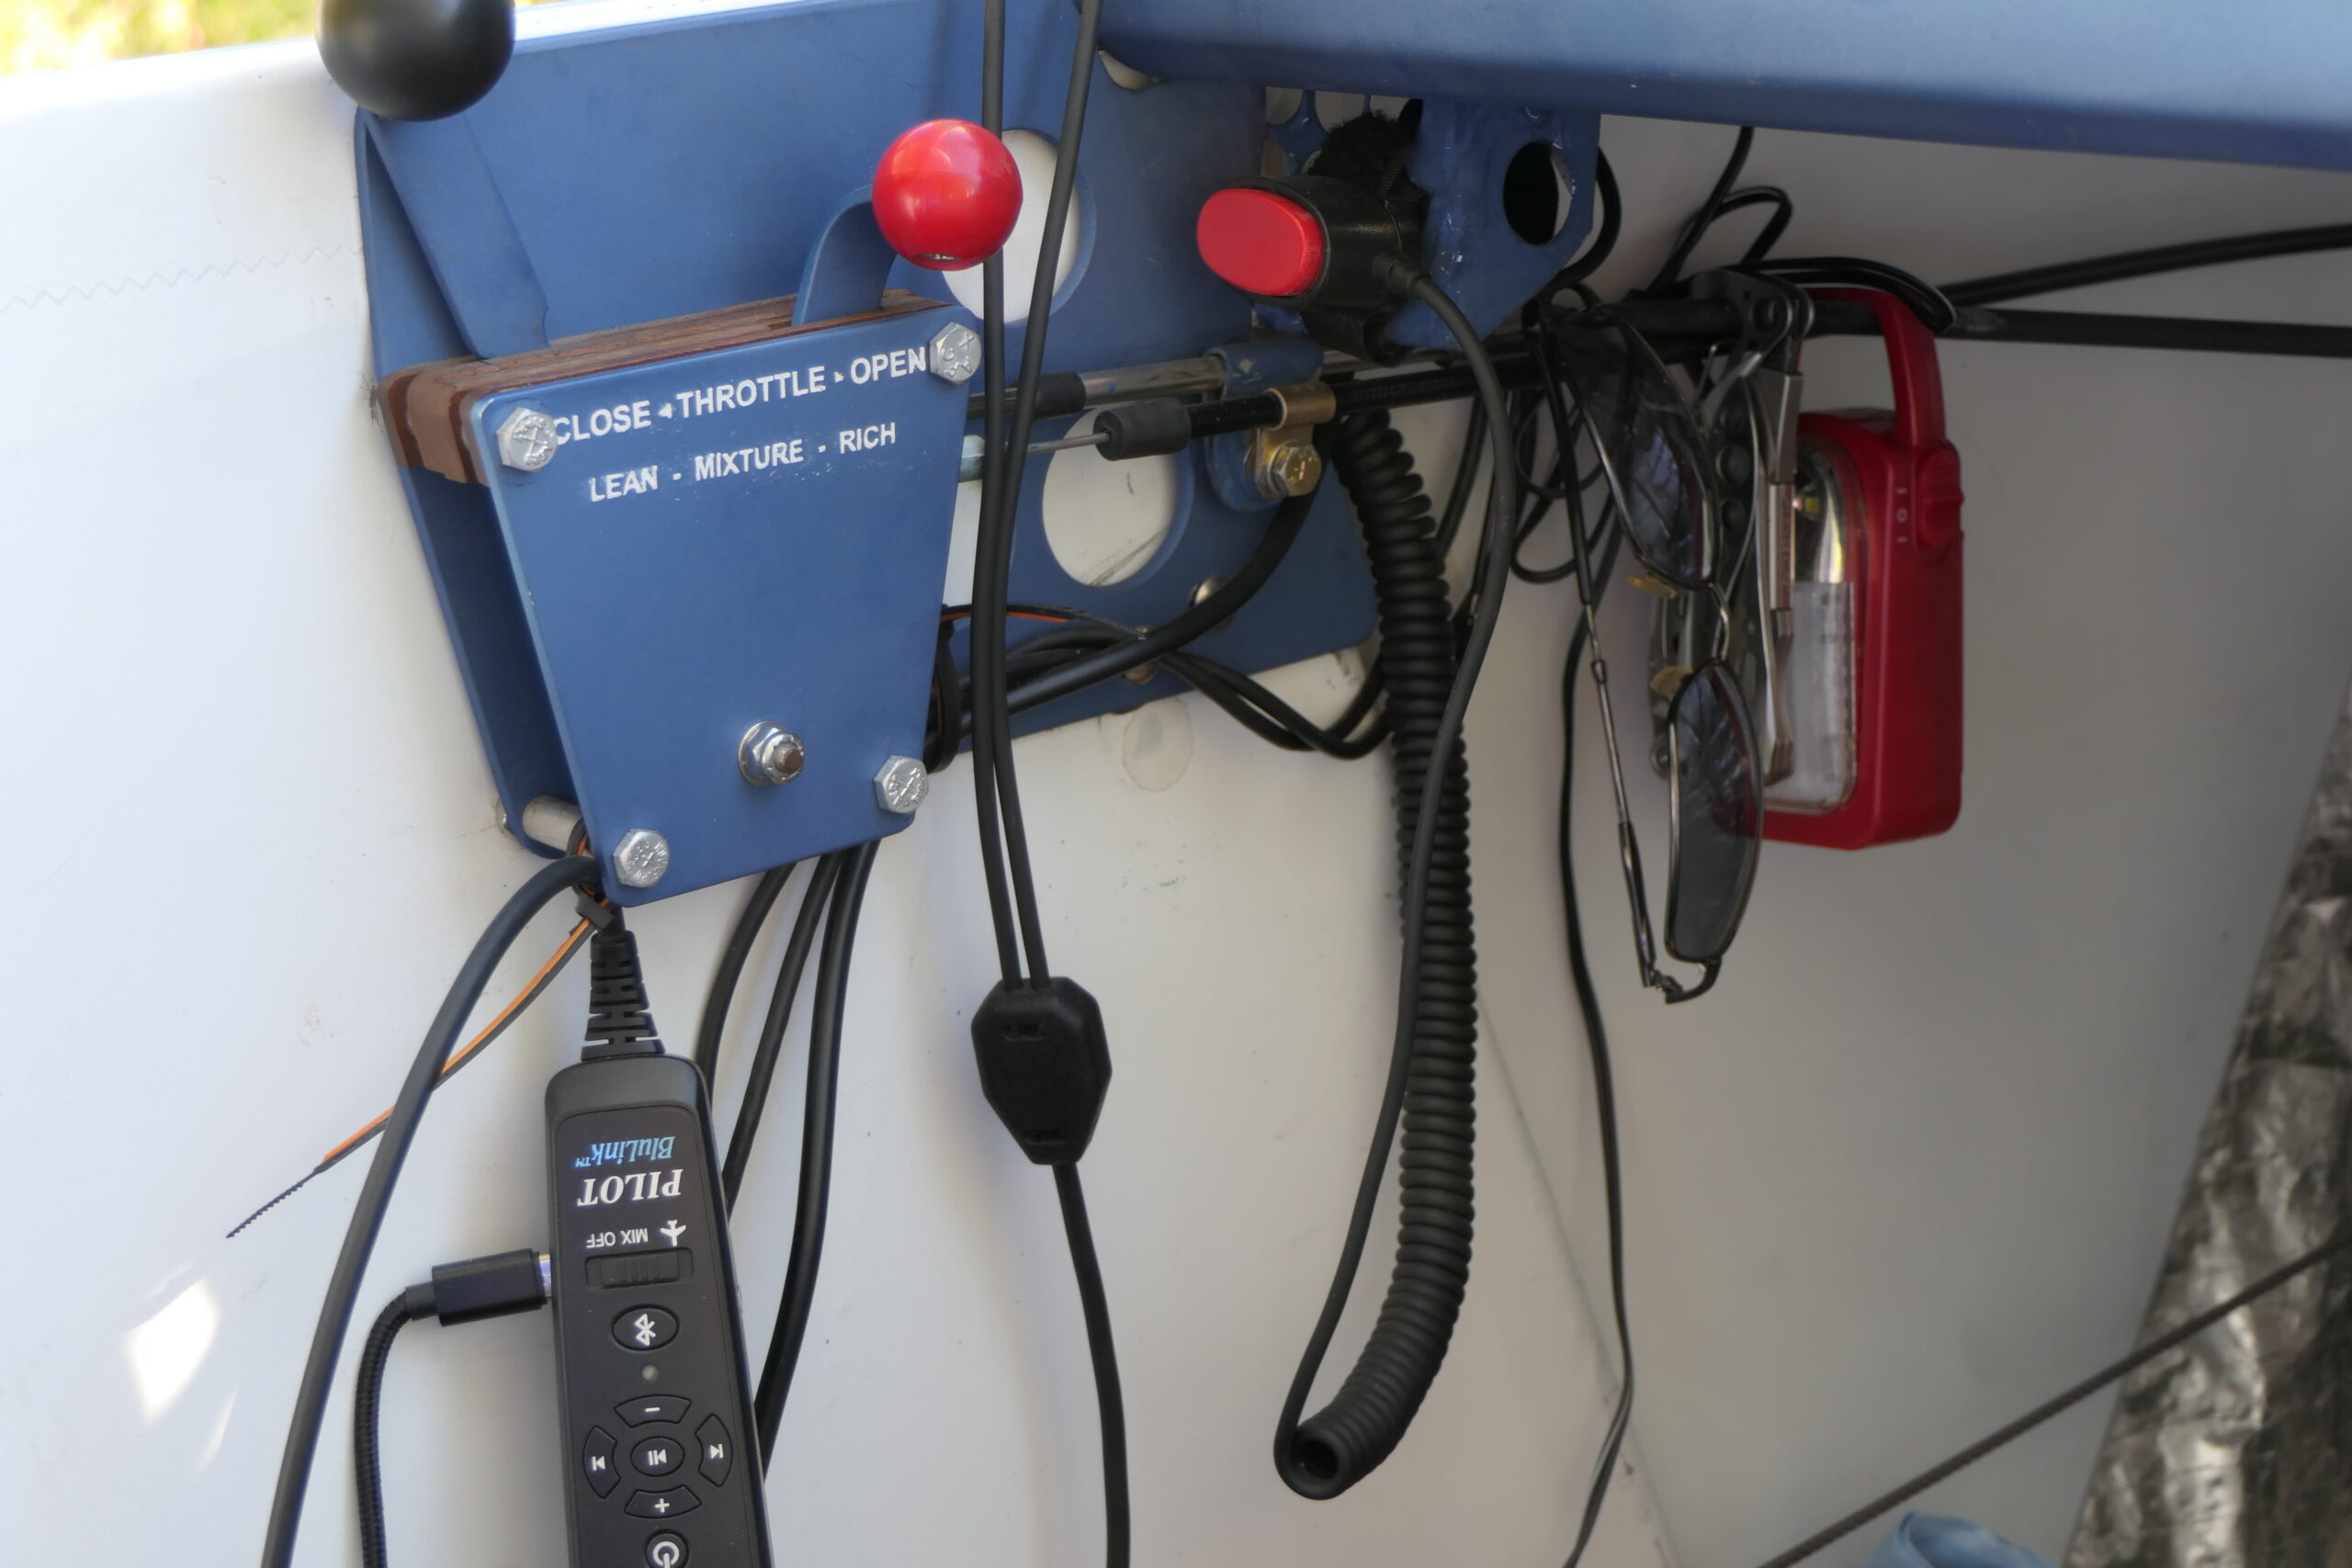
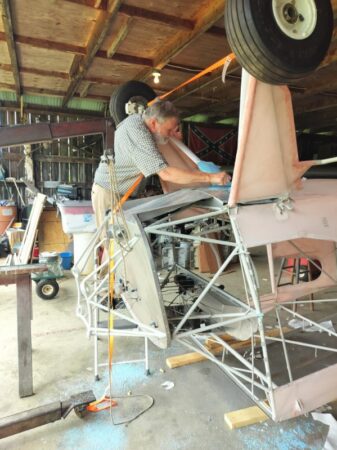
The project started with a quick-build kit from Mark Goldberg and she is almost done. A theme that gave me peace about the build can be summarized with a few key words: Efficiency, Utility, Reliability and Maintainability. These goals drove the build decisions and added weight to achieve them. I wanted my boot cowl easy to remove, and working upside down under the panel when I’m 75 years old (15 years to go) seems not far off. I can remove the entire boot cowl and windshield in forty minutes I call that “No Pain to Maintain.”
I want low fuel flow at a fair cruise speed, no issues and easy repairs.
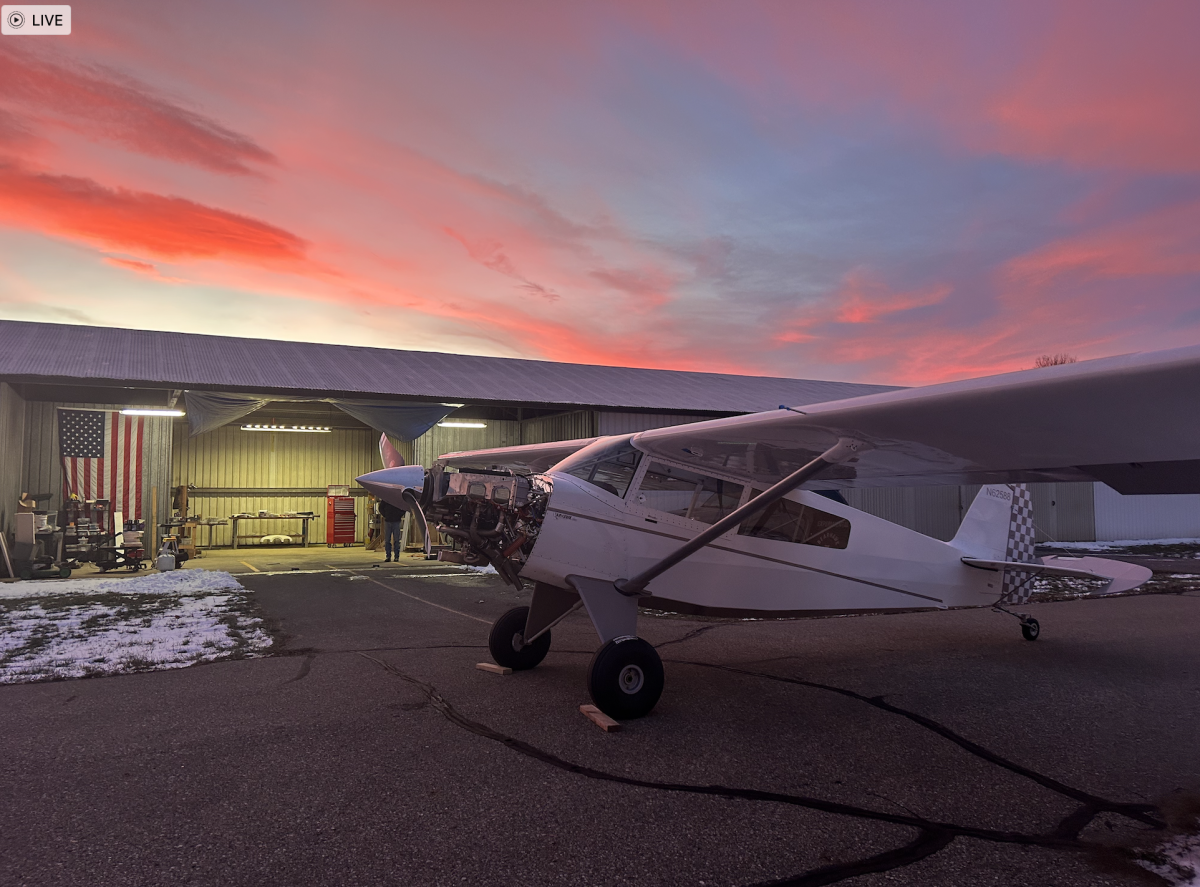
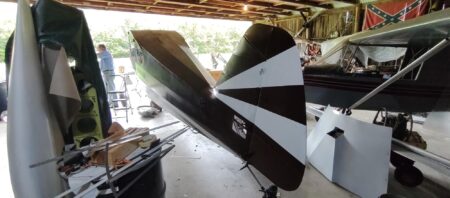
Paint: I painted Miss Goulet myself (except the cowl is still bare Aluminum). It was the first time I ever used a paint gun or designed a scheme. Paint Scheme: My fourth son is a college-educated artist. When I asked him to help me design the scheme he had me fabricate a coloring book of the three view drawing on Plans P.1 minus the inner tubes. I used colored pencils and made 35 drawings. I decided against swoop lines to keep the job simple. I know I need simple if it’s not going to look like crap. I tried various things and the simpler prevailed. I thought about a gray base like I see on some SUV’s, but My Wife said the color was not a “happy color”. I ended up with a white fuselage, using Bob’s “Thrust Line” on the plans to locate a gray strip. Every control surface is gray. Why not Red? Blue? Yellow? To be honest, an interior decorator chose our GRAY kitchen floor matching it to the existing wood cabinets and it looks great. The best match on the Stewarts color chart to match the Smoked Plexiglas side windows was Boulder Gray. Honest!
The Instrument panel is basic VFR. I didn’t have a budget limit for it, but as I felt peace (like my paint scheme) about simple and less peace about the very elegant capable big screen offerings to EAB builds. I also liked separation of various instrument/avionics elements for trouble shooting and service life. So I installed a compass, a Garmin G5, an analog airspeed, a CGR-30P engine monitor, a Trig Comm Radio and Transponder. For navigation I followed Bob’s advice and went with portable, choosing the Garmin Aero 660 docked on the instrument panel. All antennas are internal except for the transponder. The COM is a long 1/2 wave antenna in the vertical stabilizer; the 3 GPS antennae are mounted just under the skylight in the spar compression tubing support area.
I designed, fabricated and installed the electrical system but contracted out most of the avionics wiring harnesses. I submit to Bob Knuckolls teachings in a book titled “The Aeroelectric Connection”. (a modified Z101 architecture. http://www.aeroelectric.com/PPS/ Adobe_Architecture_Pdfs/Z101B.pdf)
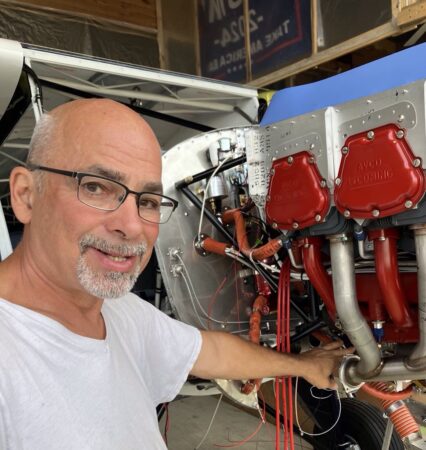
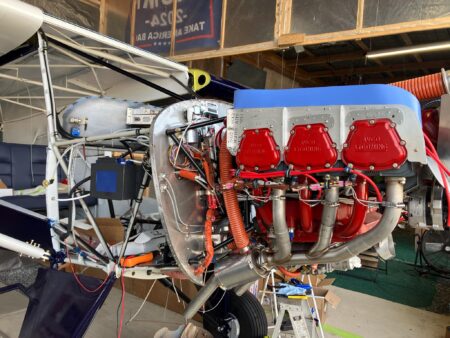
The engine is a Bob Barrows/Lycoming IO-360, call it 180 hp. It’s a narrow deck case, has parallel valve cylinders, new cam and a balanced crank. Alone it weighed 270lbs; 304lbs with alternators, exhaust, fuel Injection, engine mount, and oil screen. (missing oil cooler, hoses, and I forget about baffling.)
My four goals led me to Bendix Fuel Injection, Surefly Ignition, and a Hartzell Trailblazer prop controlled with a Jihostroj governor. The fuel and spark are not anything special or exotic, middle ground and I’d say efficient. The ignition system has dual power feeds from from three sources (two alternators, one battery) and the engine keeps running with the master off until she runs out of gas.
She hasn’t flown yet, but we started it. Warning: Don’t sneeze if the mags are hot. The OAT was in the low 20’s (it was preheated) and we think fired on the first blade of the first attempt without priming. We duplicated it every time. (point of education: gravity feed primes nicely. The engine pump takes over when she’s alive.) The second benefit will be reliably tunable deep lean of peak operations.
When I look at my firewall forward, I see a lot of hoses. Fuel Injection is not the best choice for everyone. A carburetor is so simple….I knew that but now I see it and built it. I also wonder about my Mag choice…Just one self powered Emag would have given me peace about a single alternator. Consider that stuff. But like I say, she starts if you look at her cross eyed.
The FAA paperwork for the airworthiness inspection will be submitted before this goes to press. She weighs 1190lbs, CG 10.3”, and she flow tested beautifully. Her CG can’t be thrown out of limits no matter how she is loaded down and it’s tough to get her overweight.
Winter 2024 Update from Bob Barrows – Companion Progress
Source: 2024Q4 Beartracks
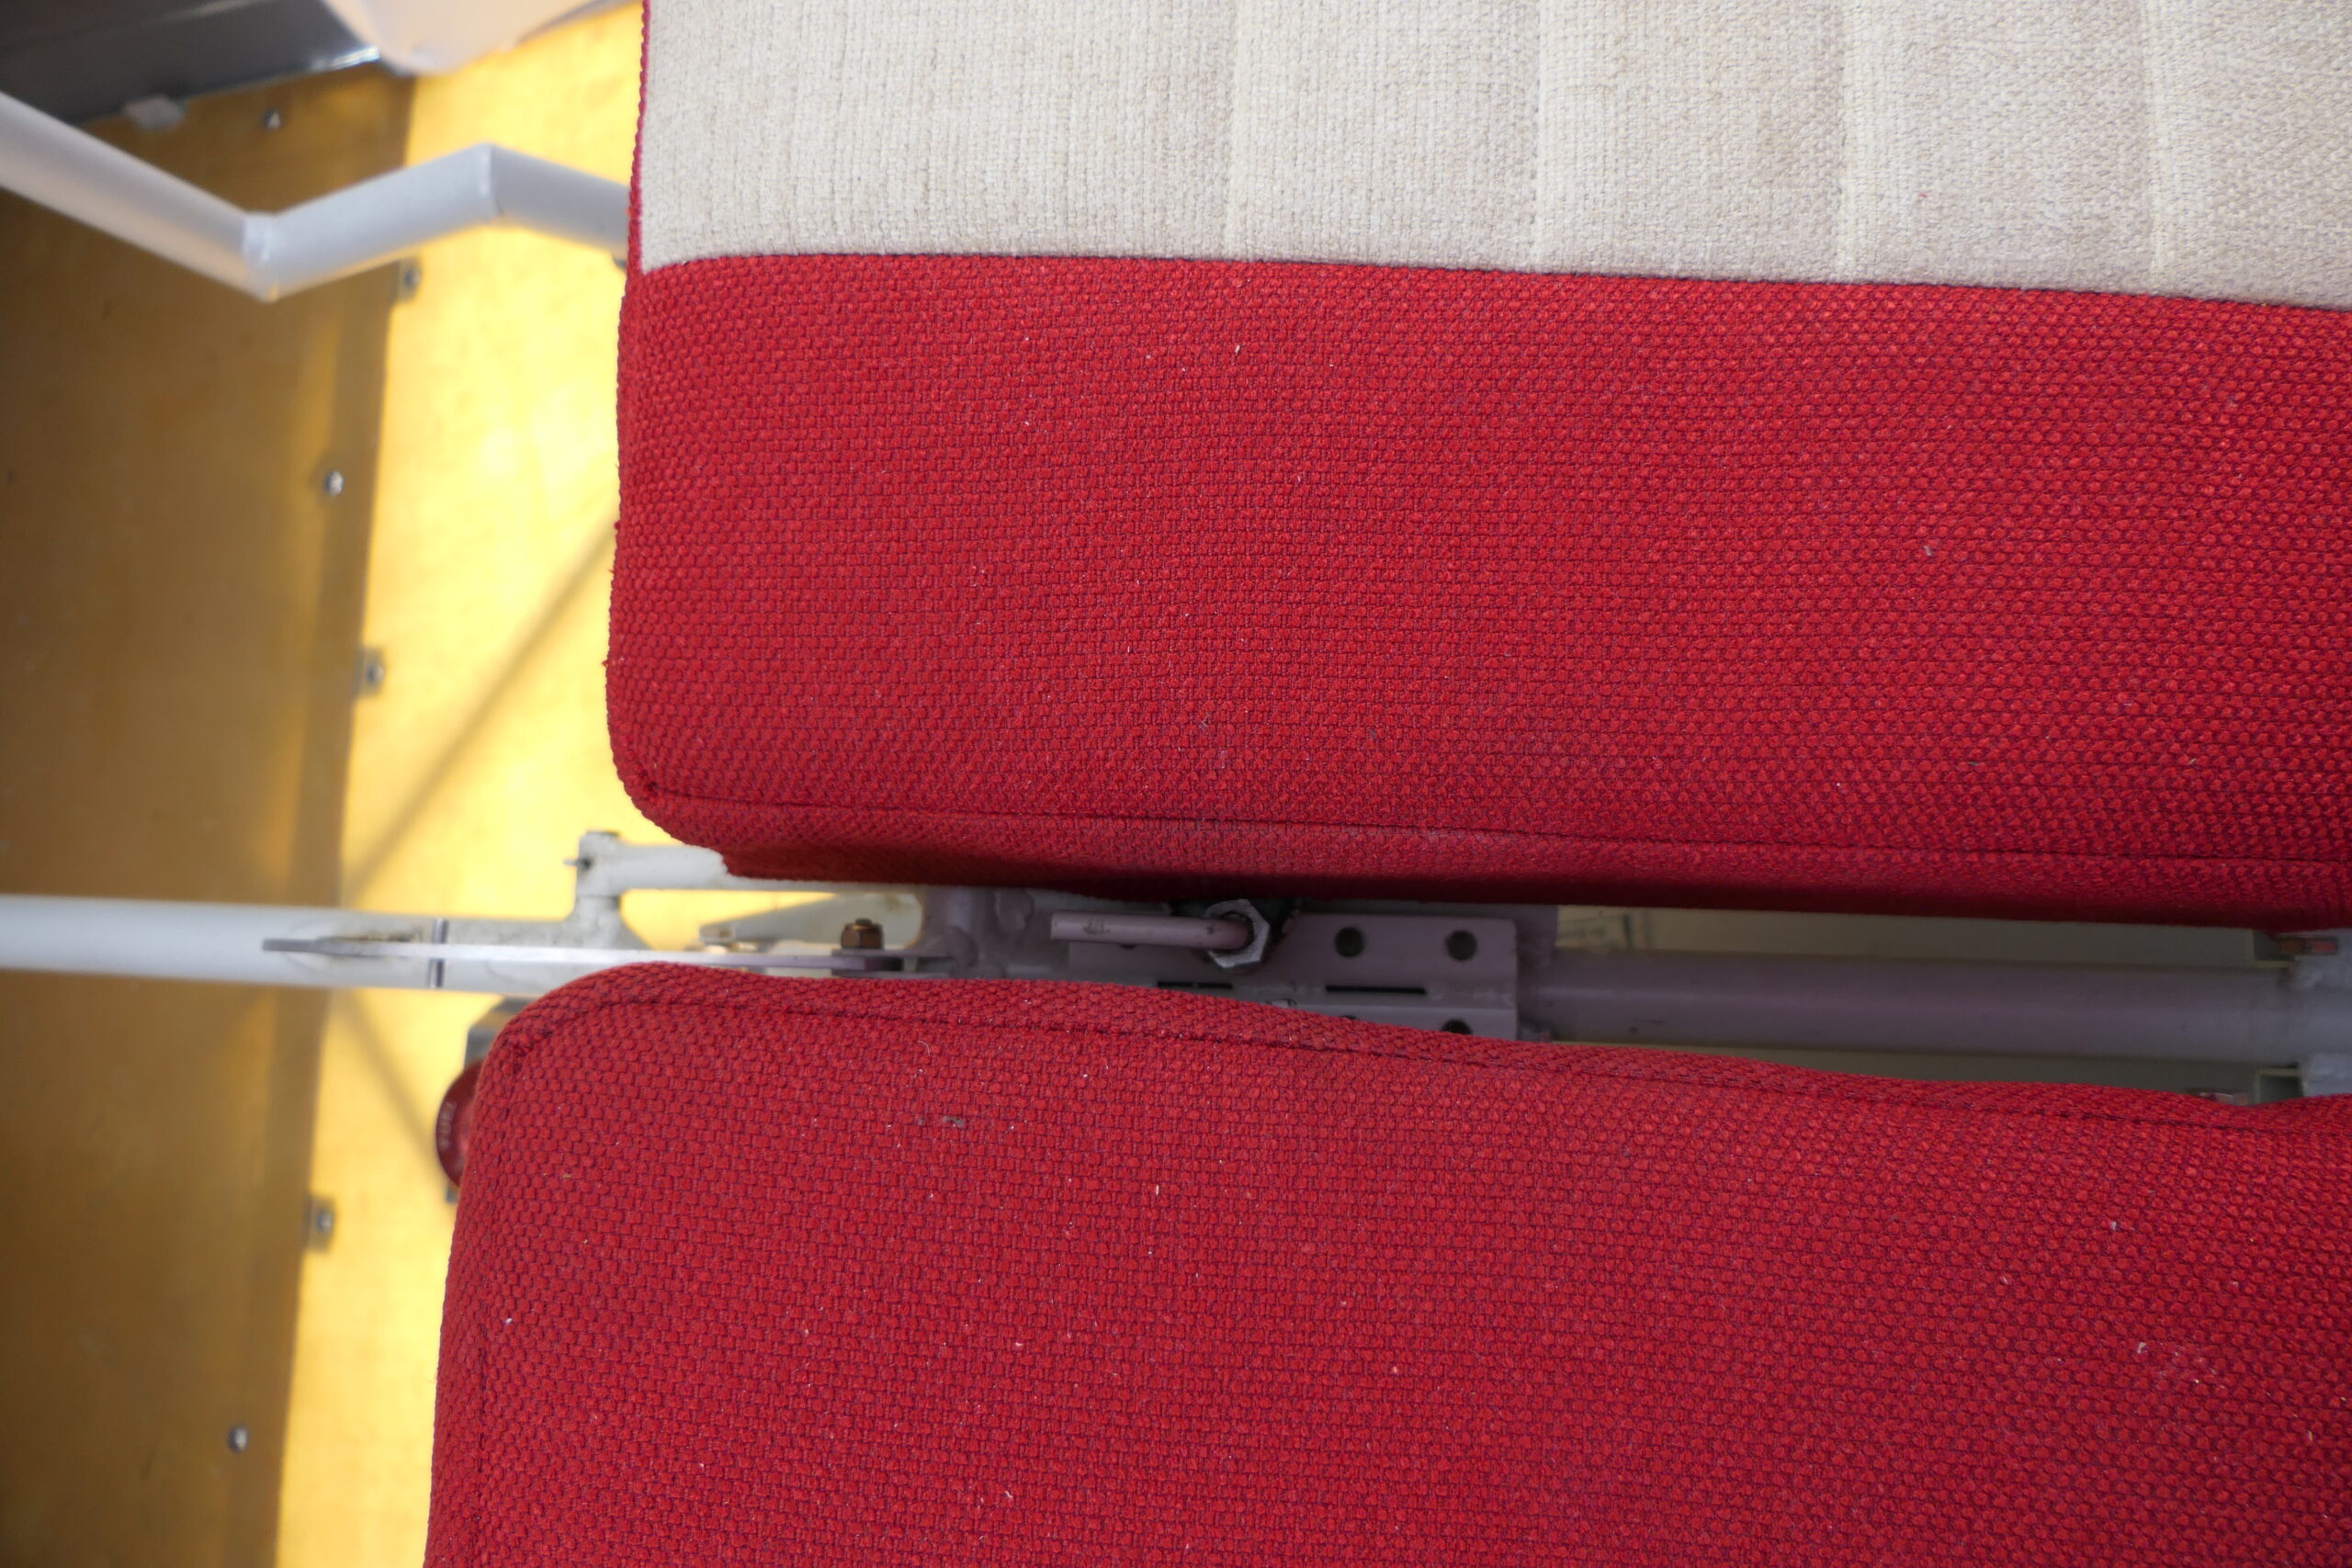
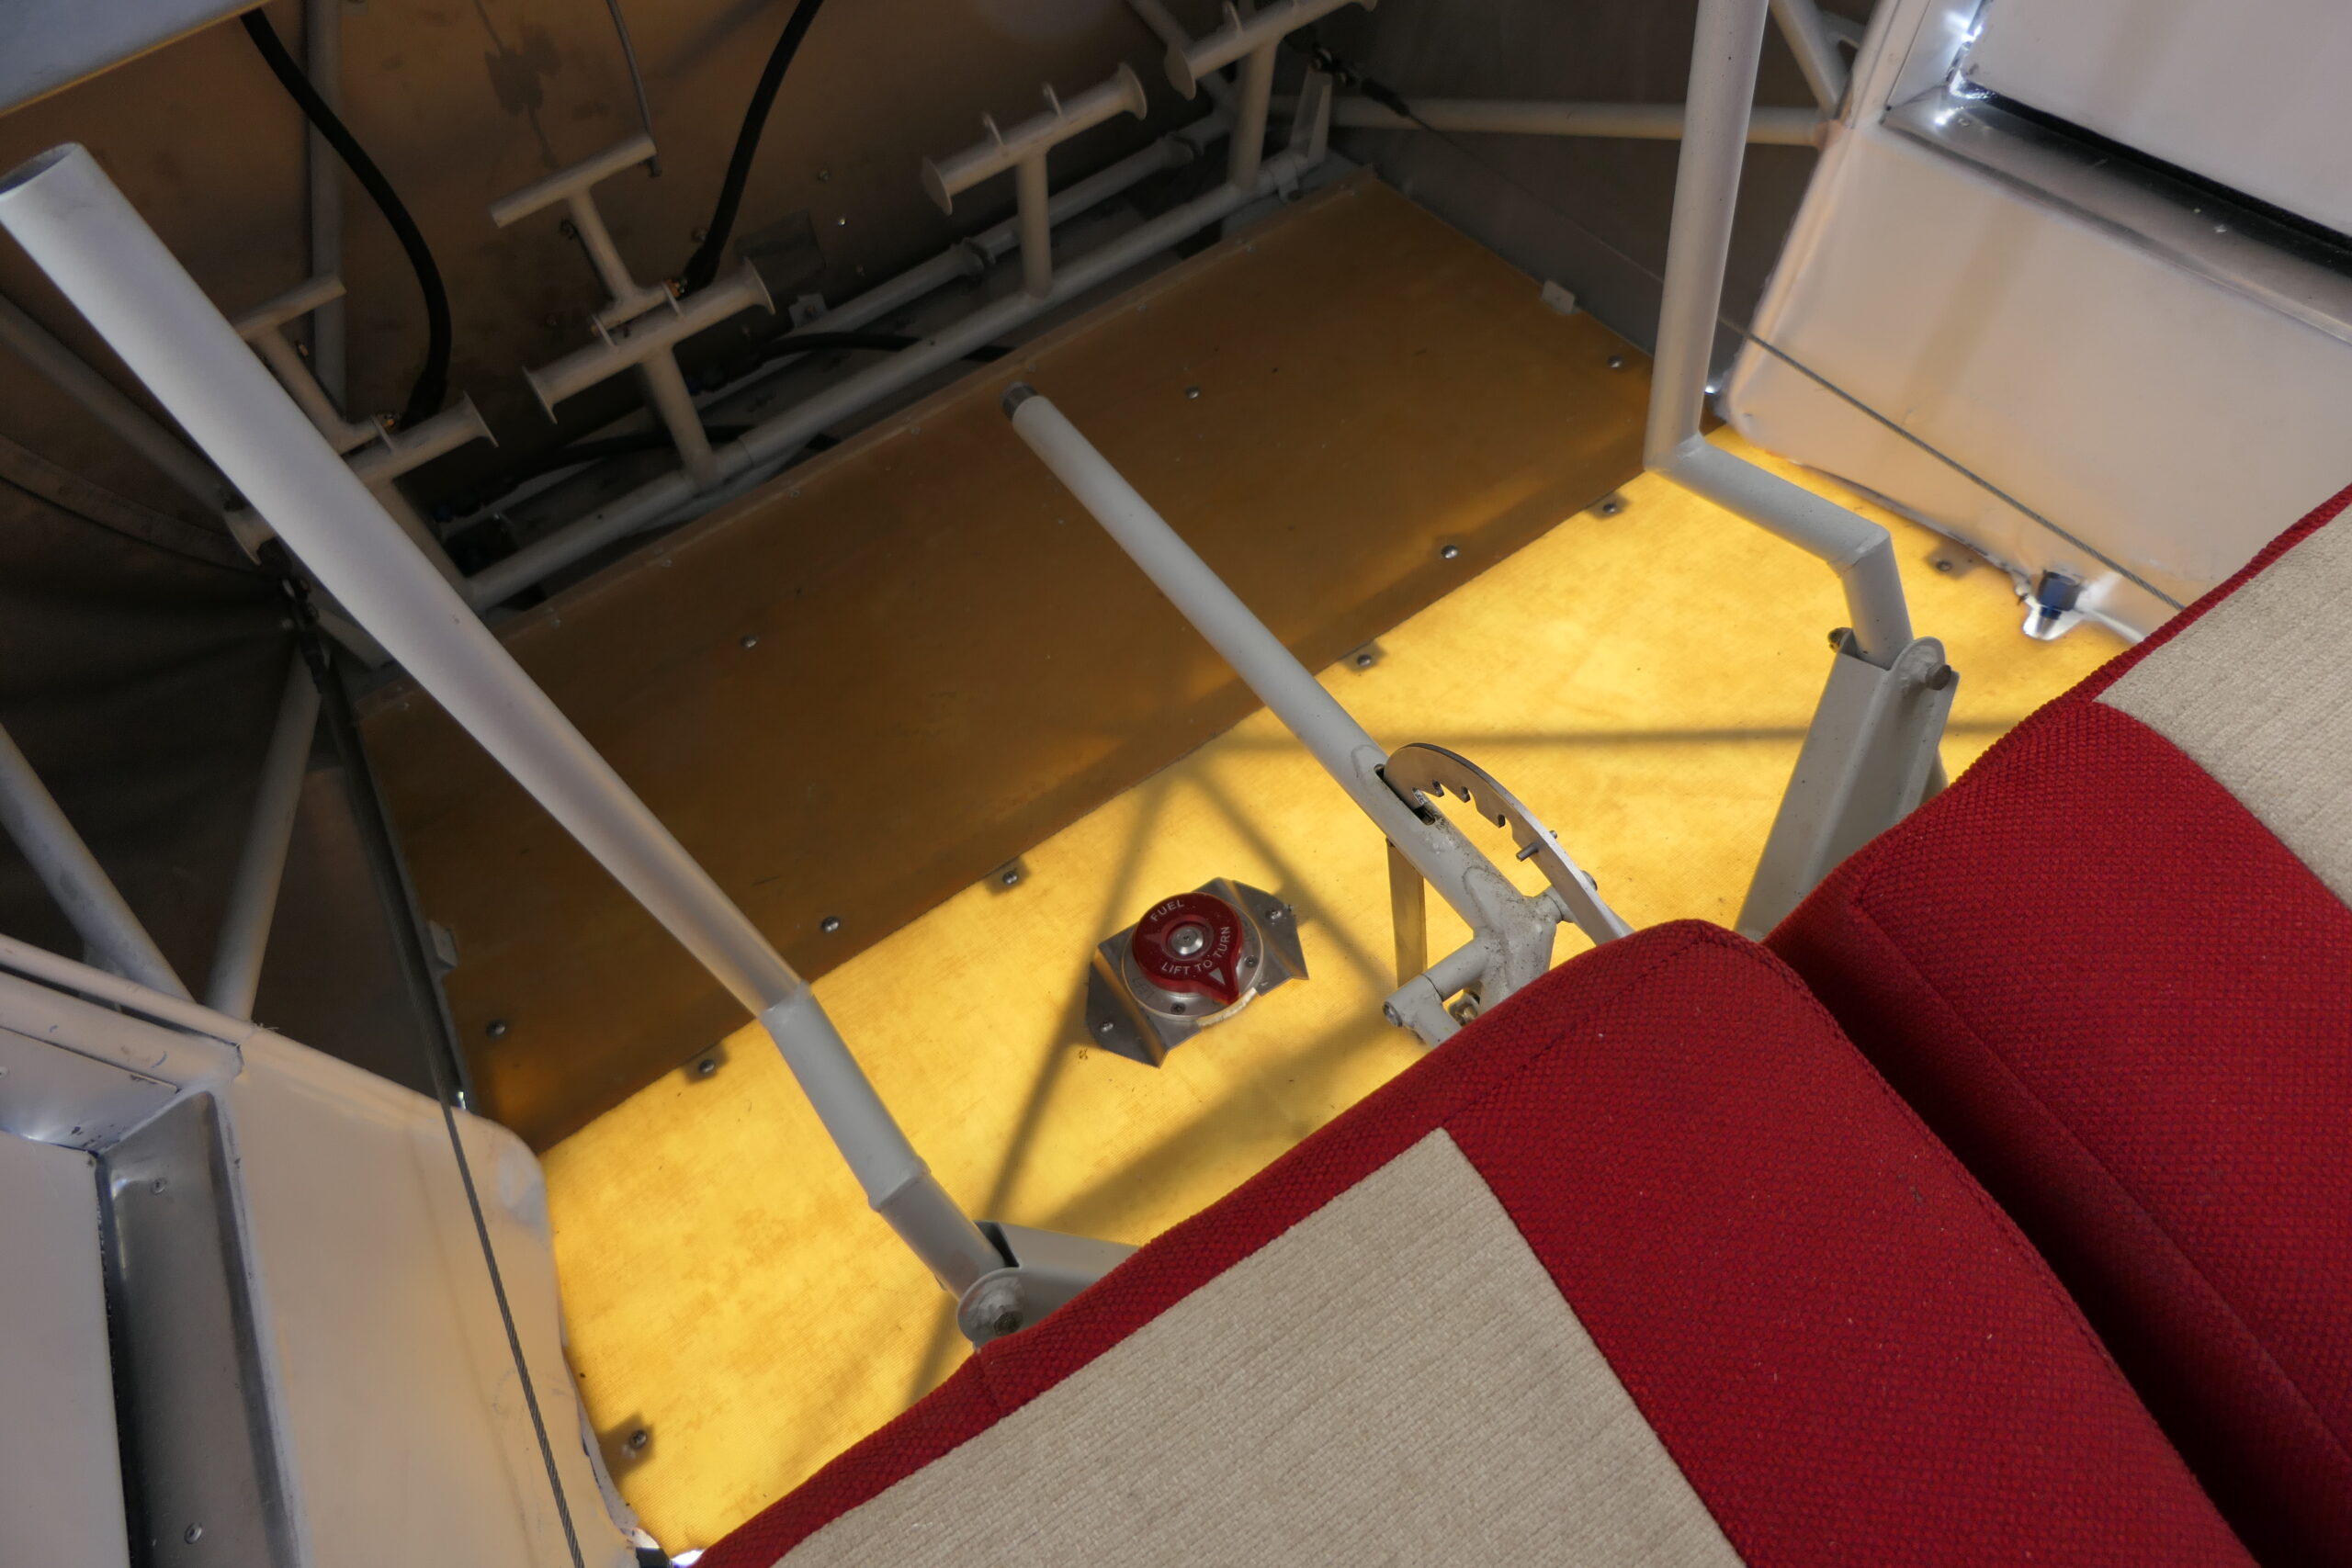
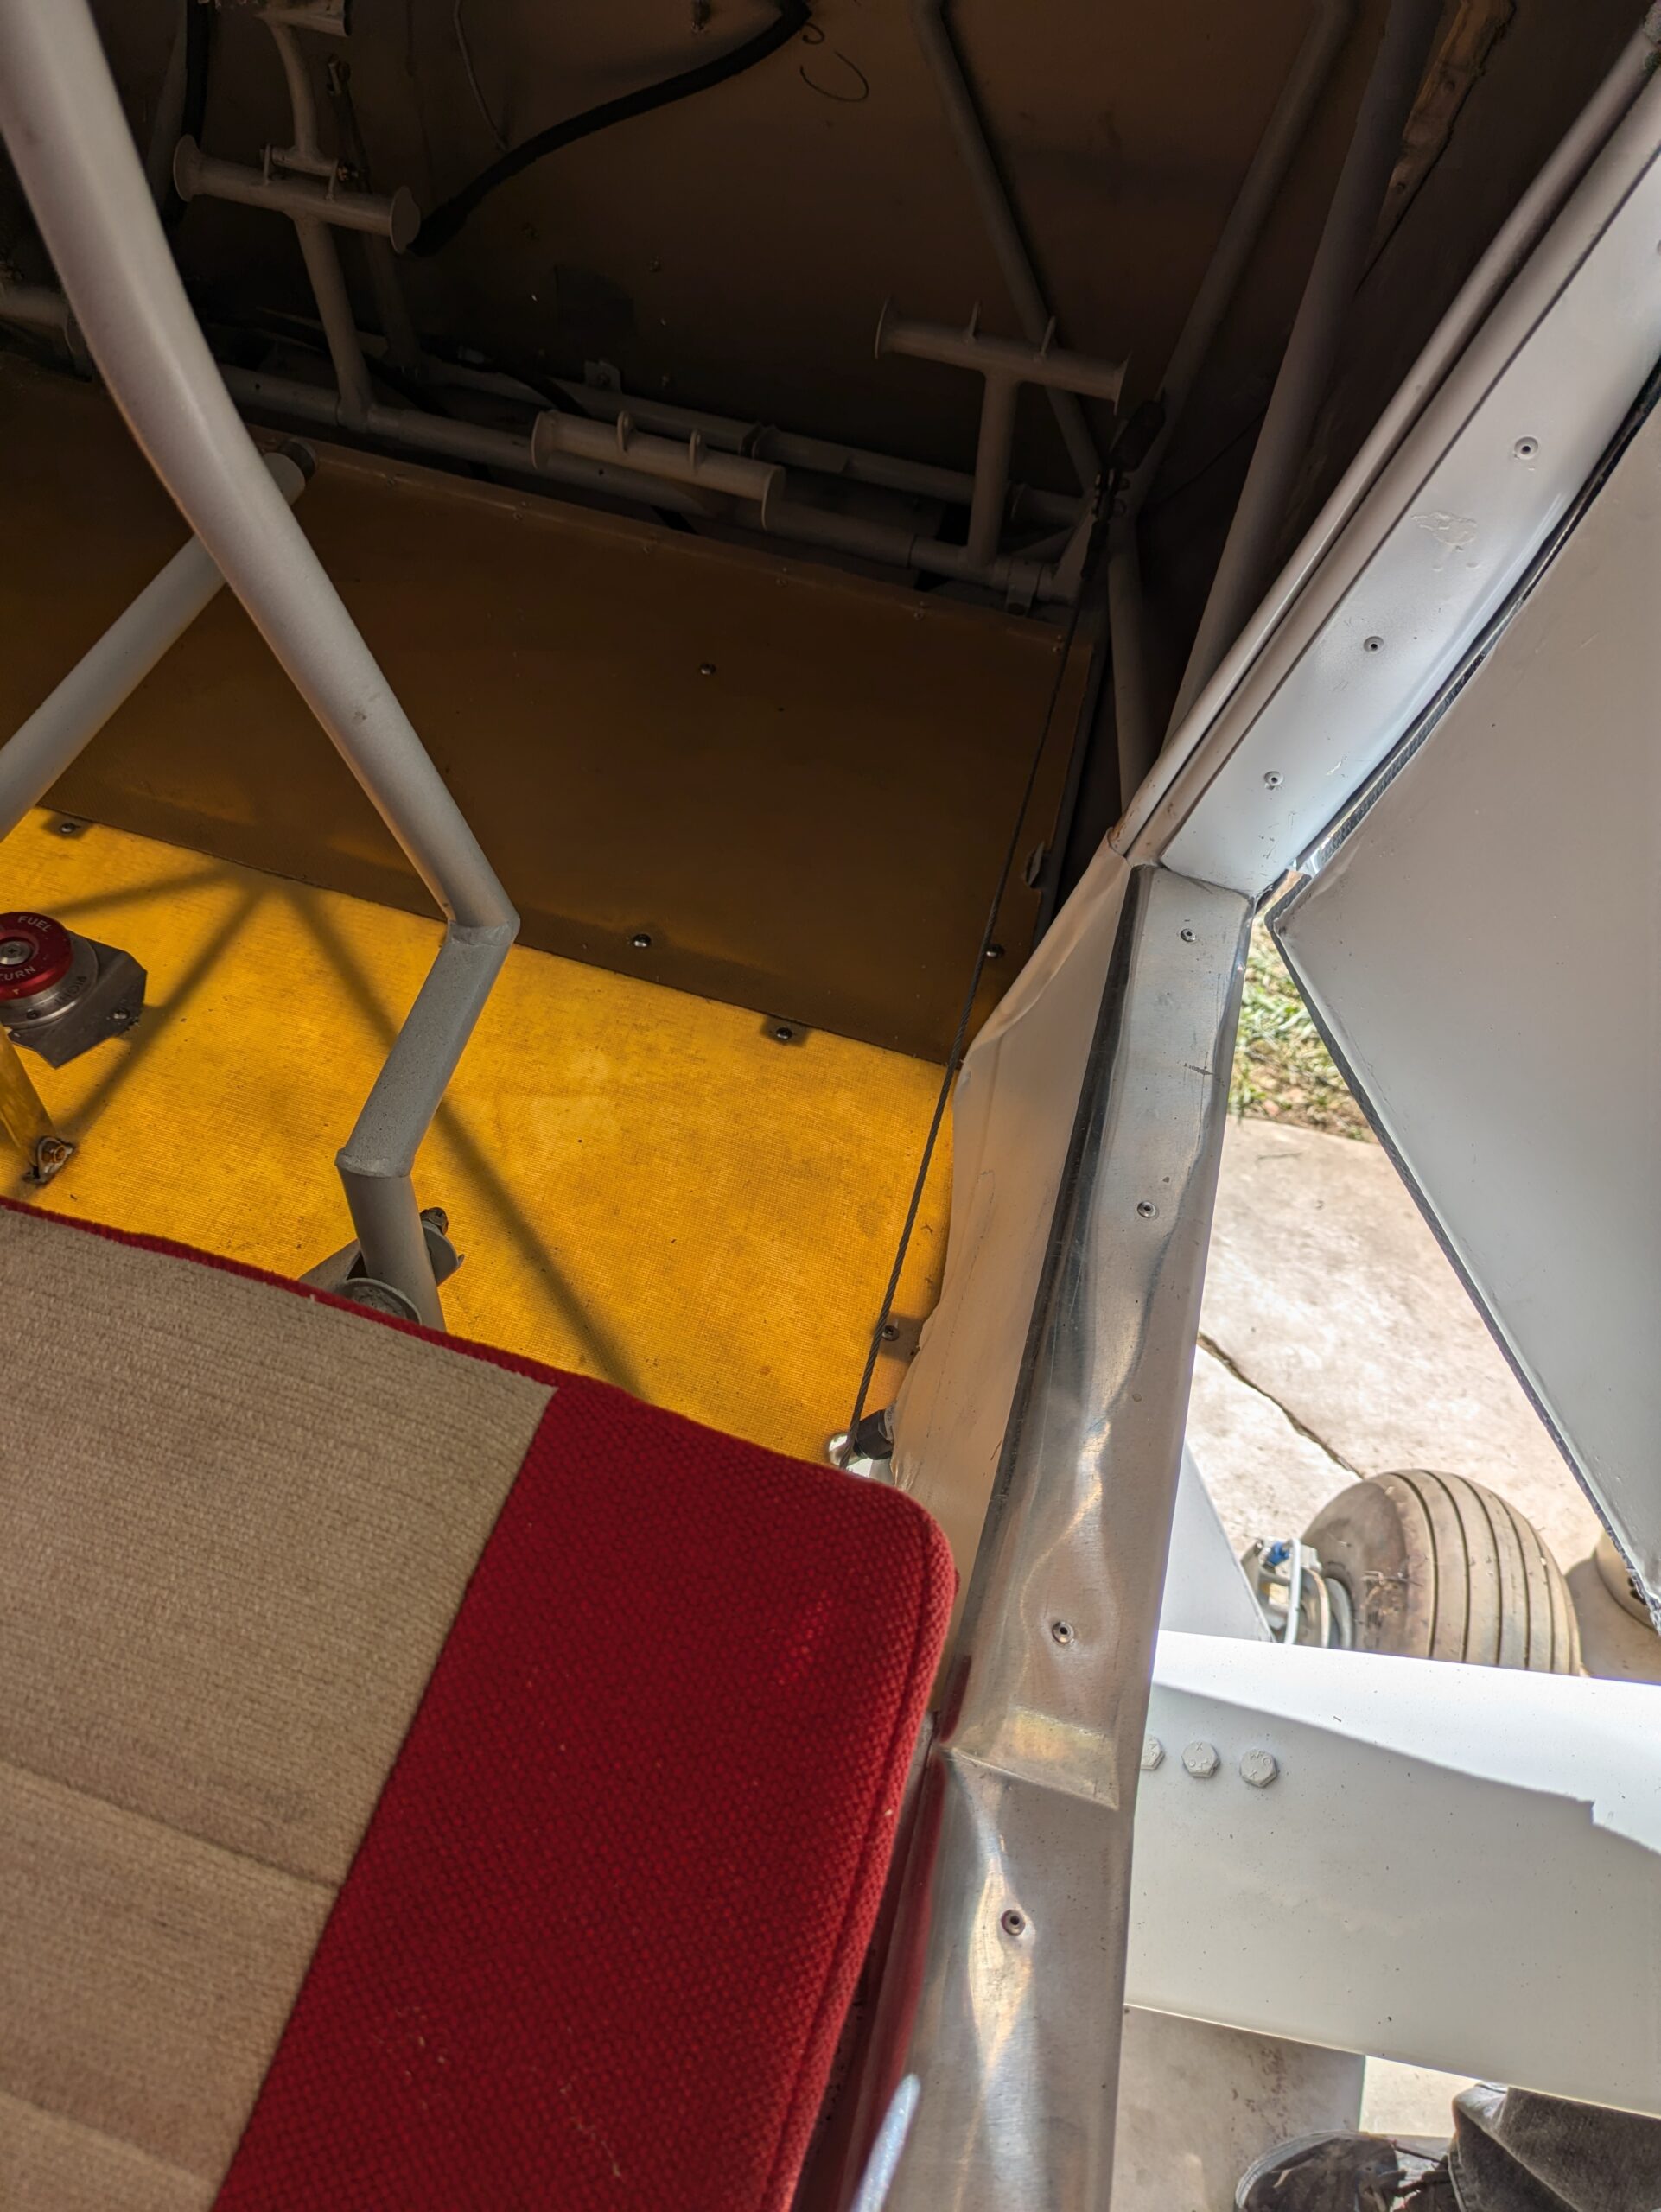
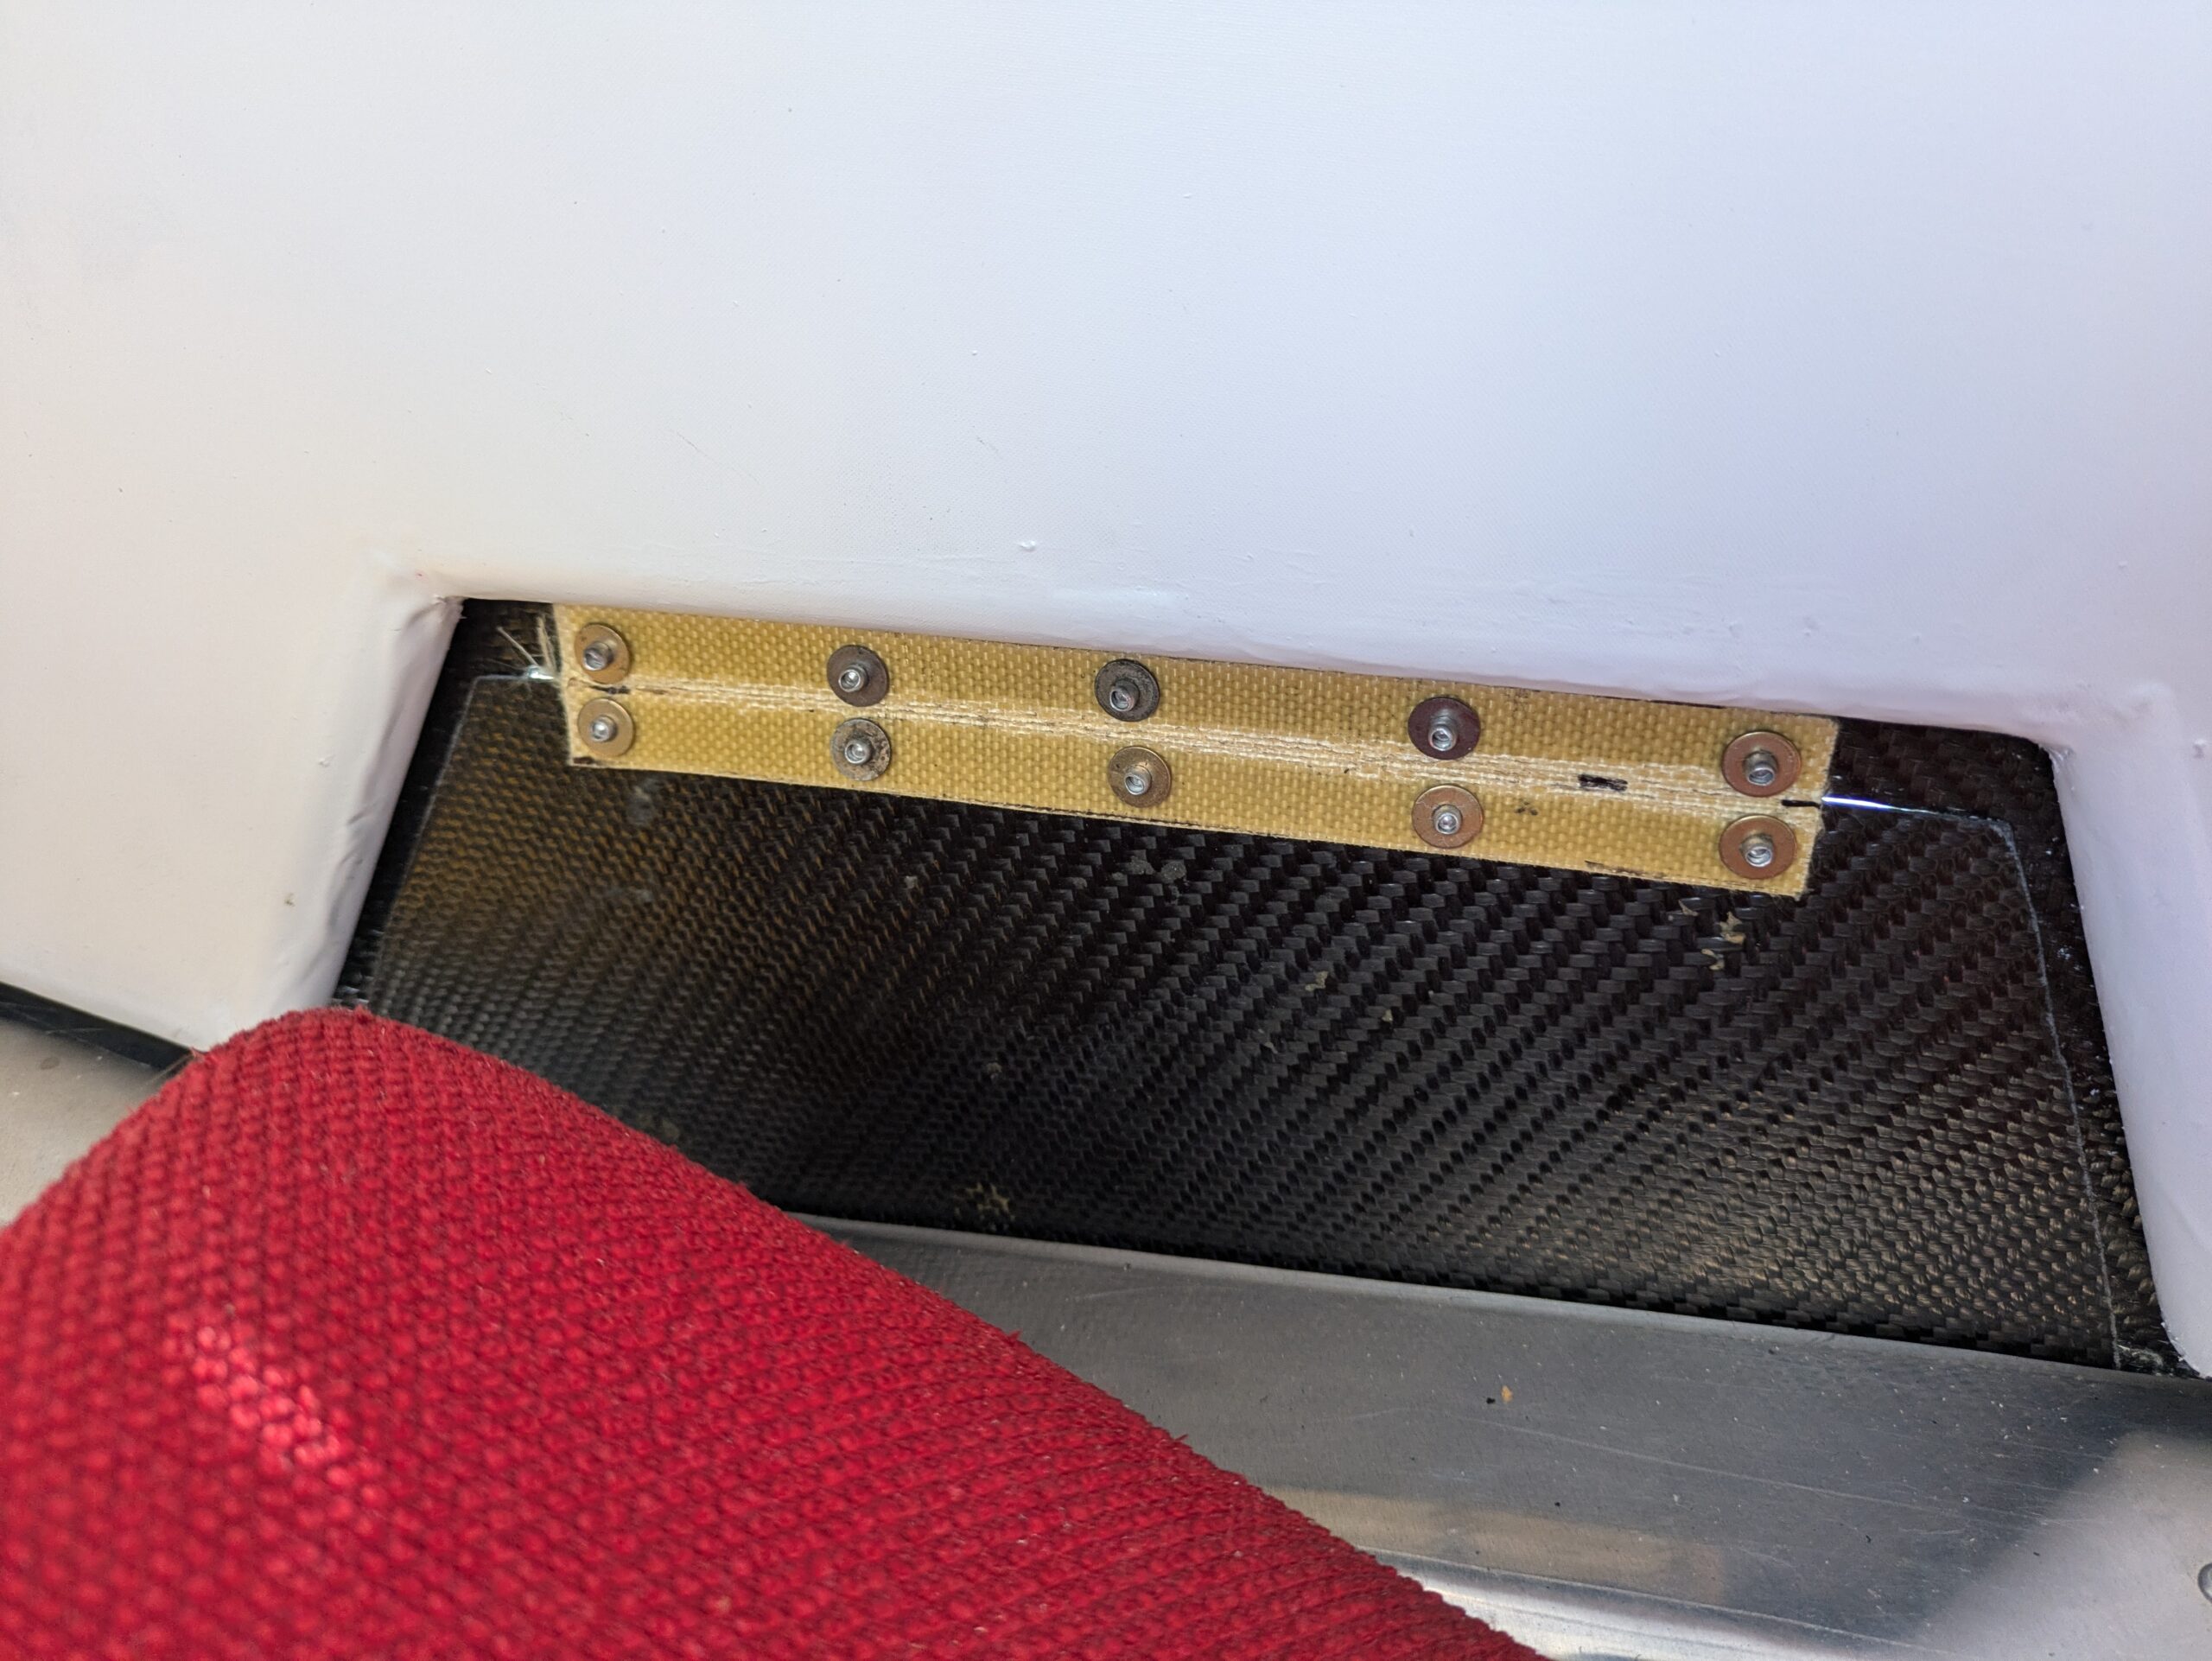
Bob’s Bearhawk Companion is looking more and more like an airplane. During our October visit, the weight was 1010 pounds, as pictured. In November, Bob broke some bones in his foot, and that has limited his shop hours. Thankfully the cast was removed a few days ago and in the coming weeks he can rebuild strength and spend more time in the shop. He is currently working on the exhaust and baffling. I asked whether he used a kit for baffling, and he said no. He enjoys the challenge of making a custom baffling set for each installation, and is also somewhat particular about how he wants it to turn out. He says, “When you already have an airplane to fly, it doesn’t matter that it takes a little longer.” He enjoys building things and likes the rewarding feedback that comes from consistent input to a project. There is fun and a sense of accomplishment in seeing it come together. The new Companion has several interesting features including Kevlar composite floorboards. Their translucence is displayed with the belly pan removed. The door skins are carbon fiber, and the mouse door hinge is a strip of Kevlar layup.
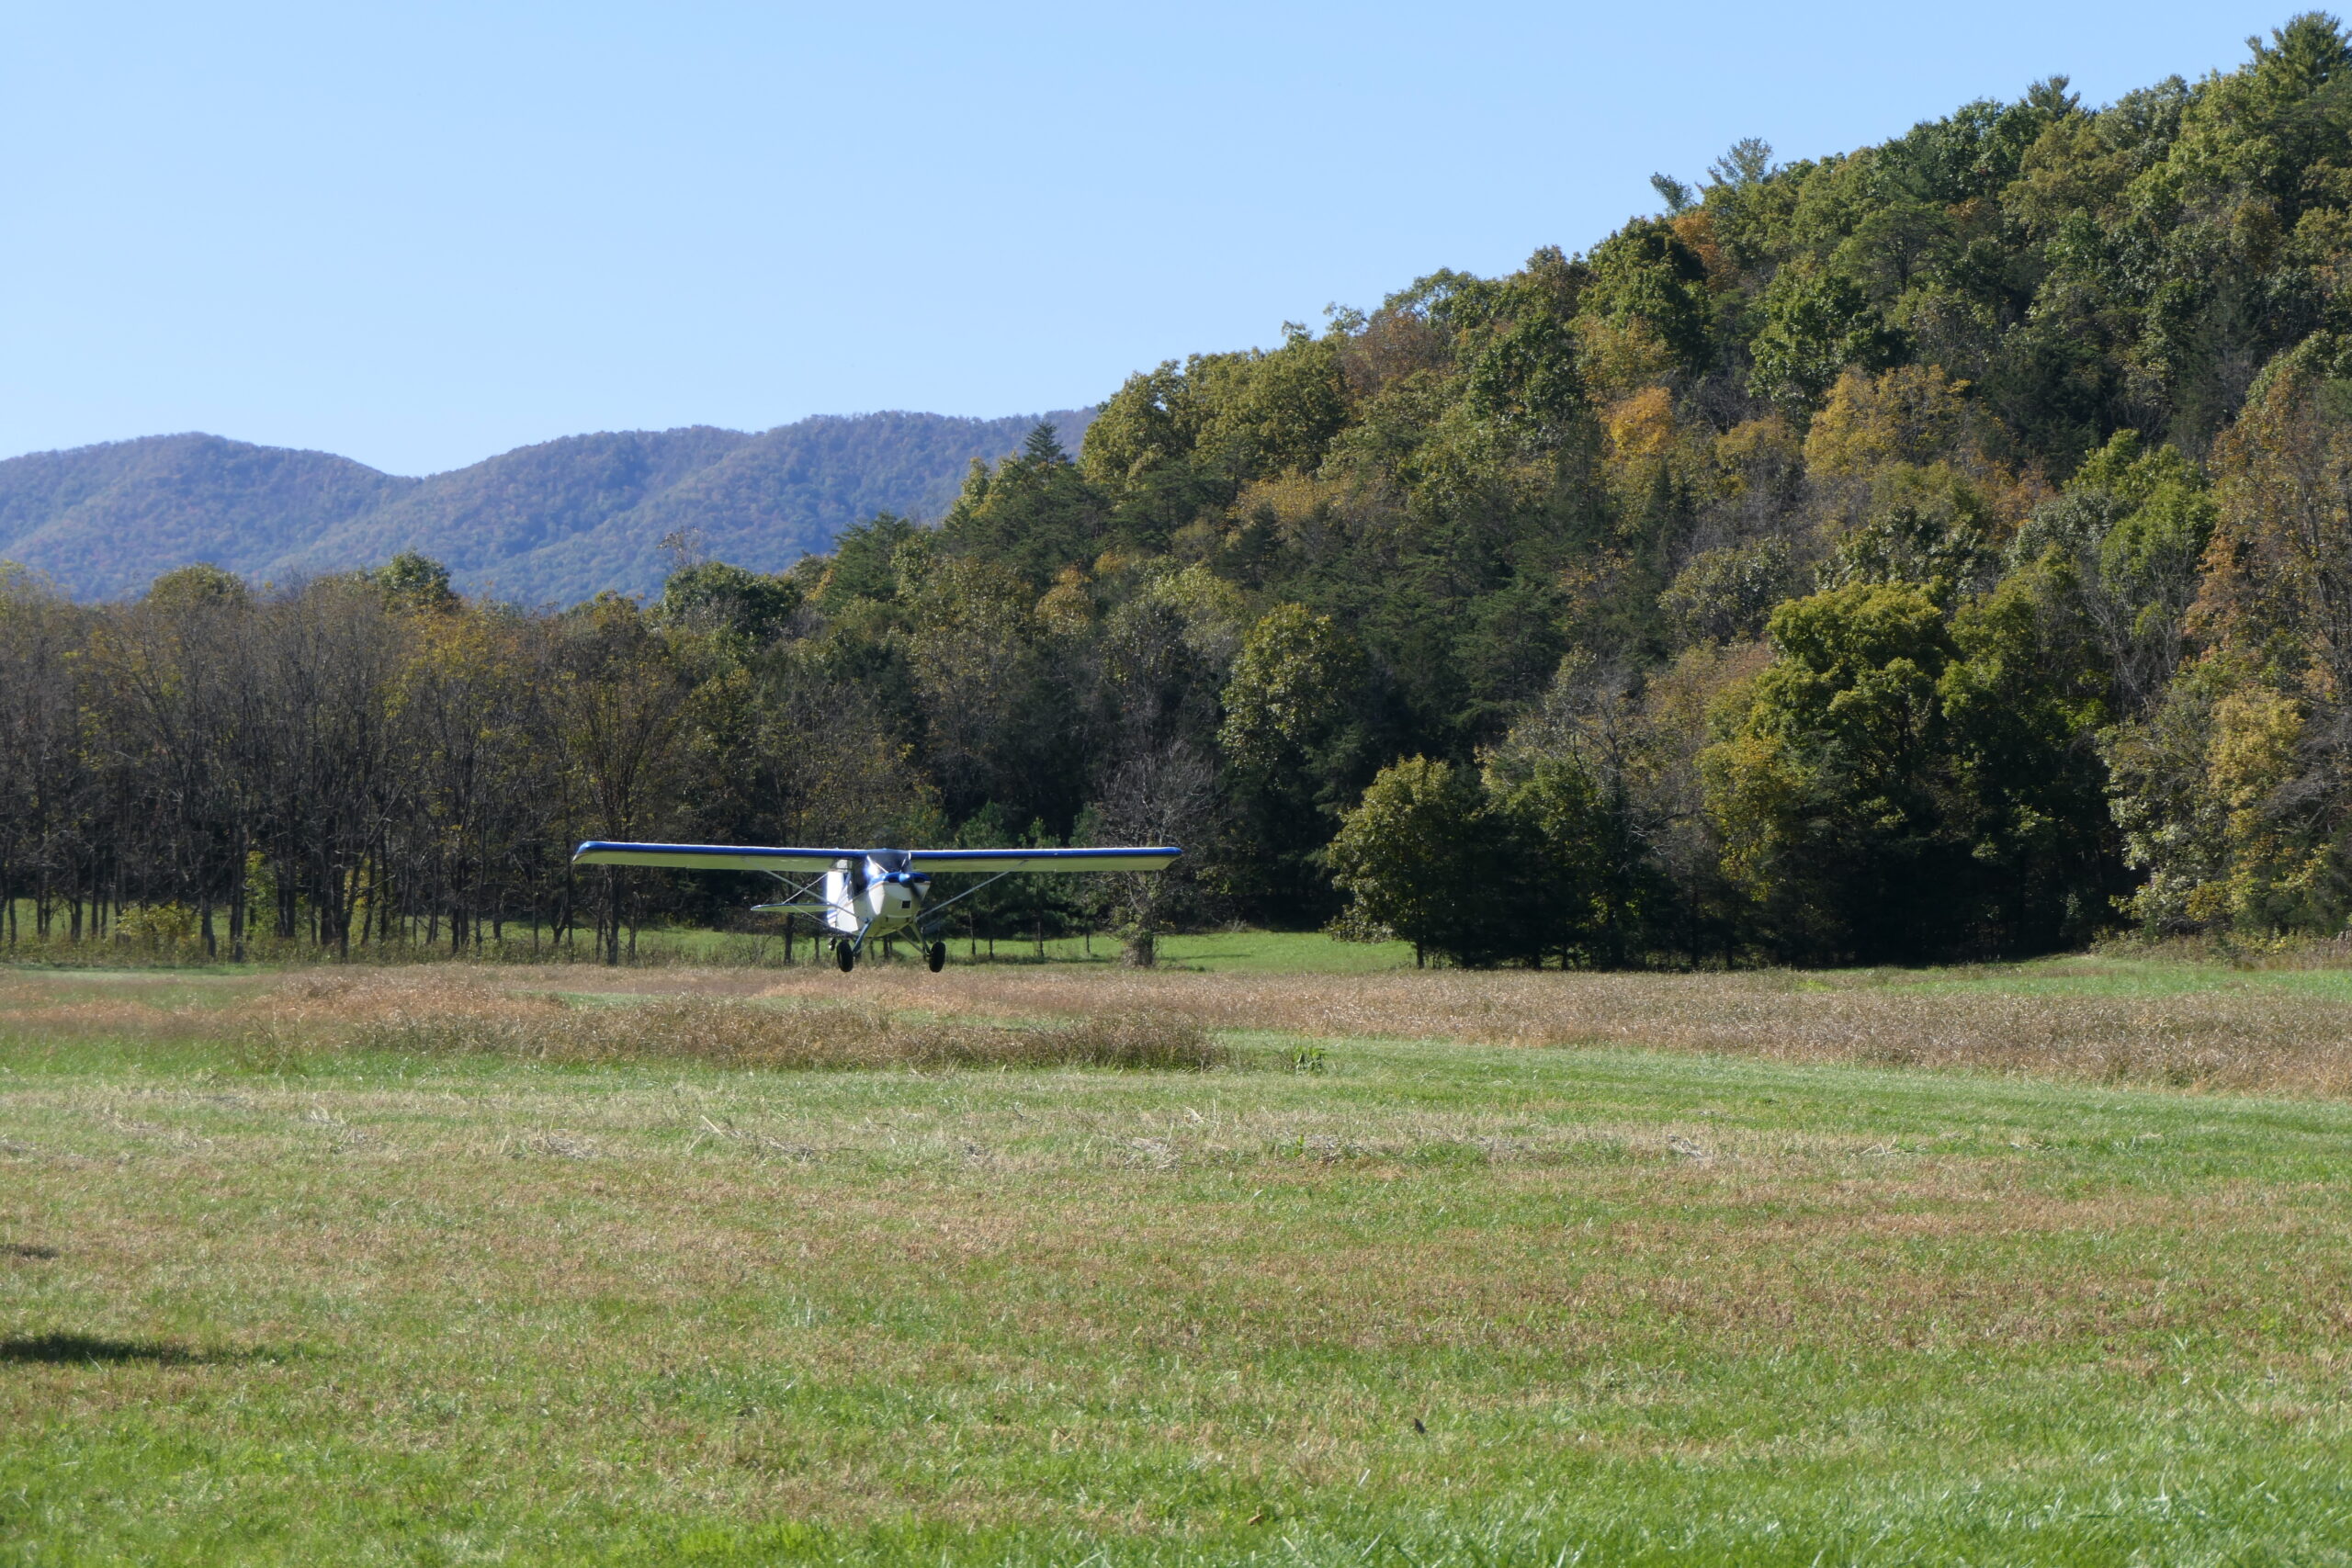
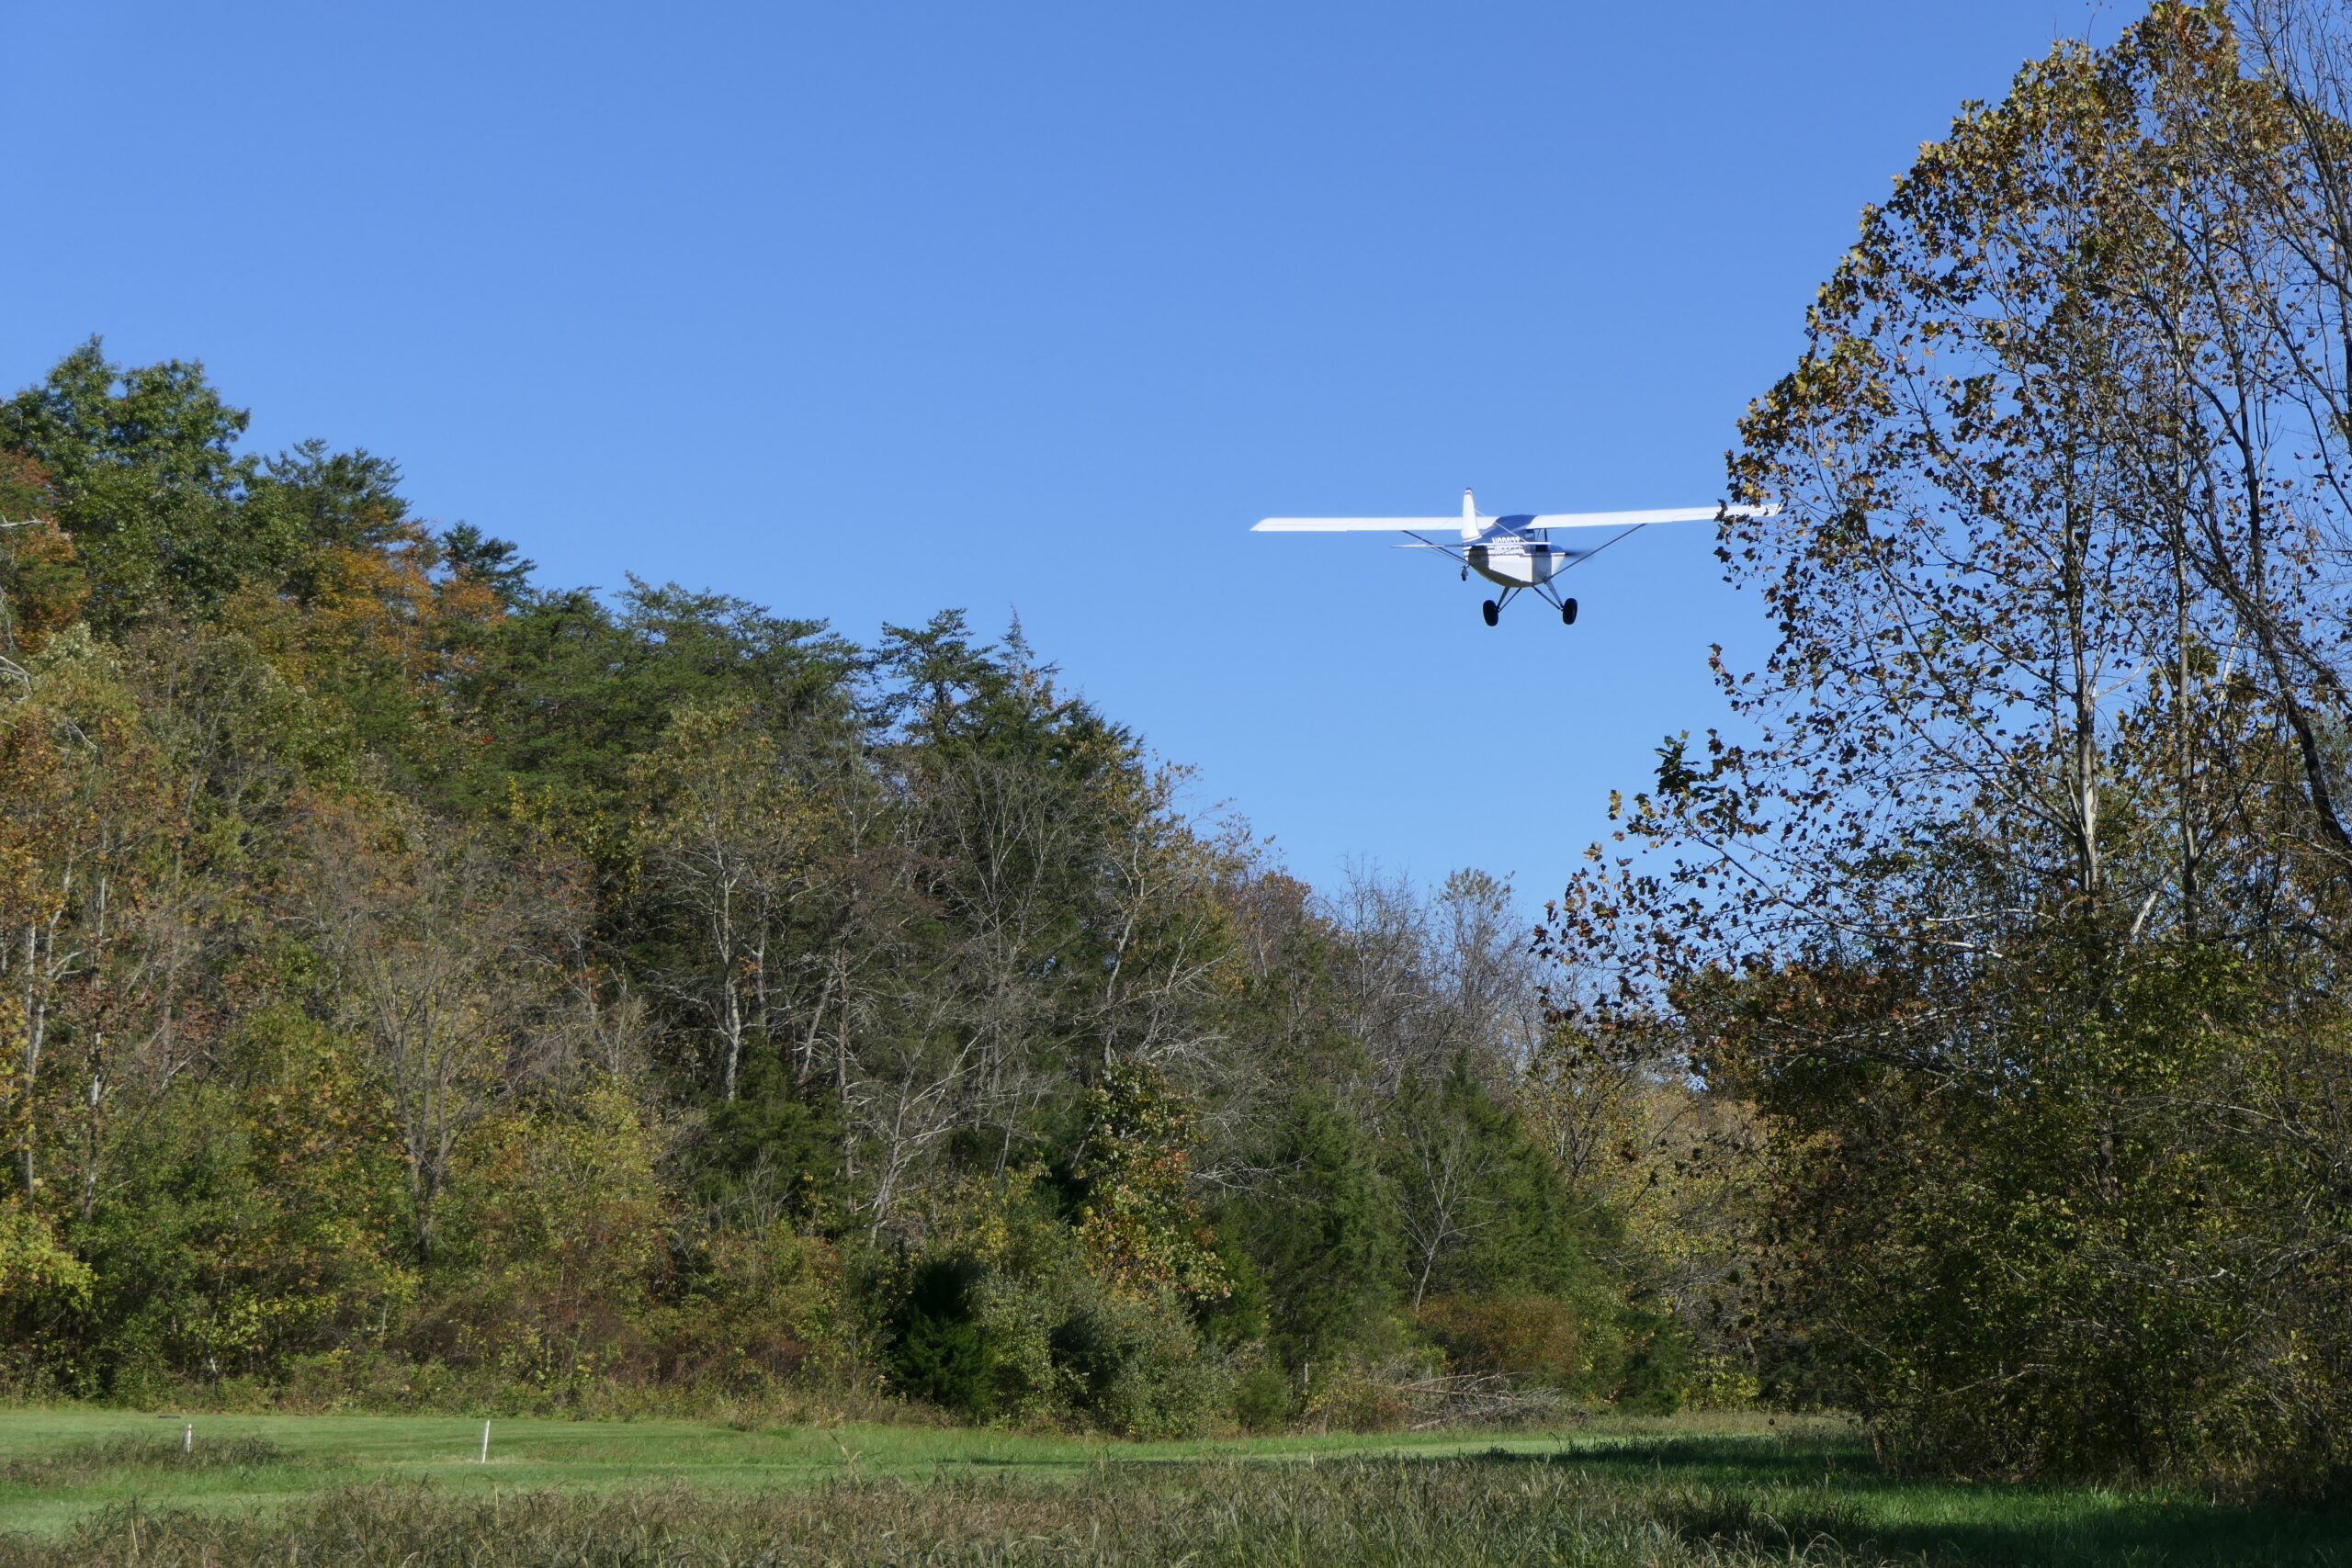
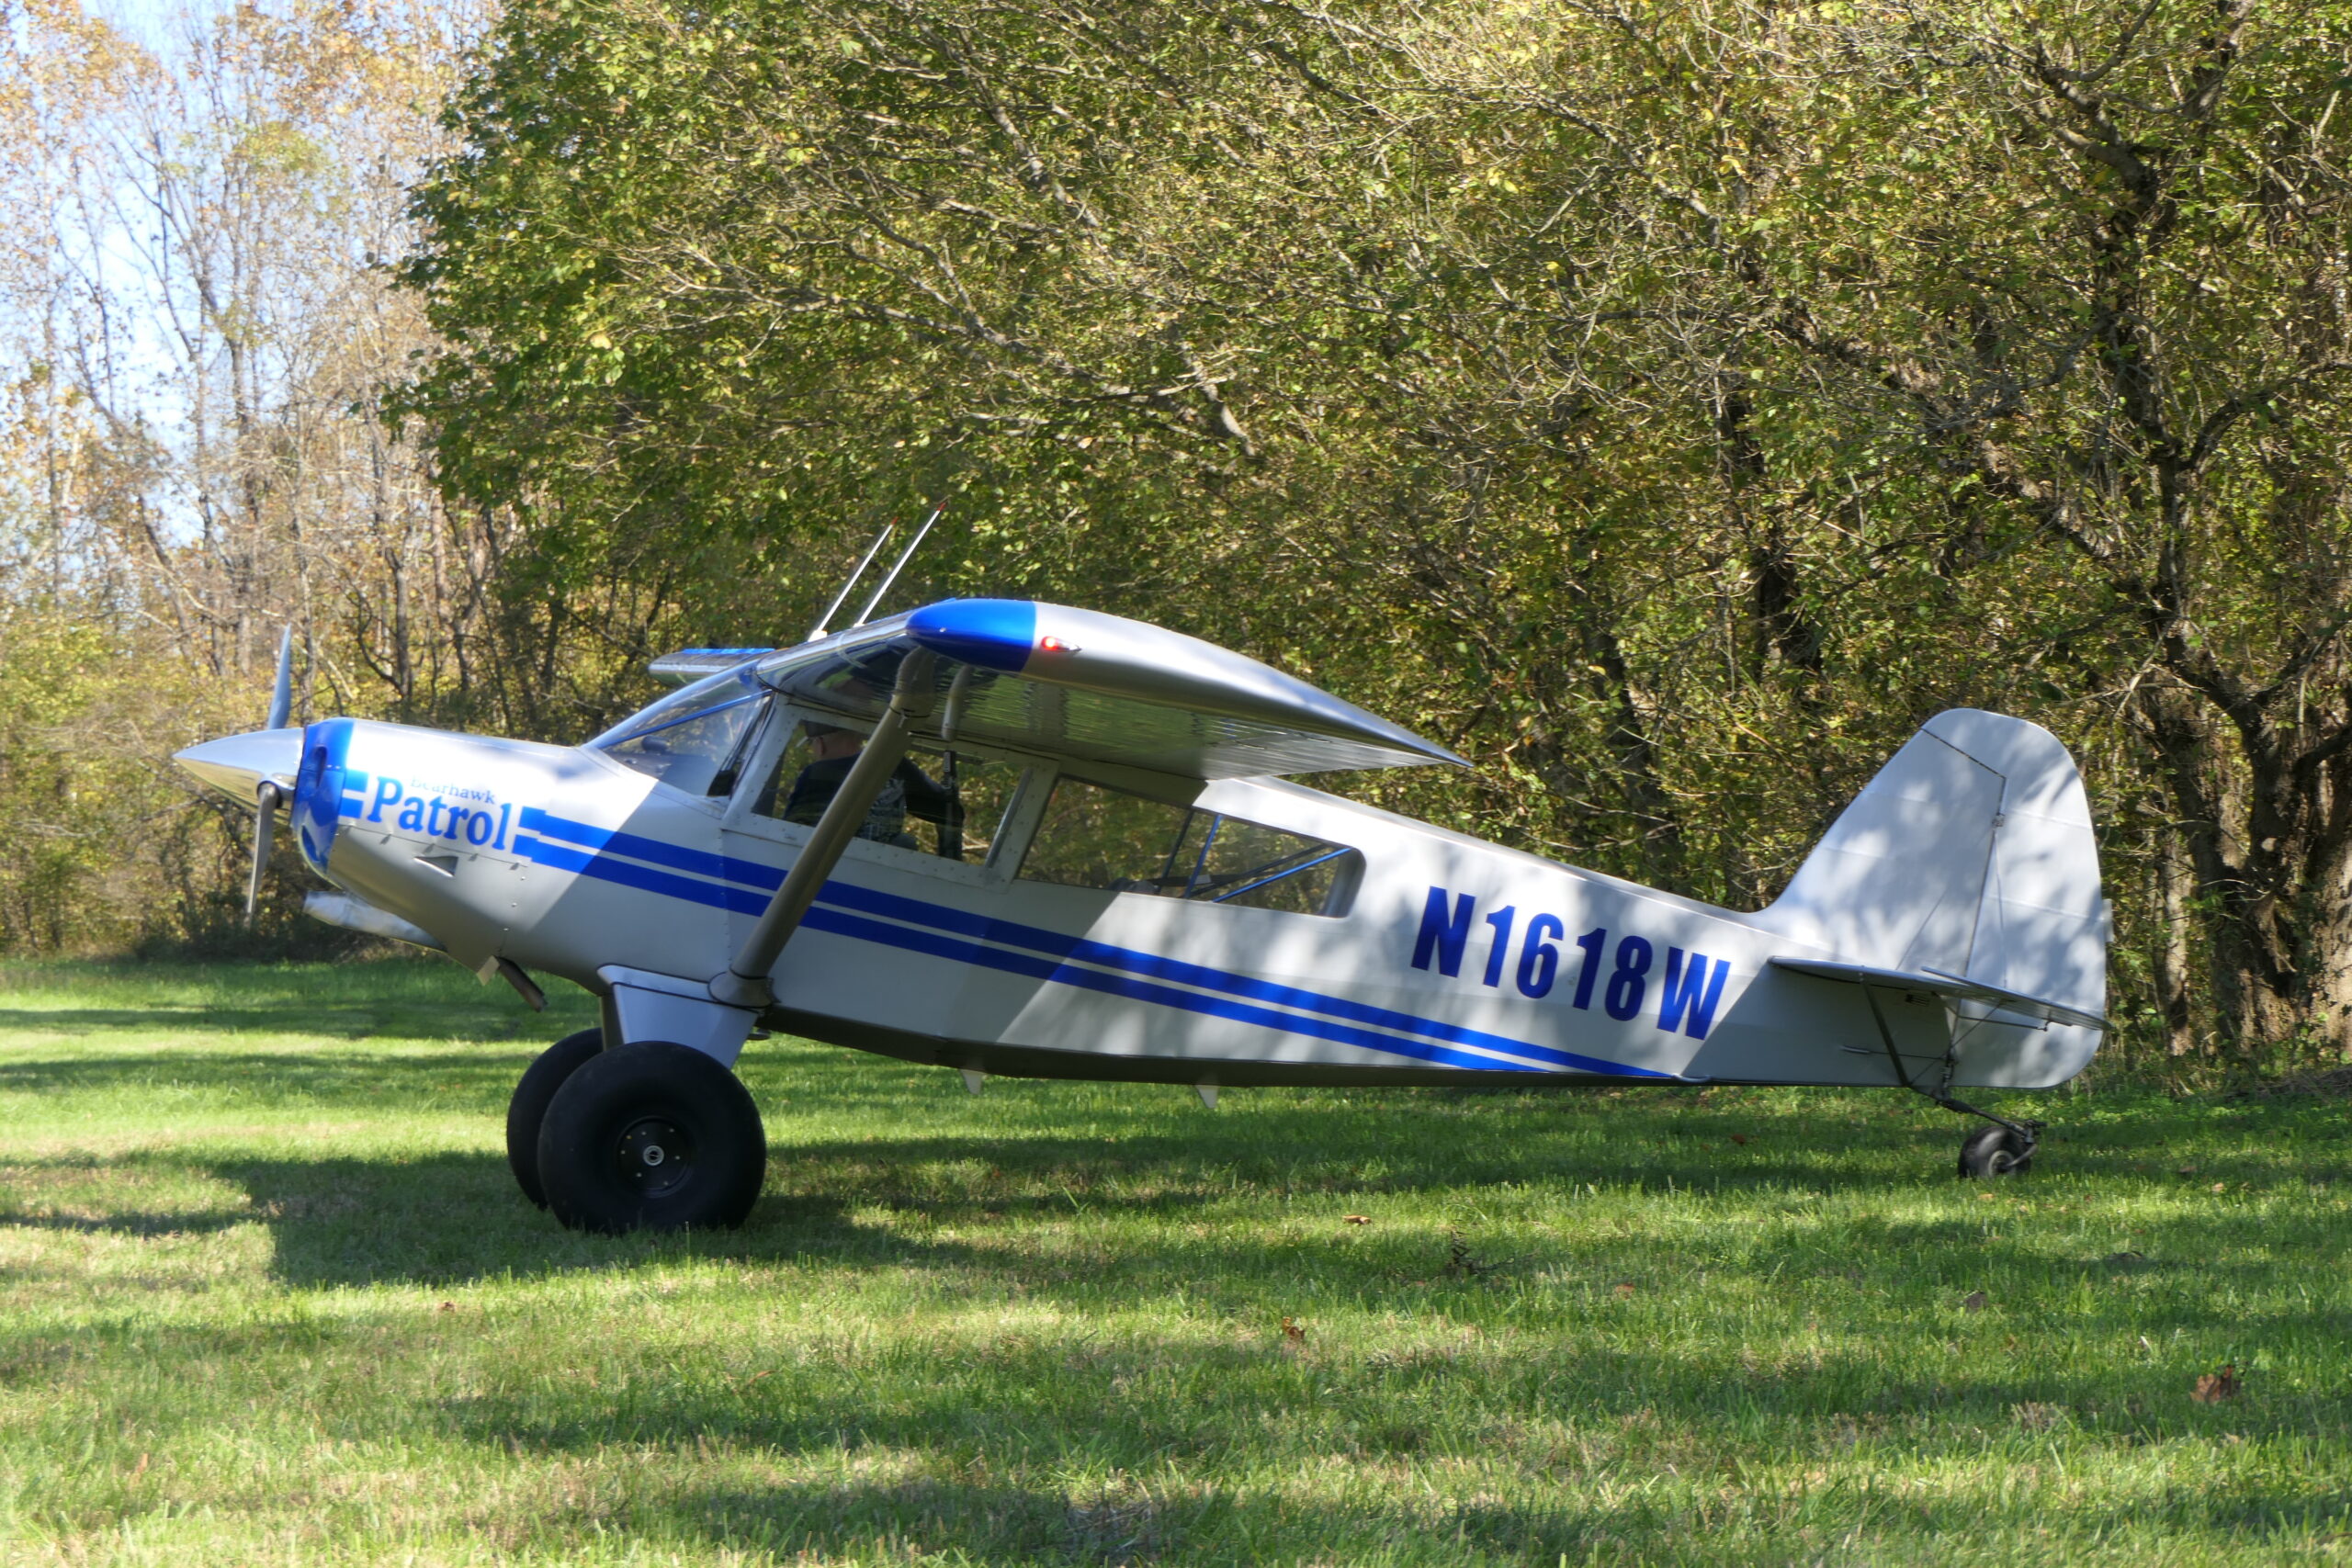
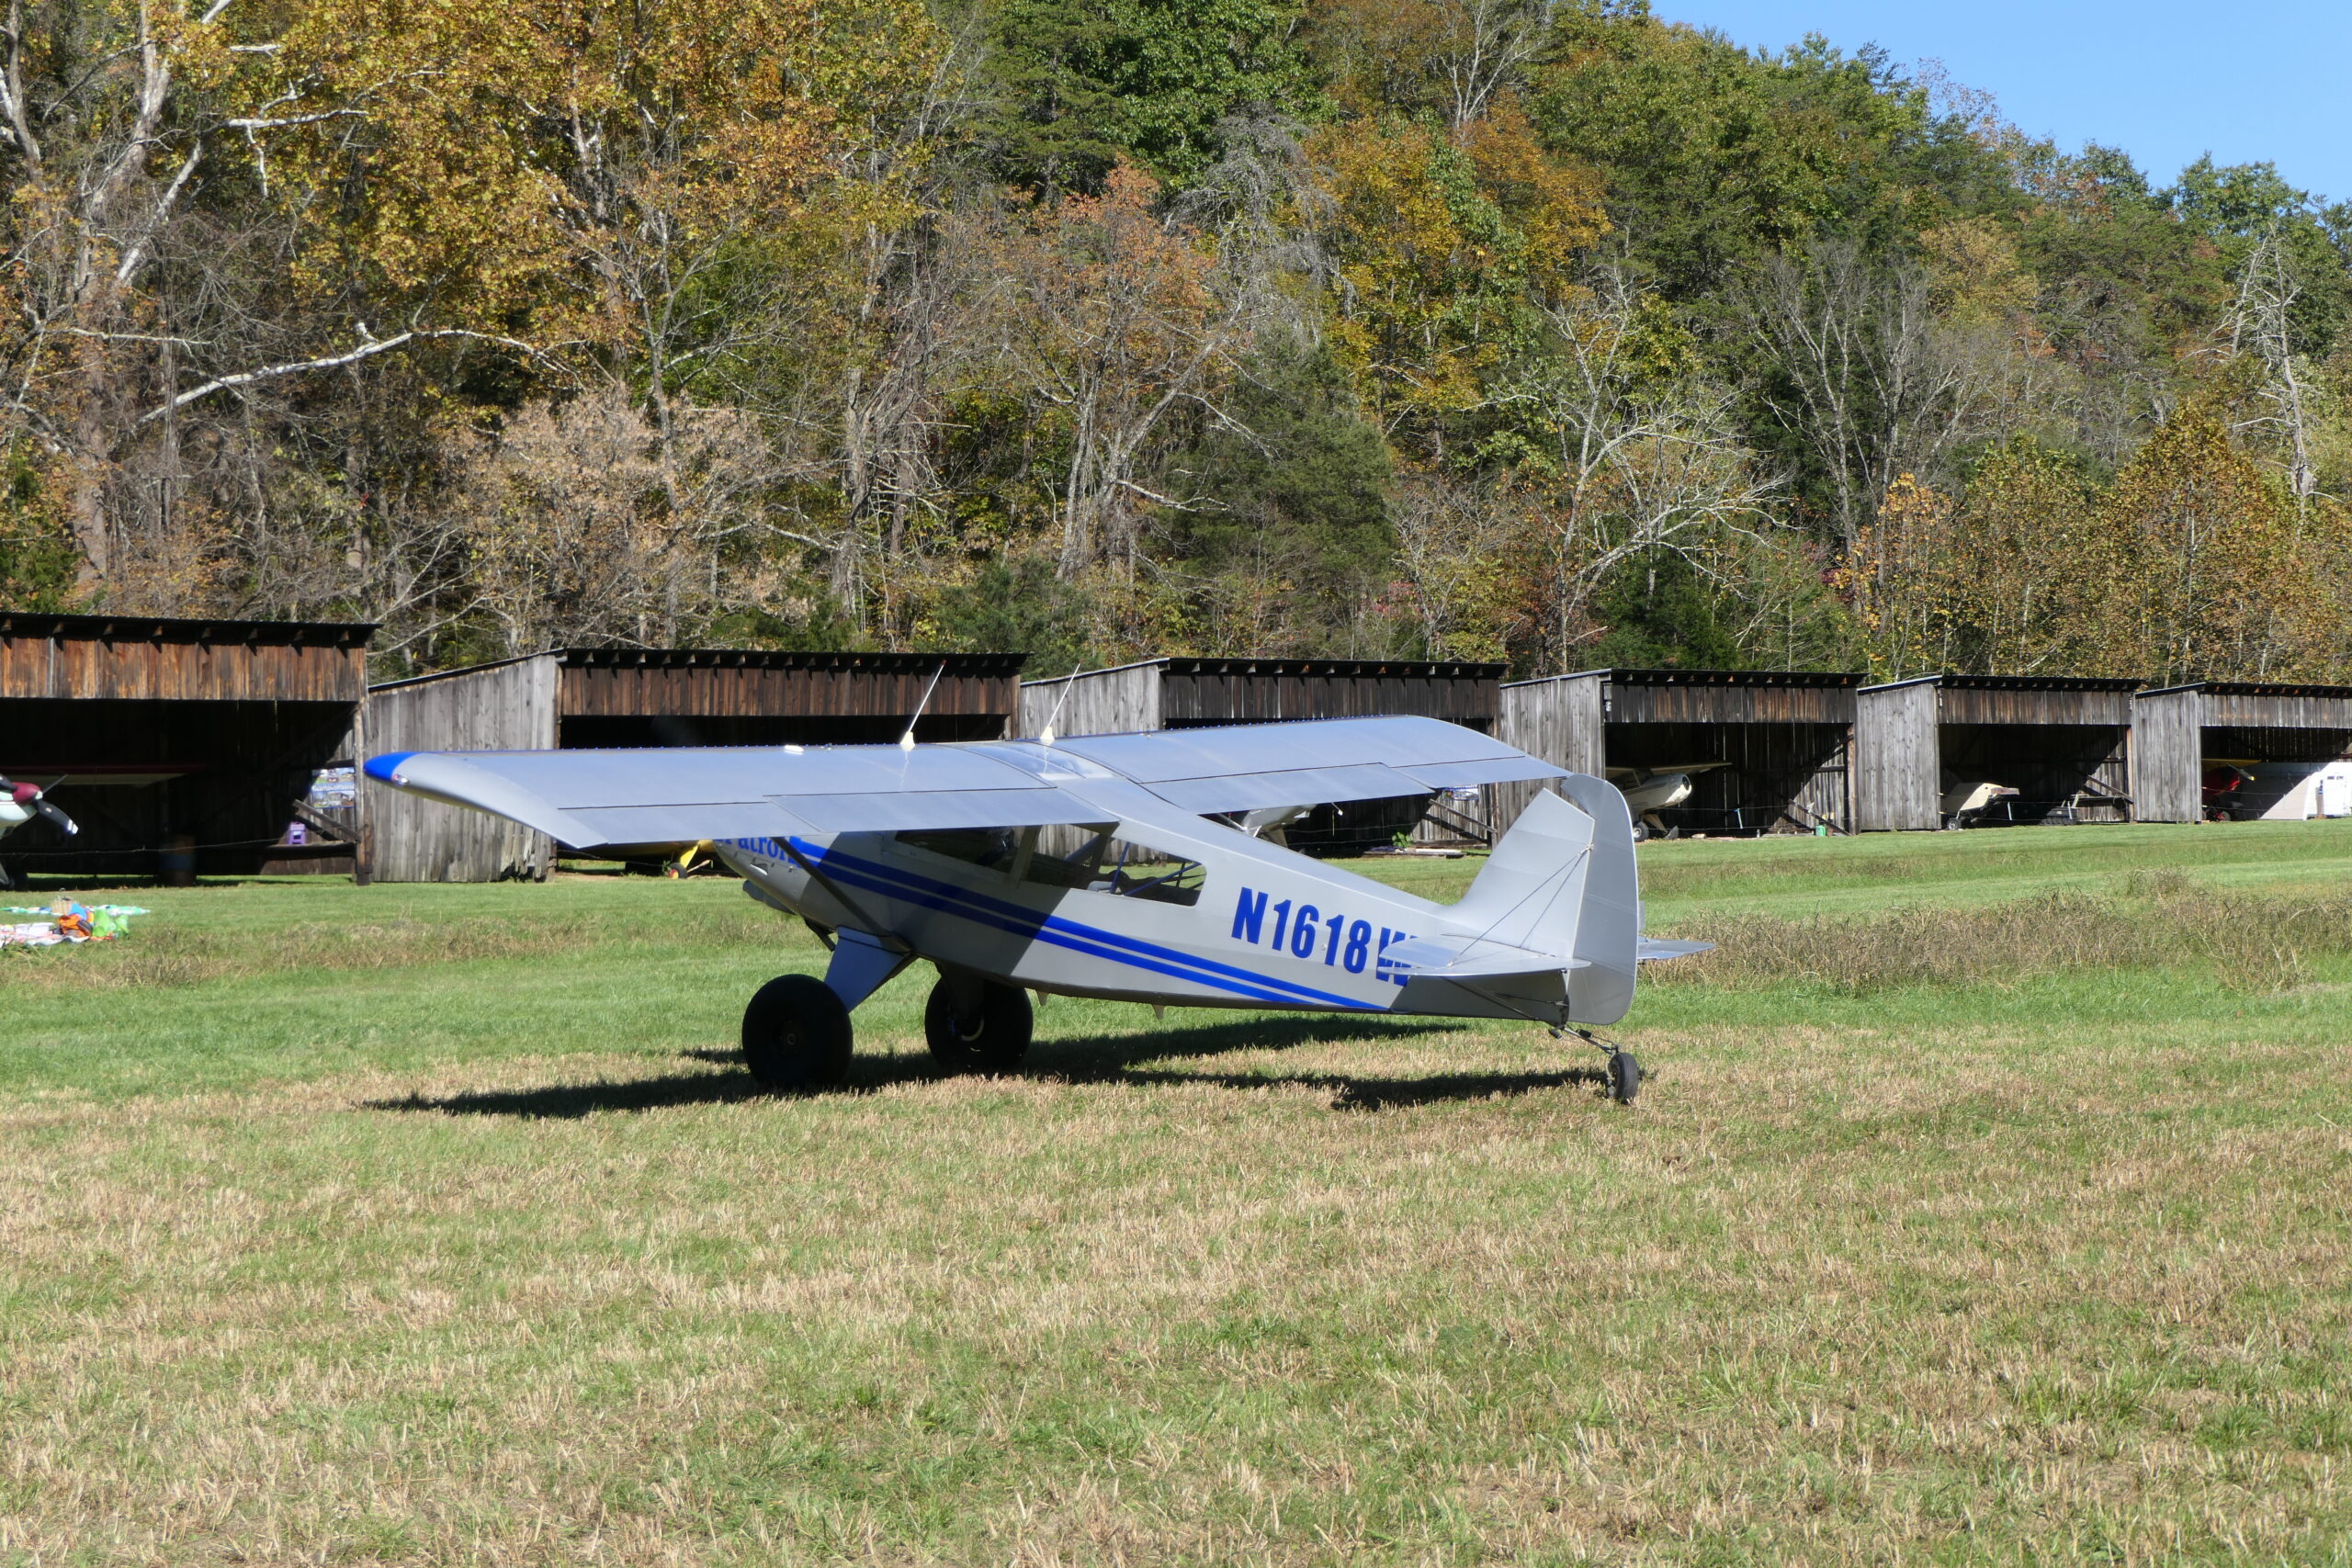
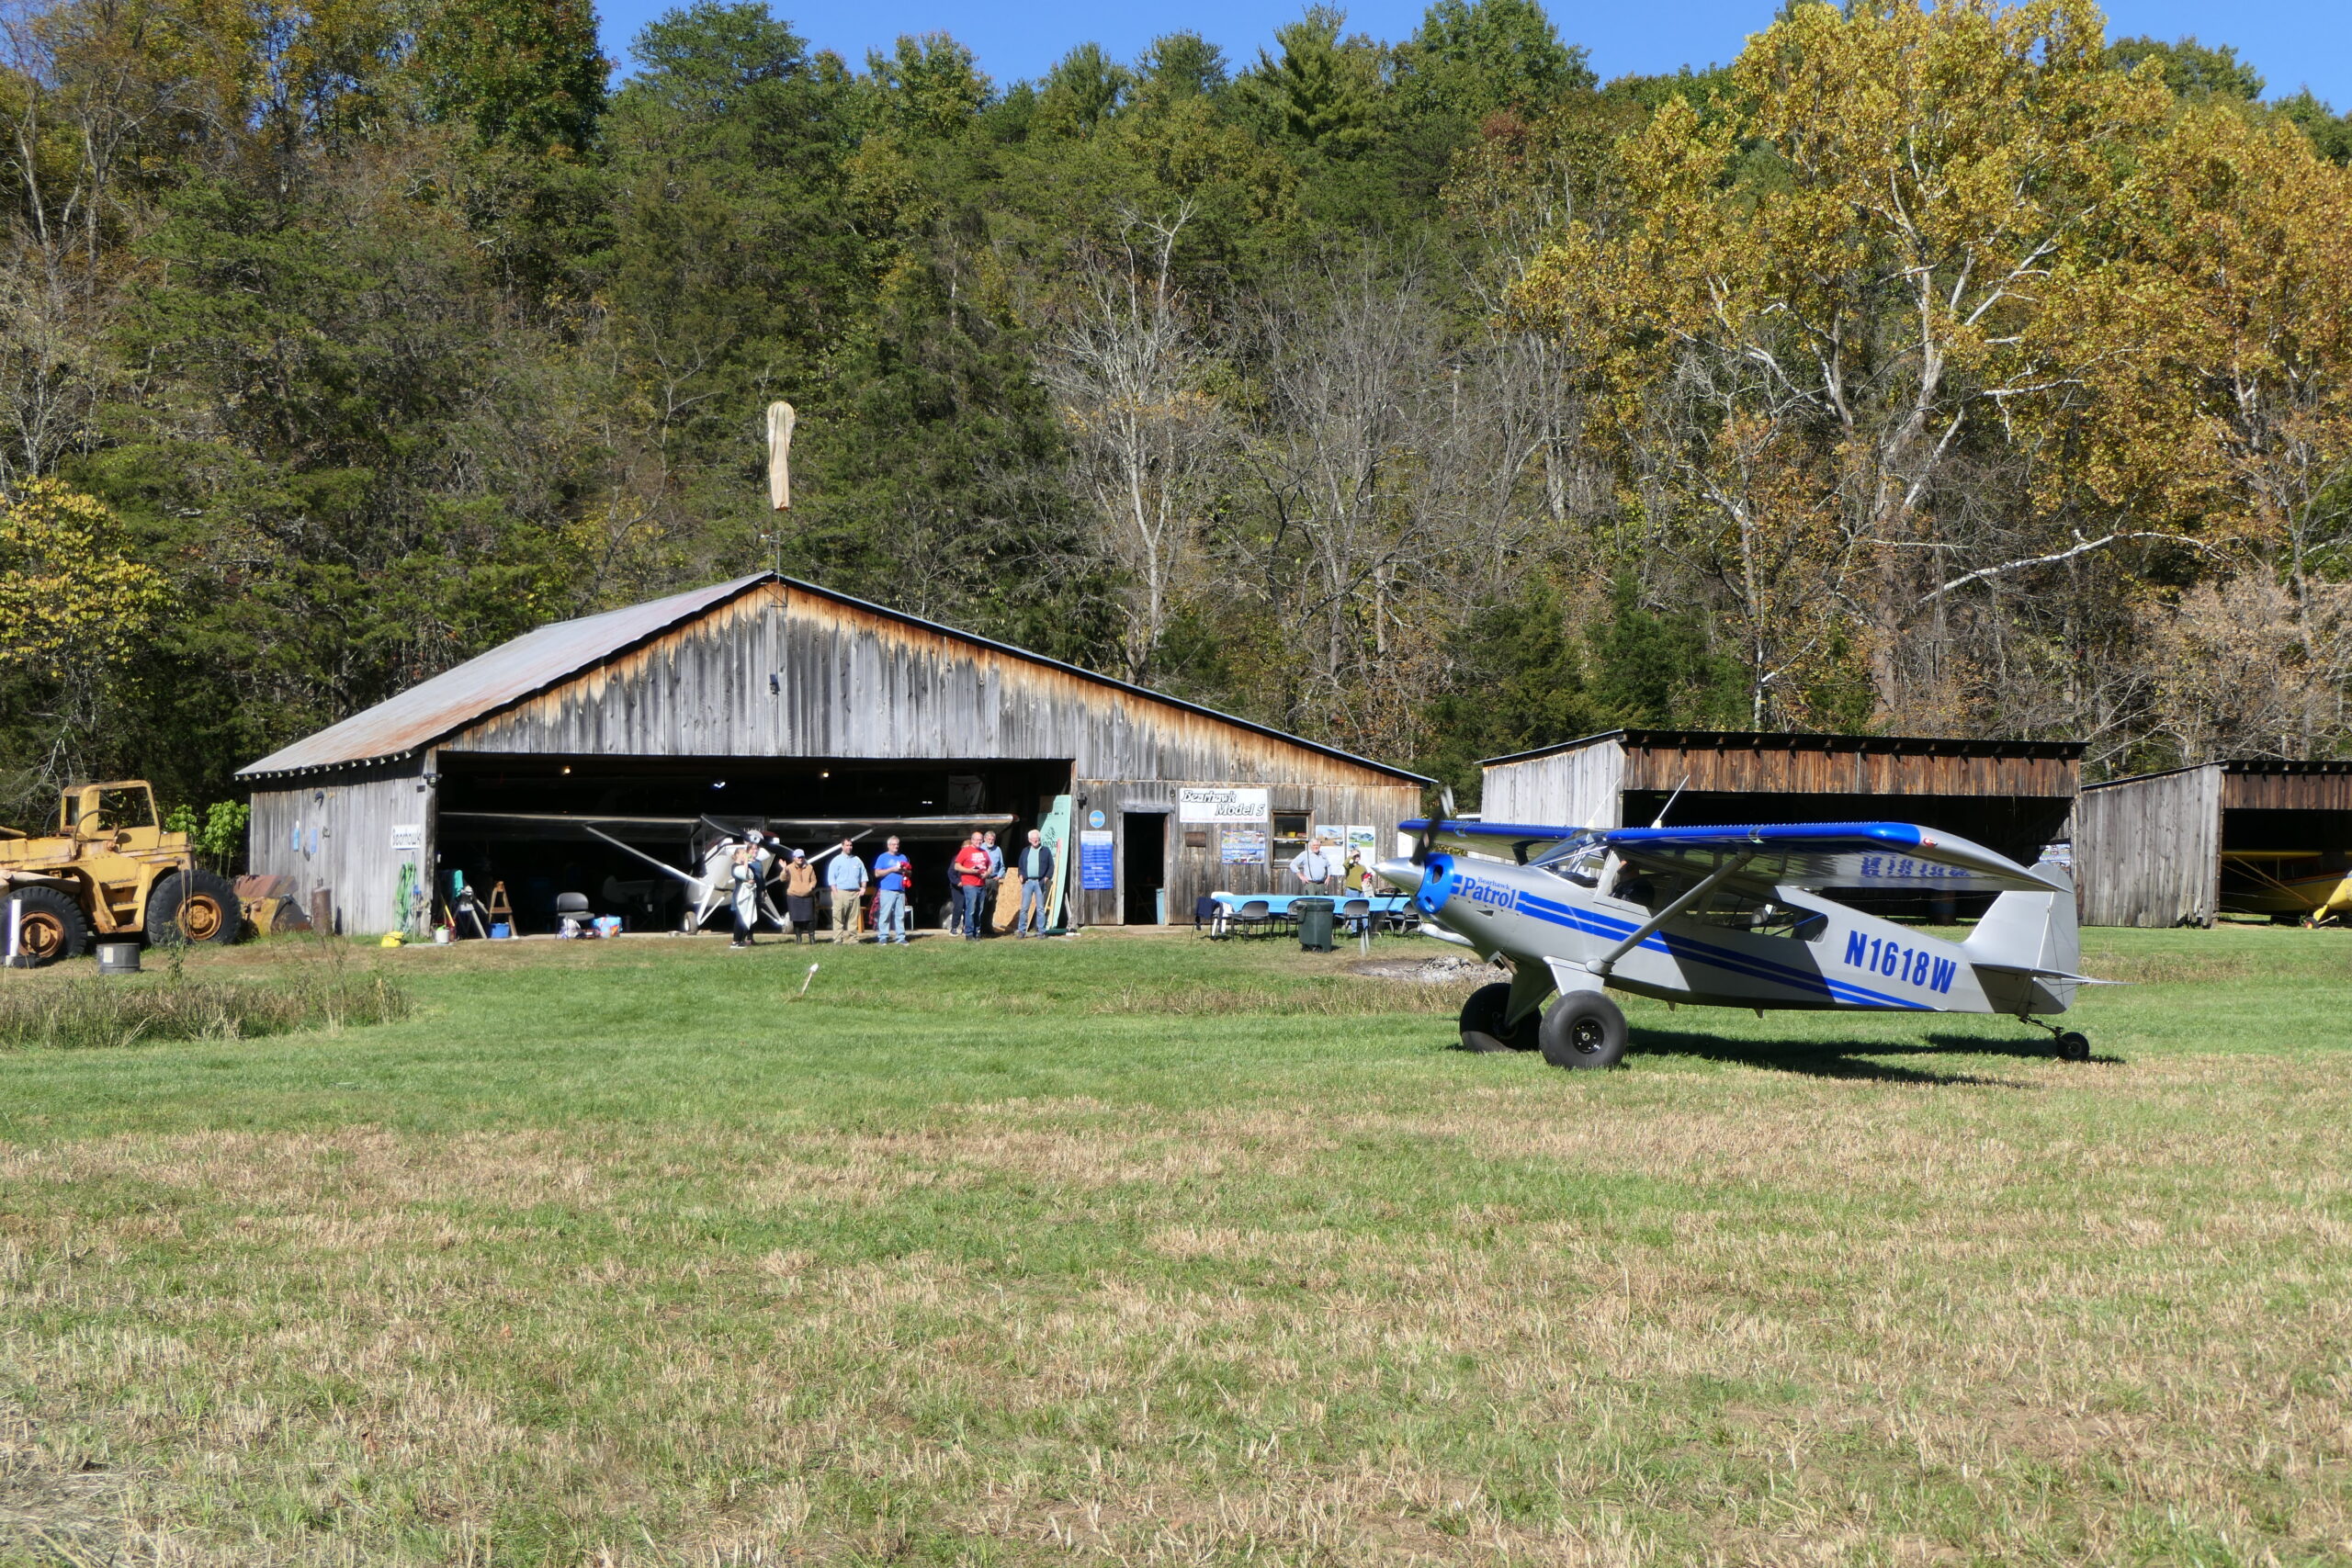
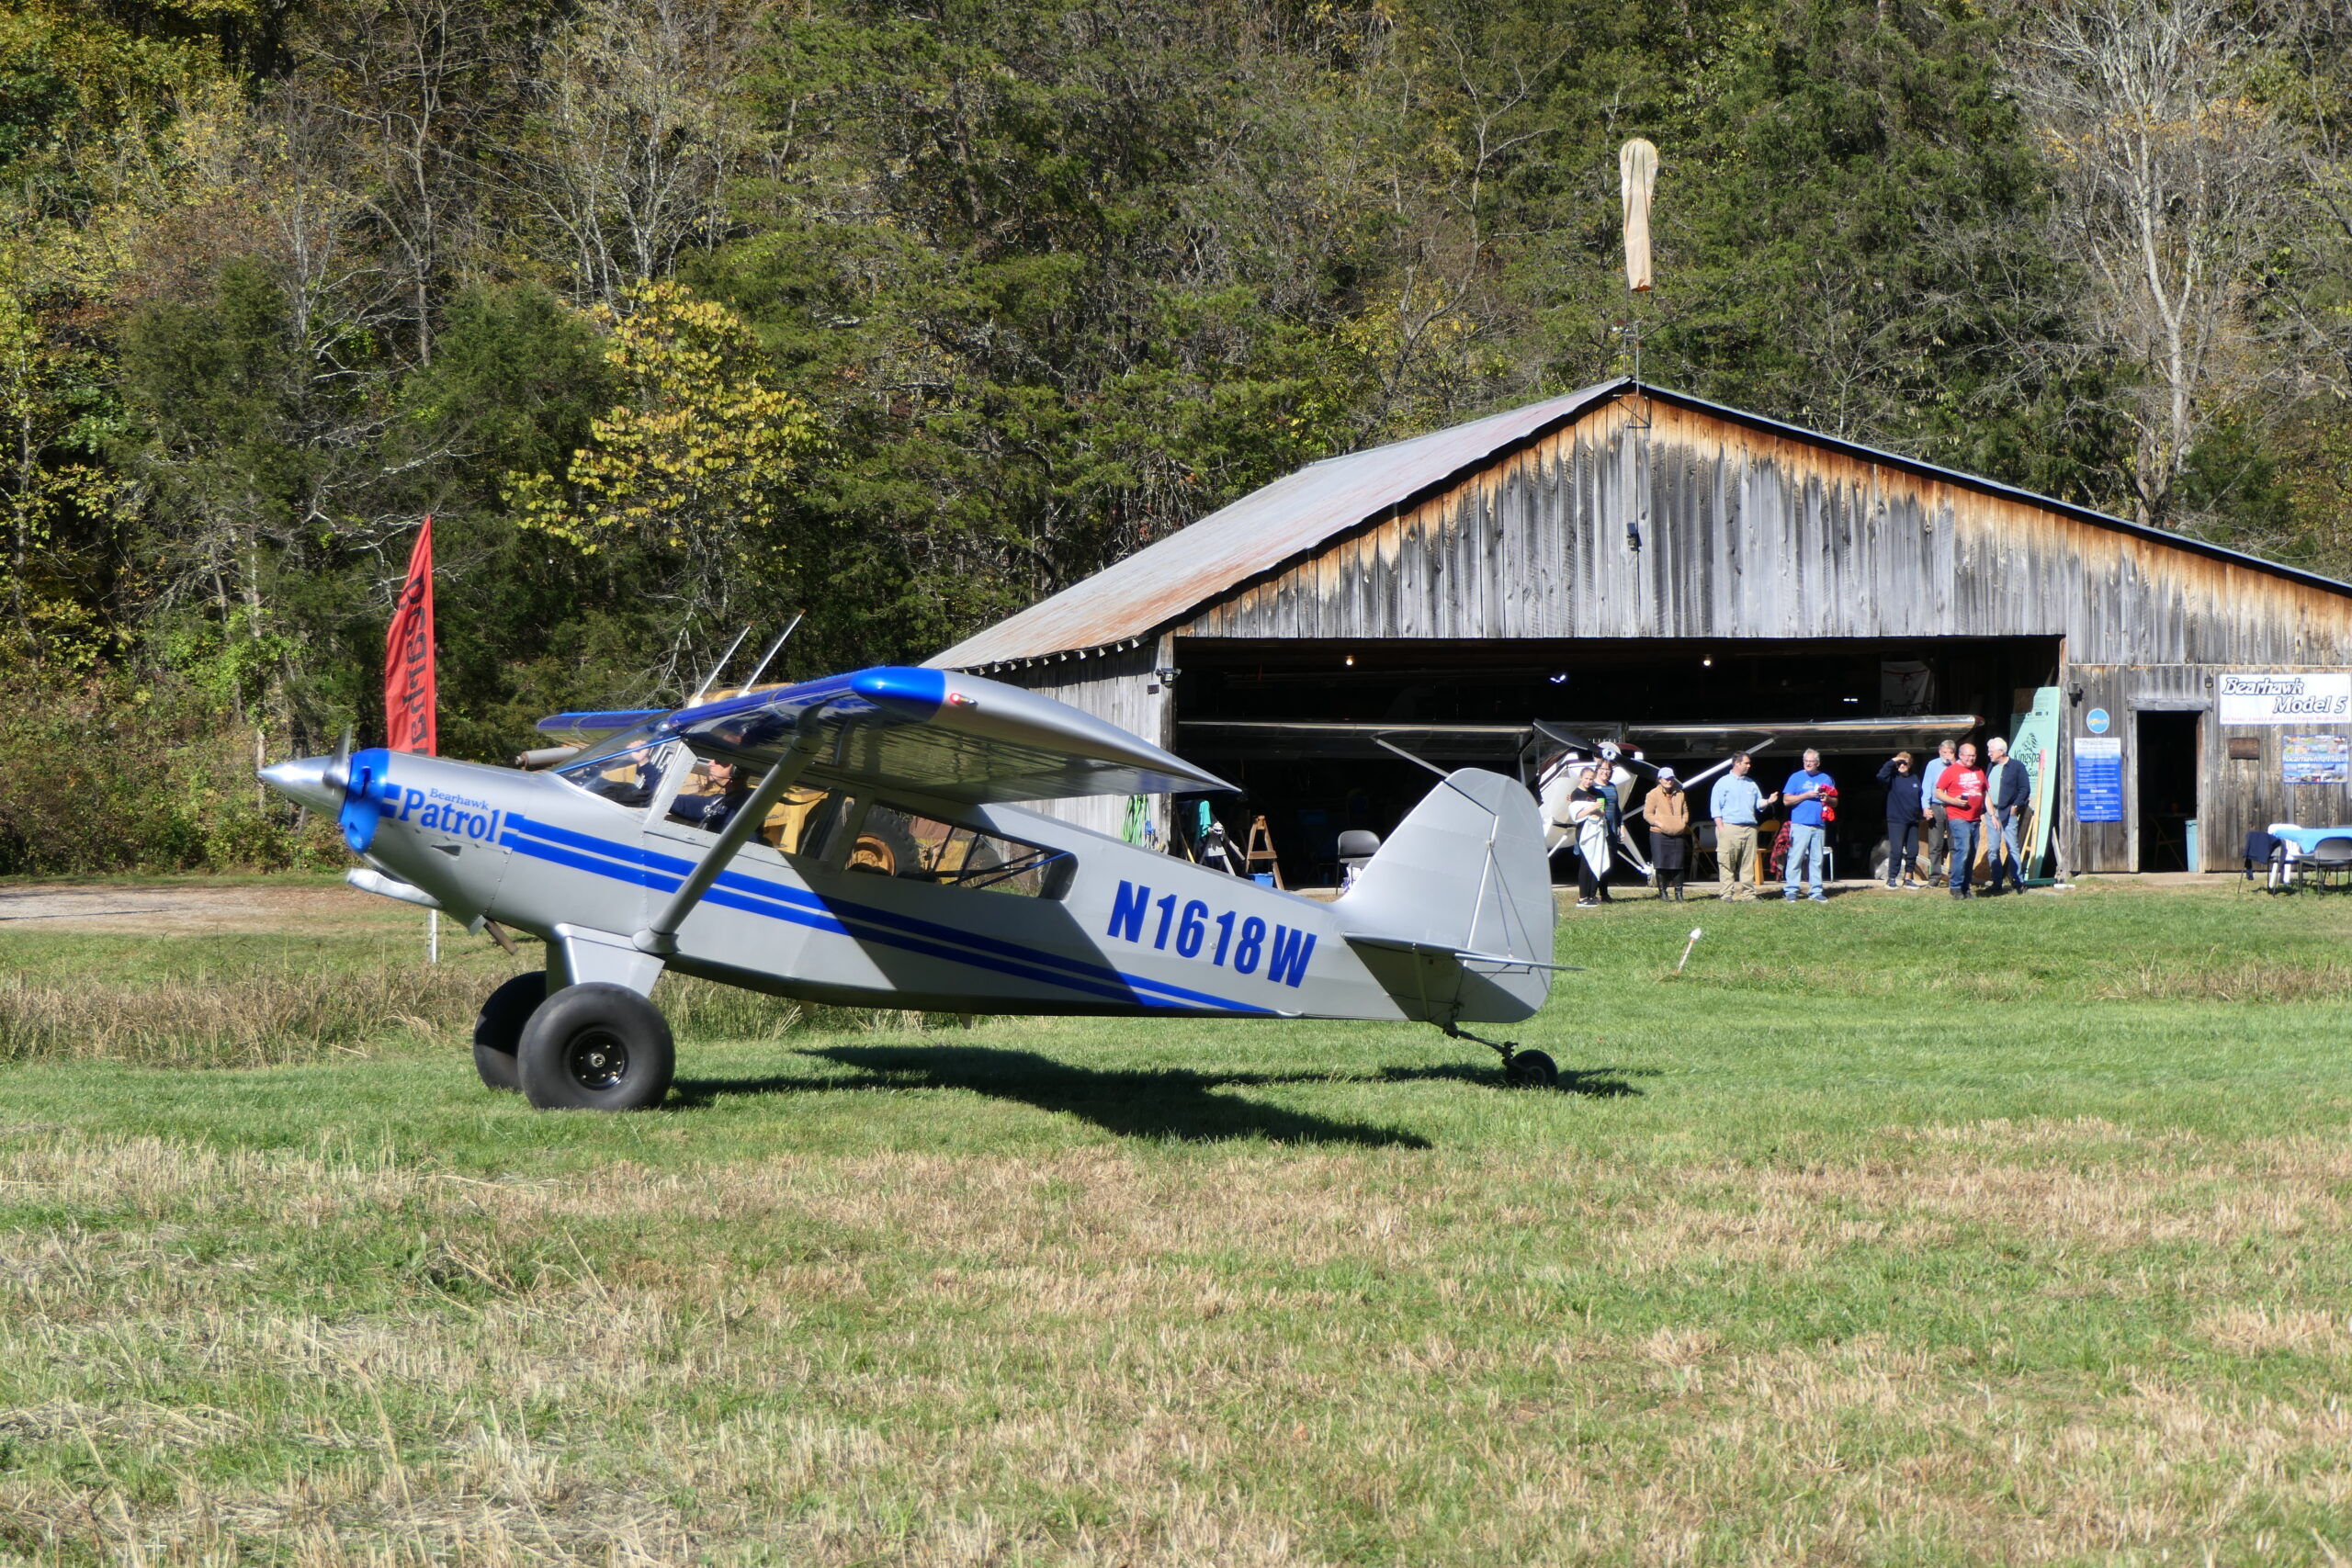
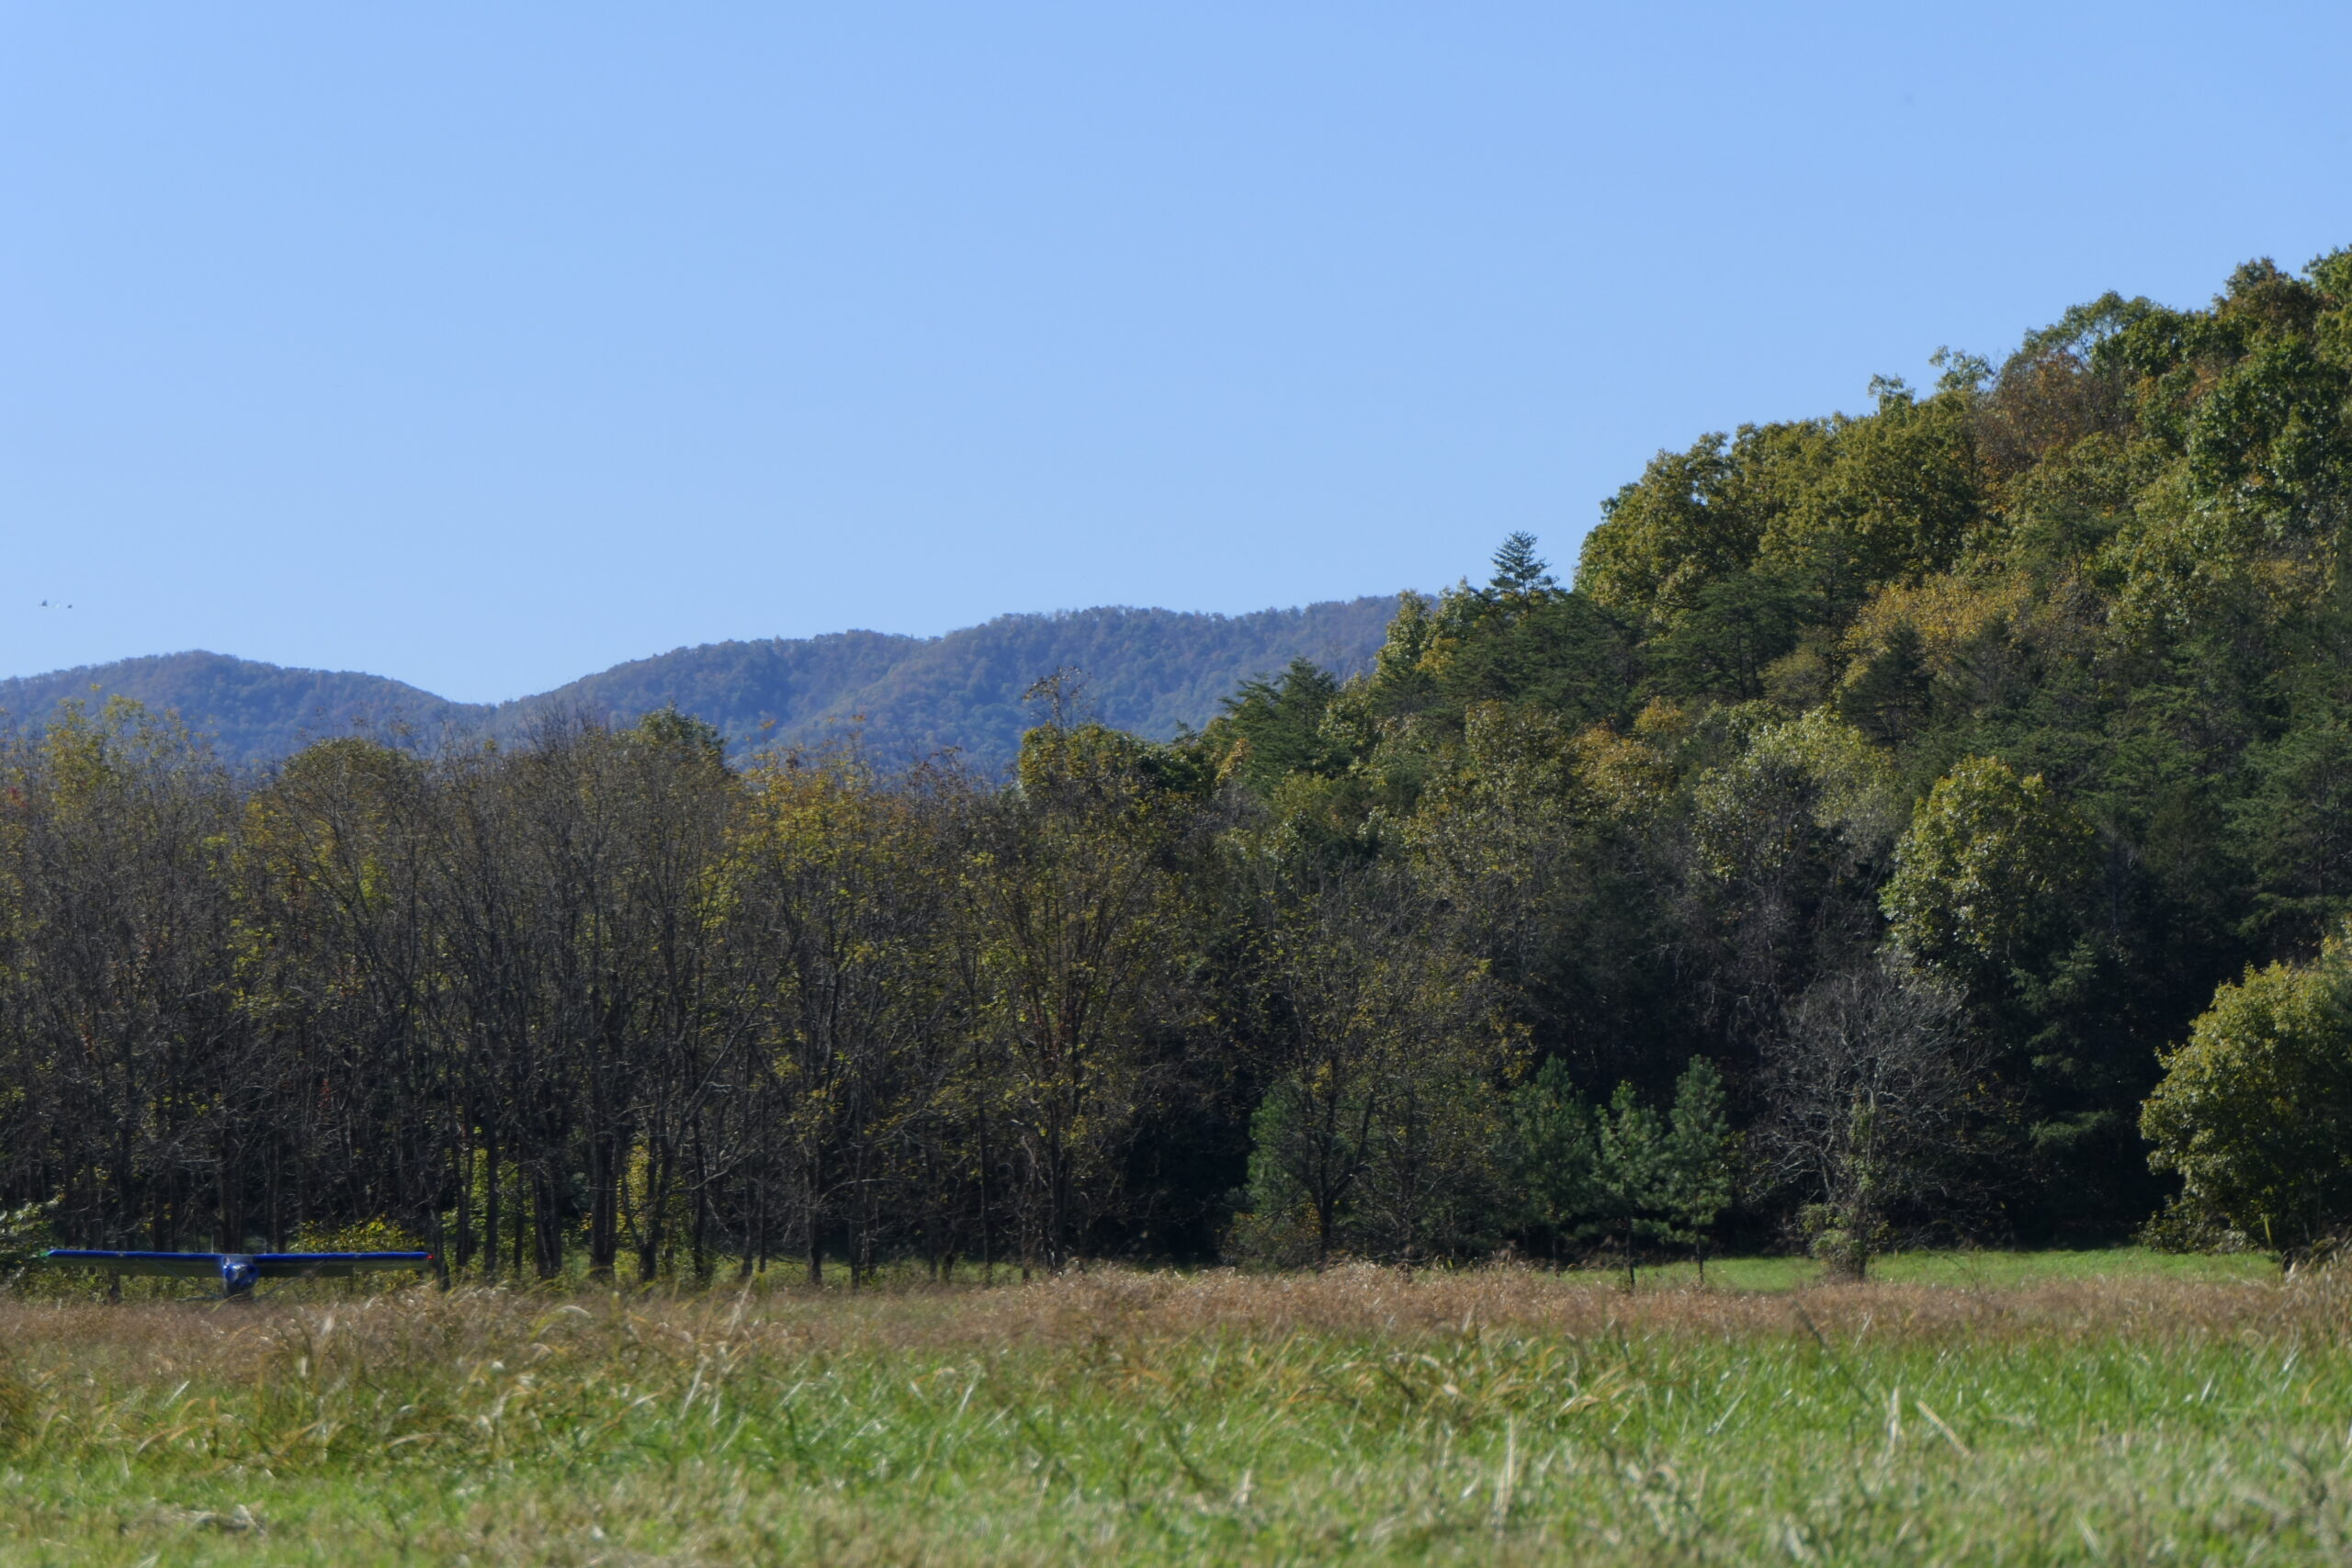
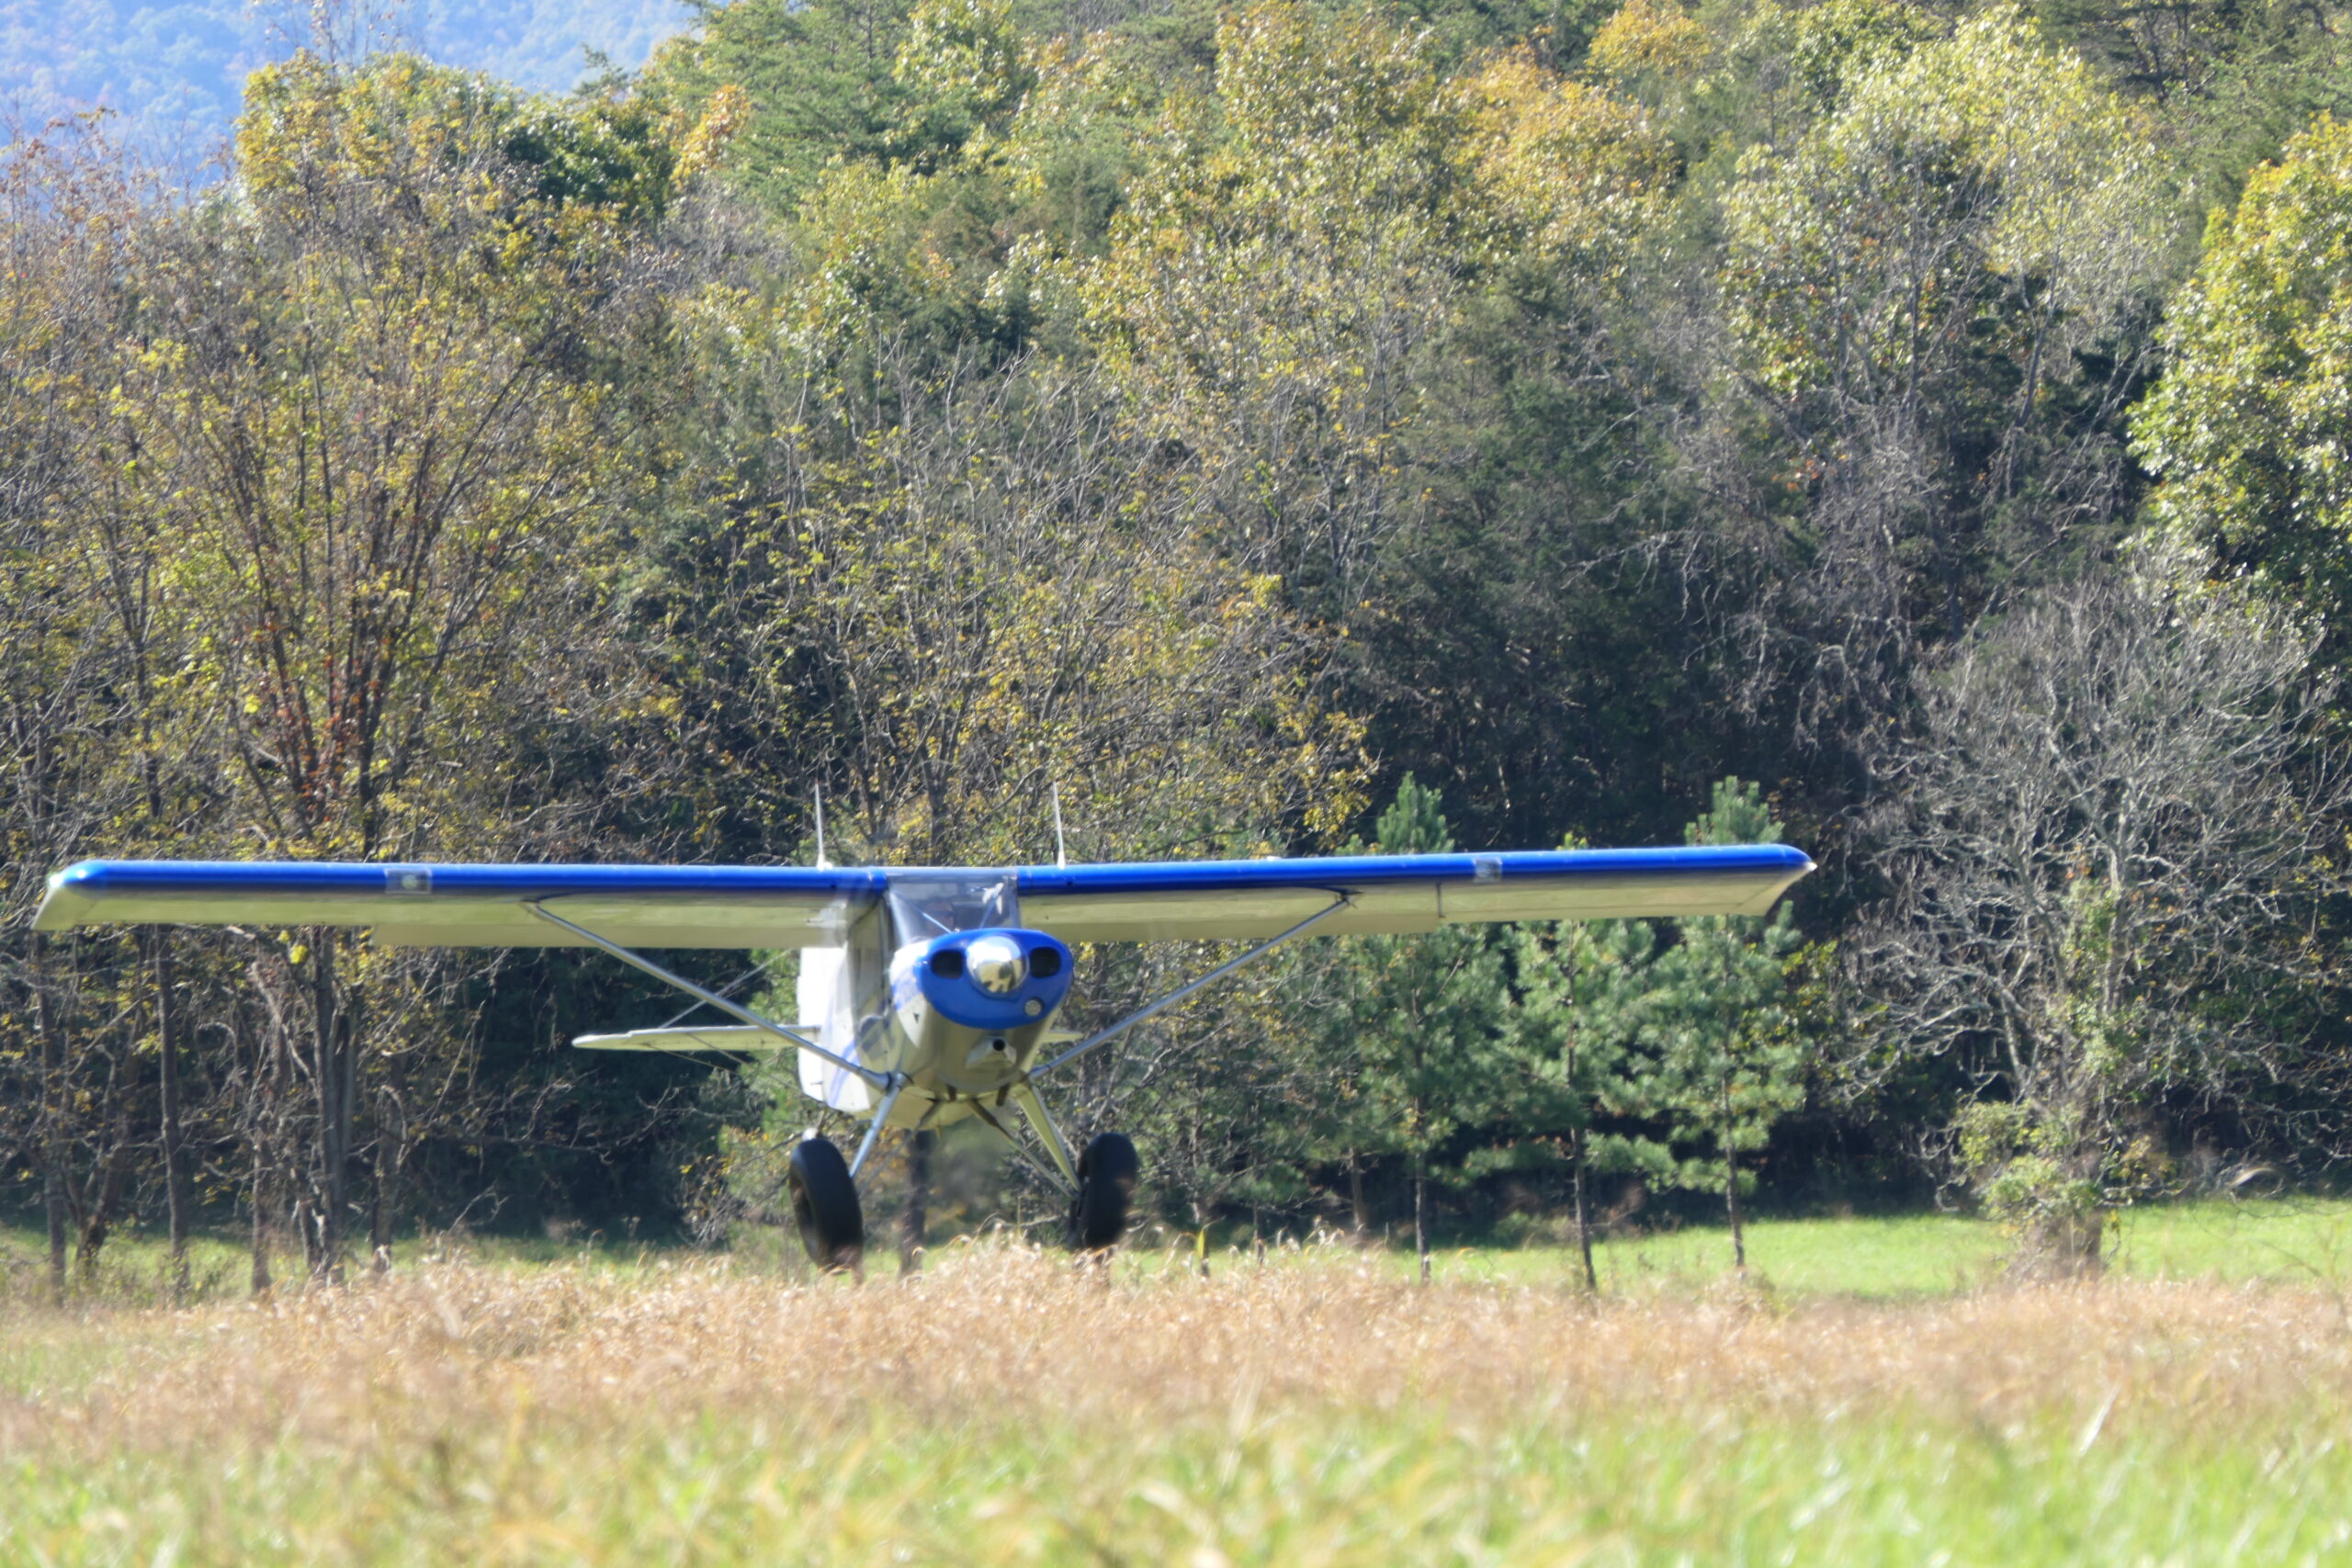
Bob’s 2024 Bearhawk Fly-in
Source: 2024 Q4 Beartracks, Jared Yates
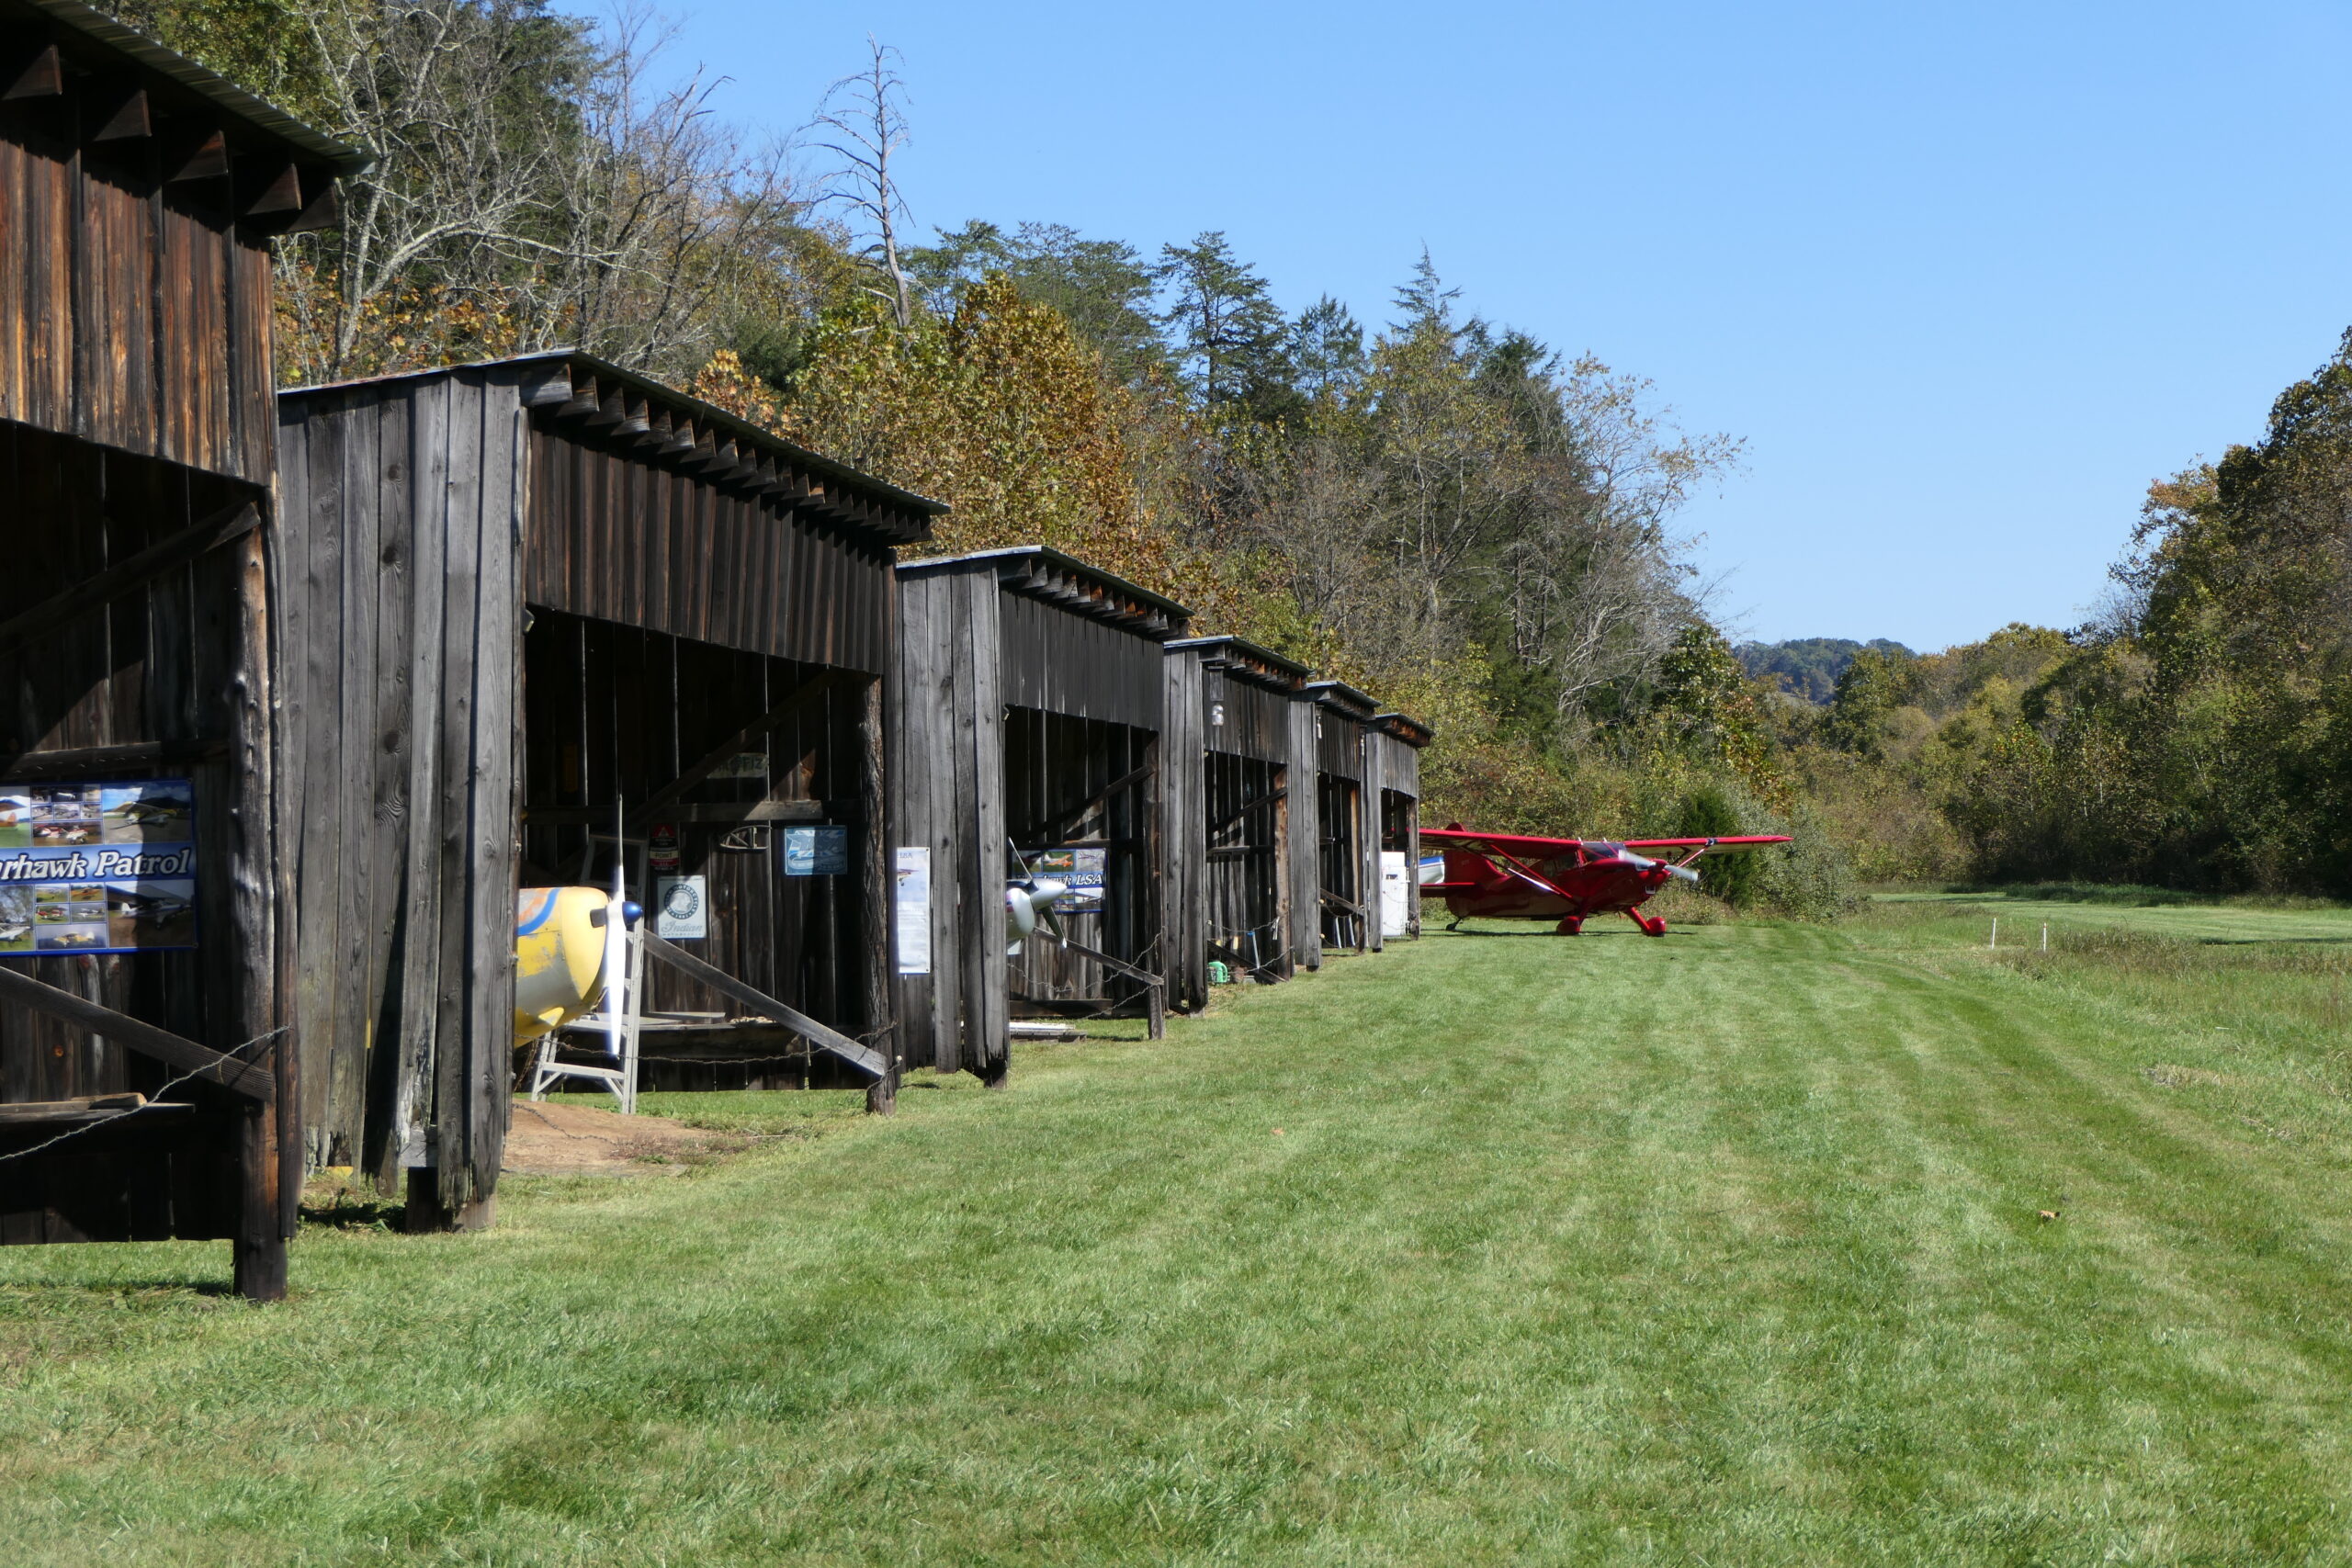
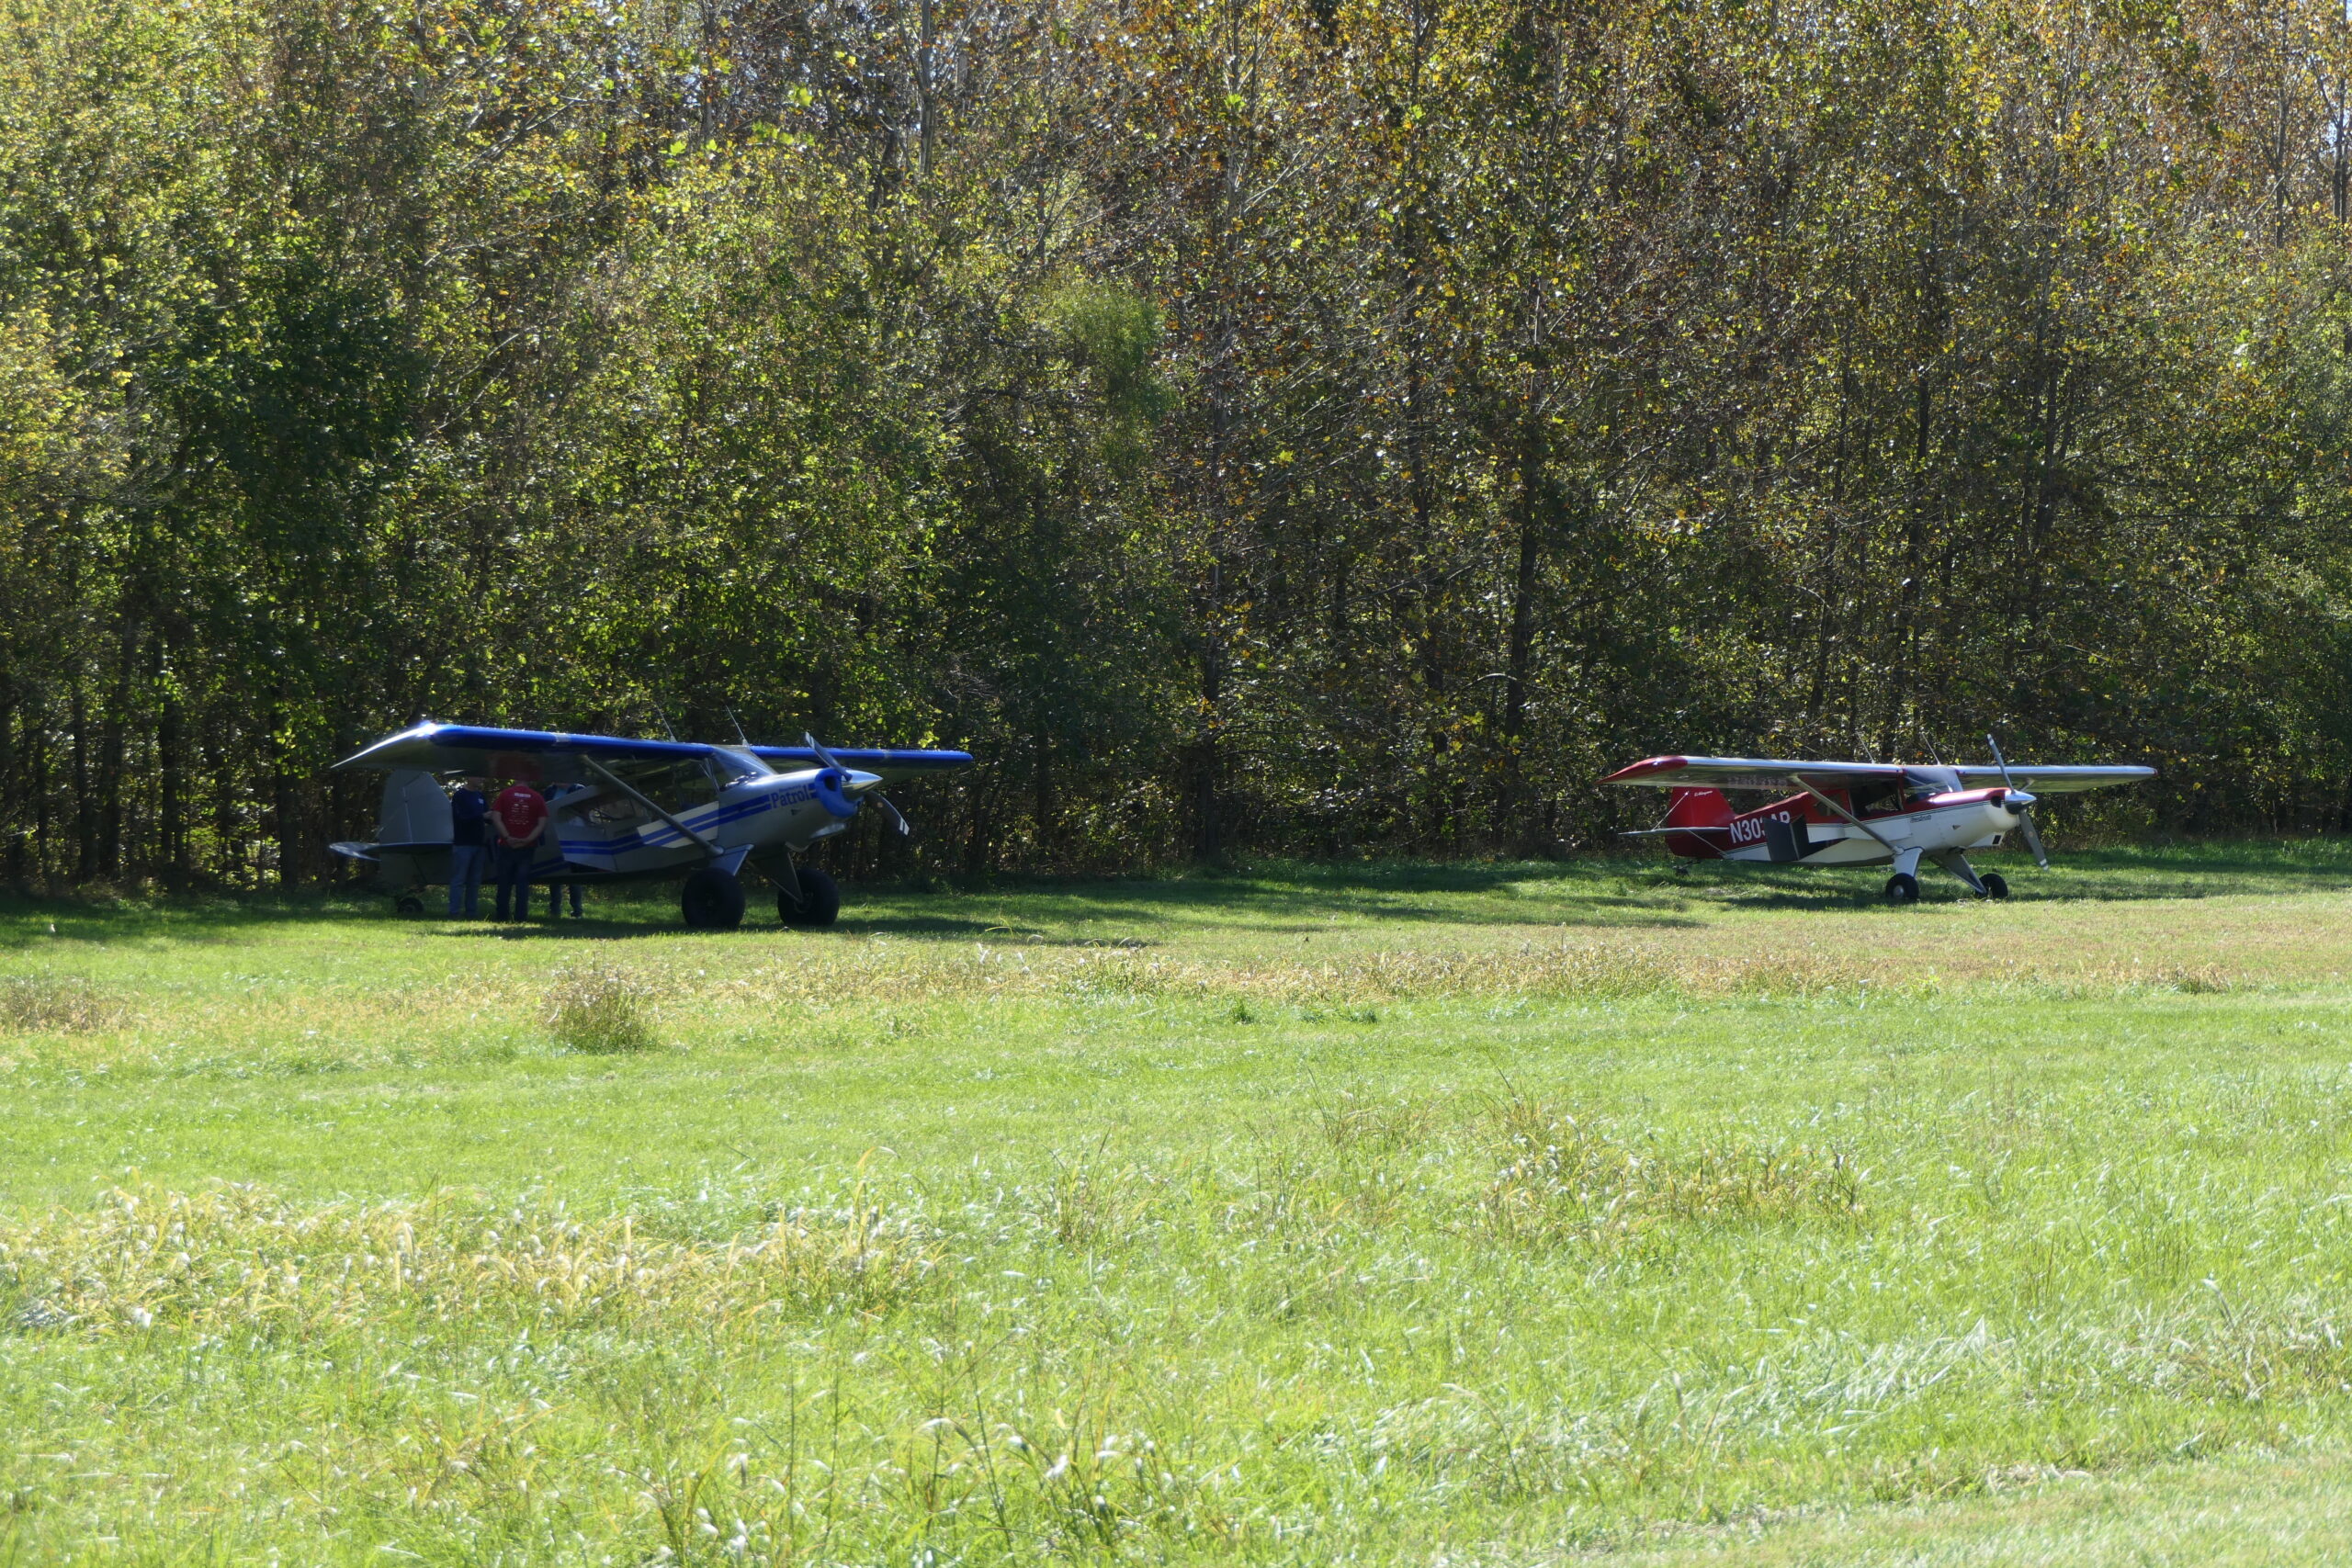
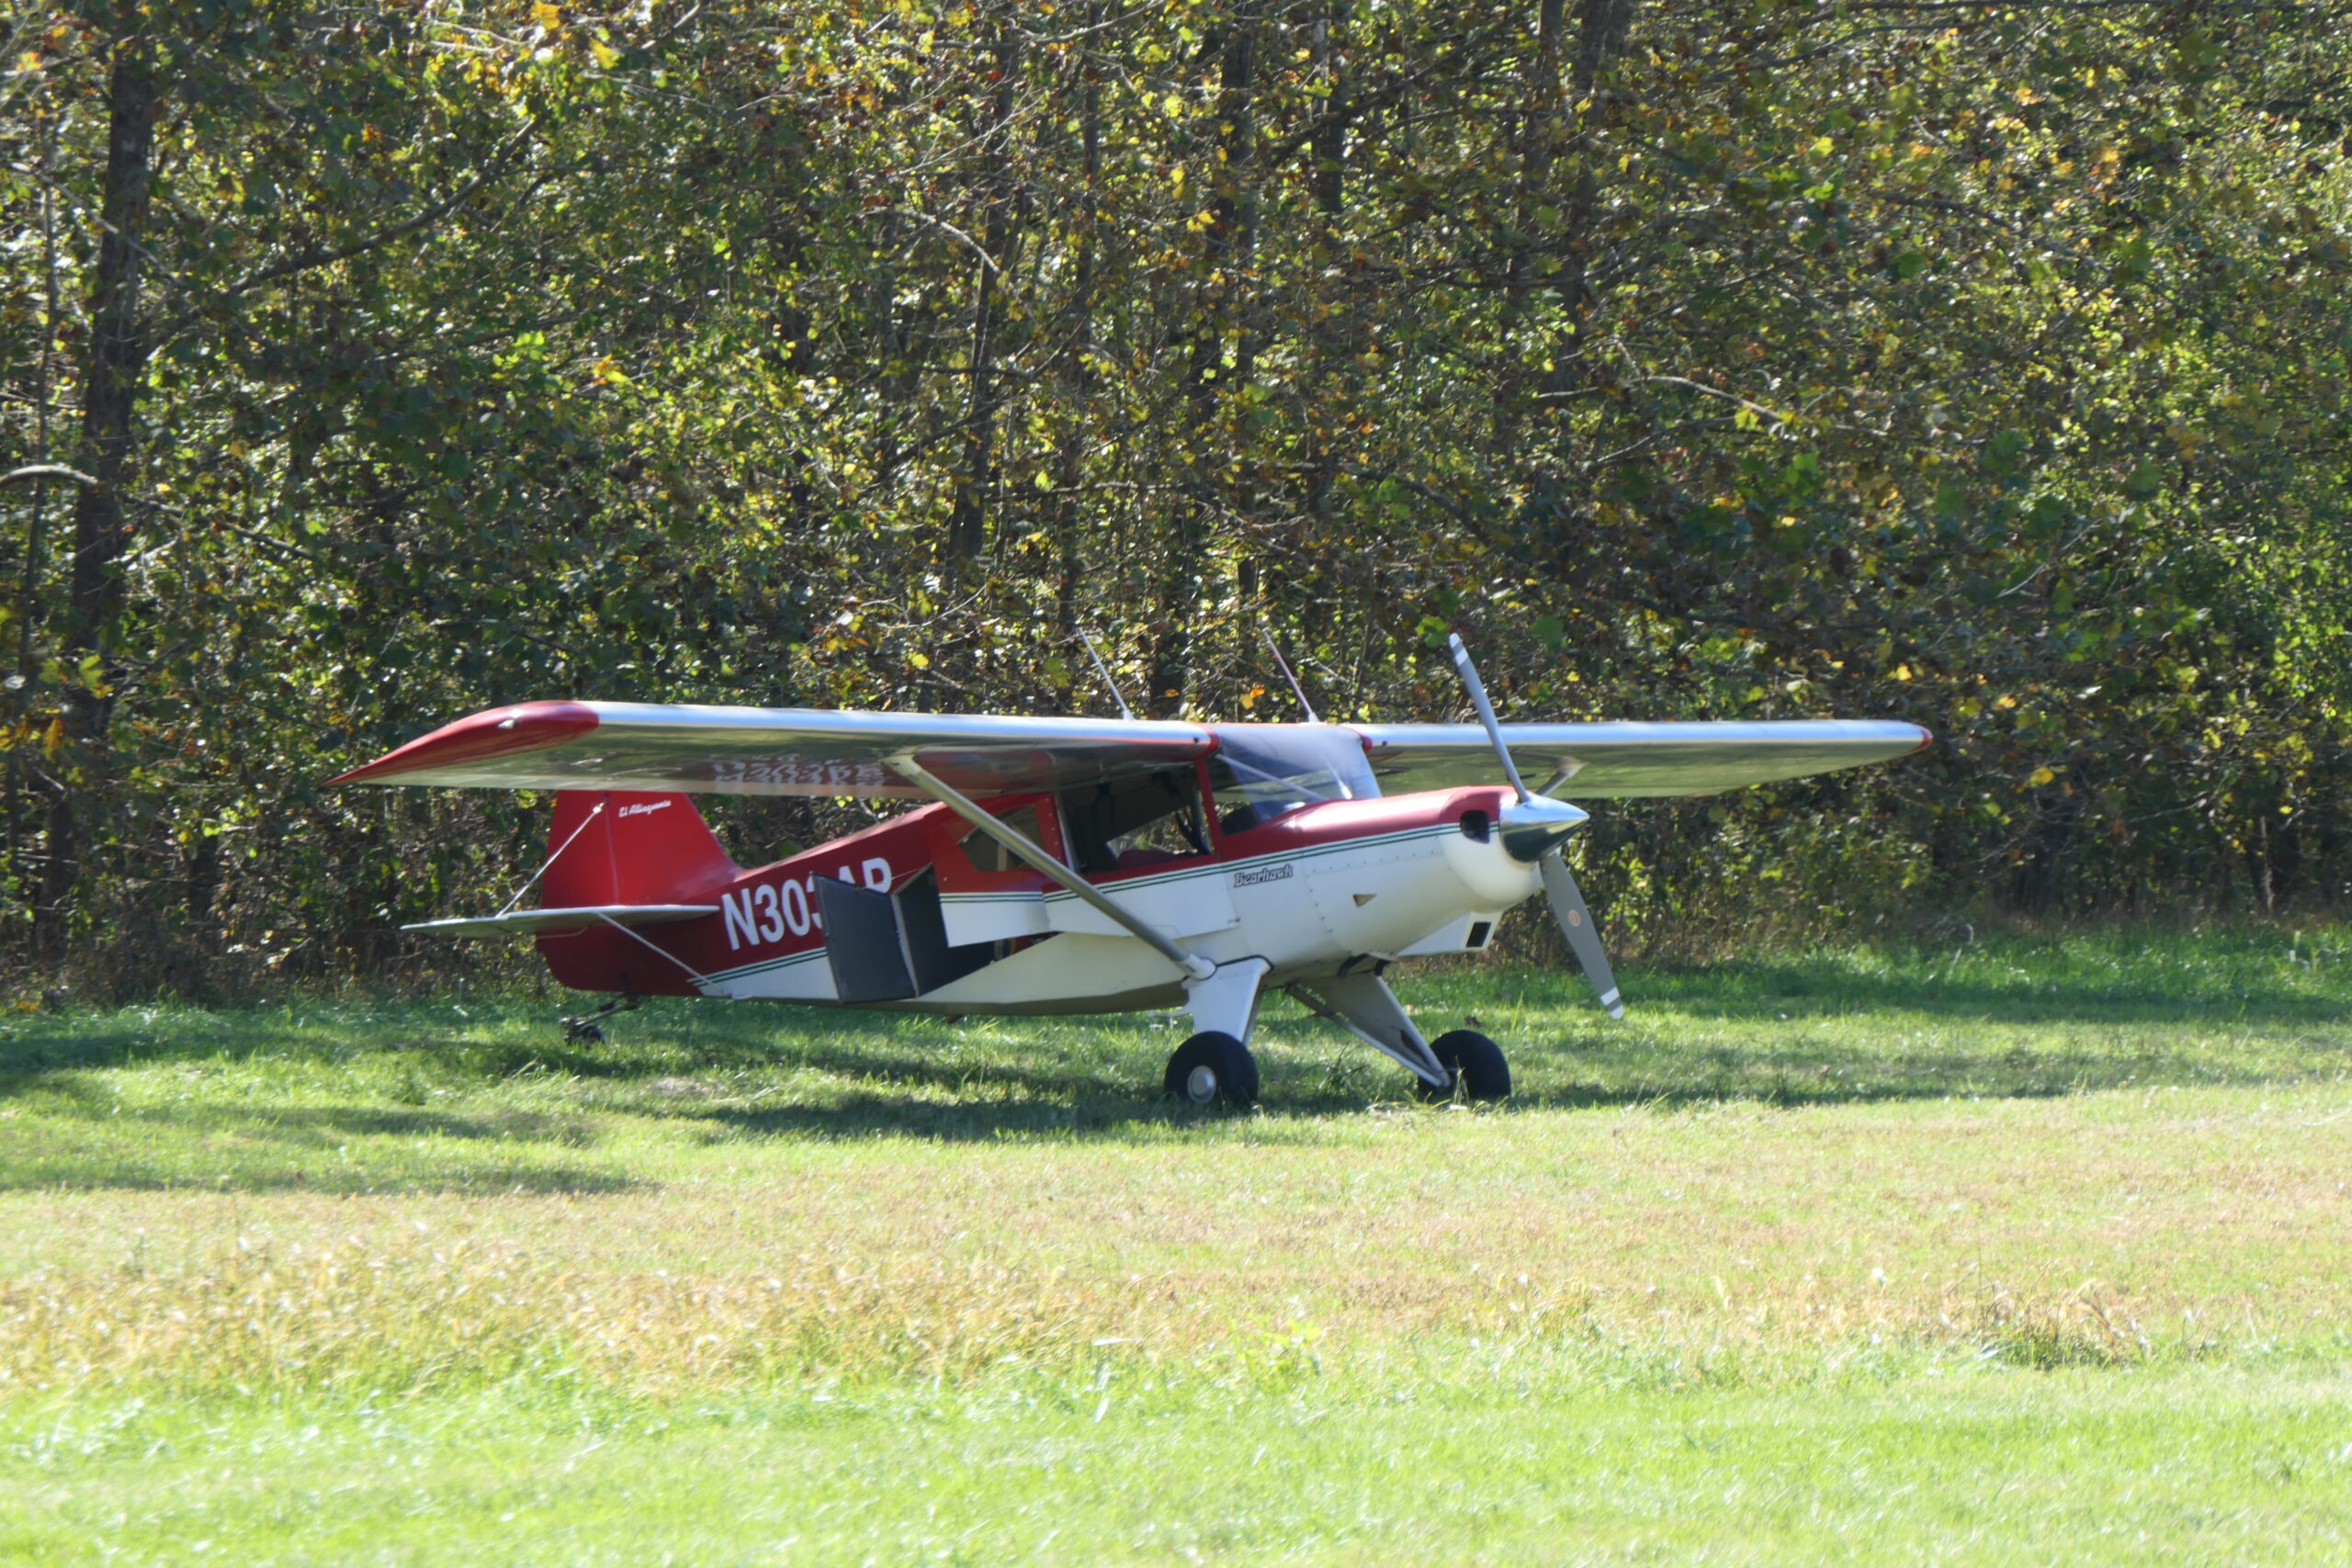
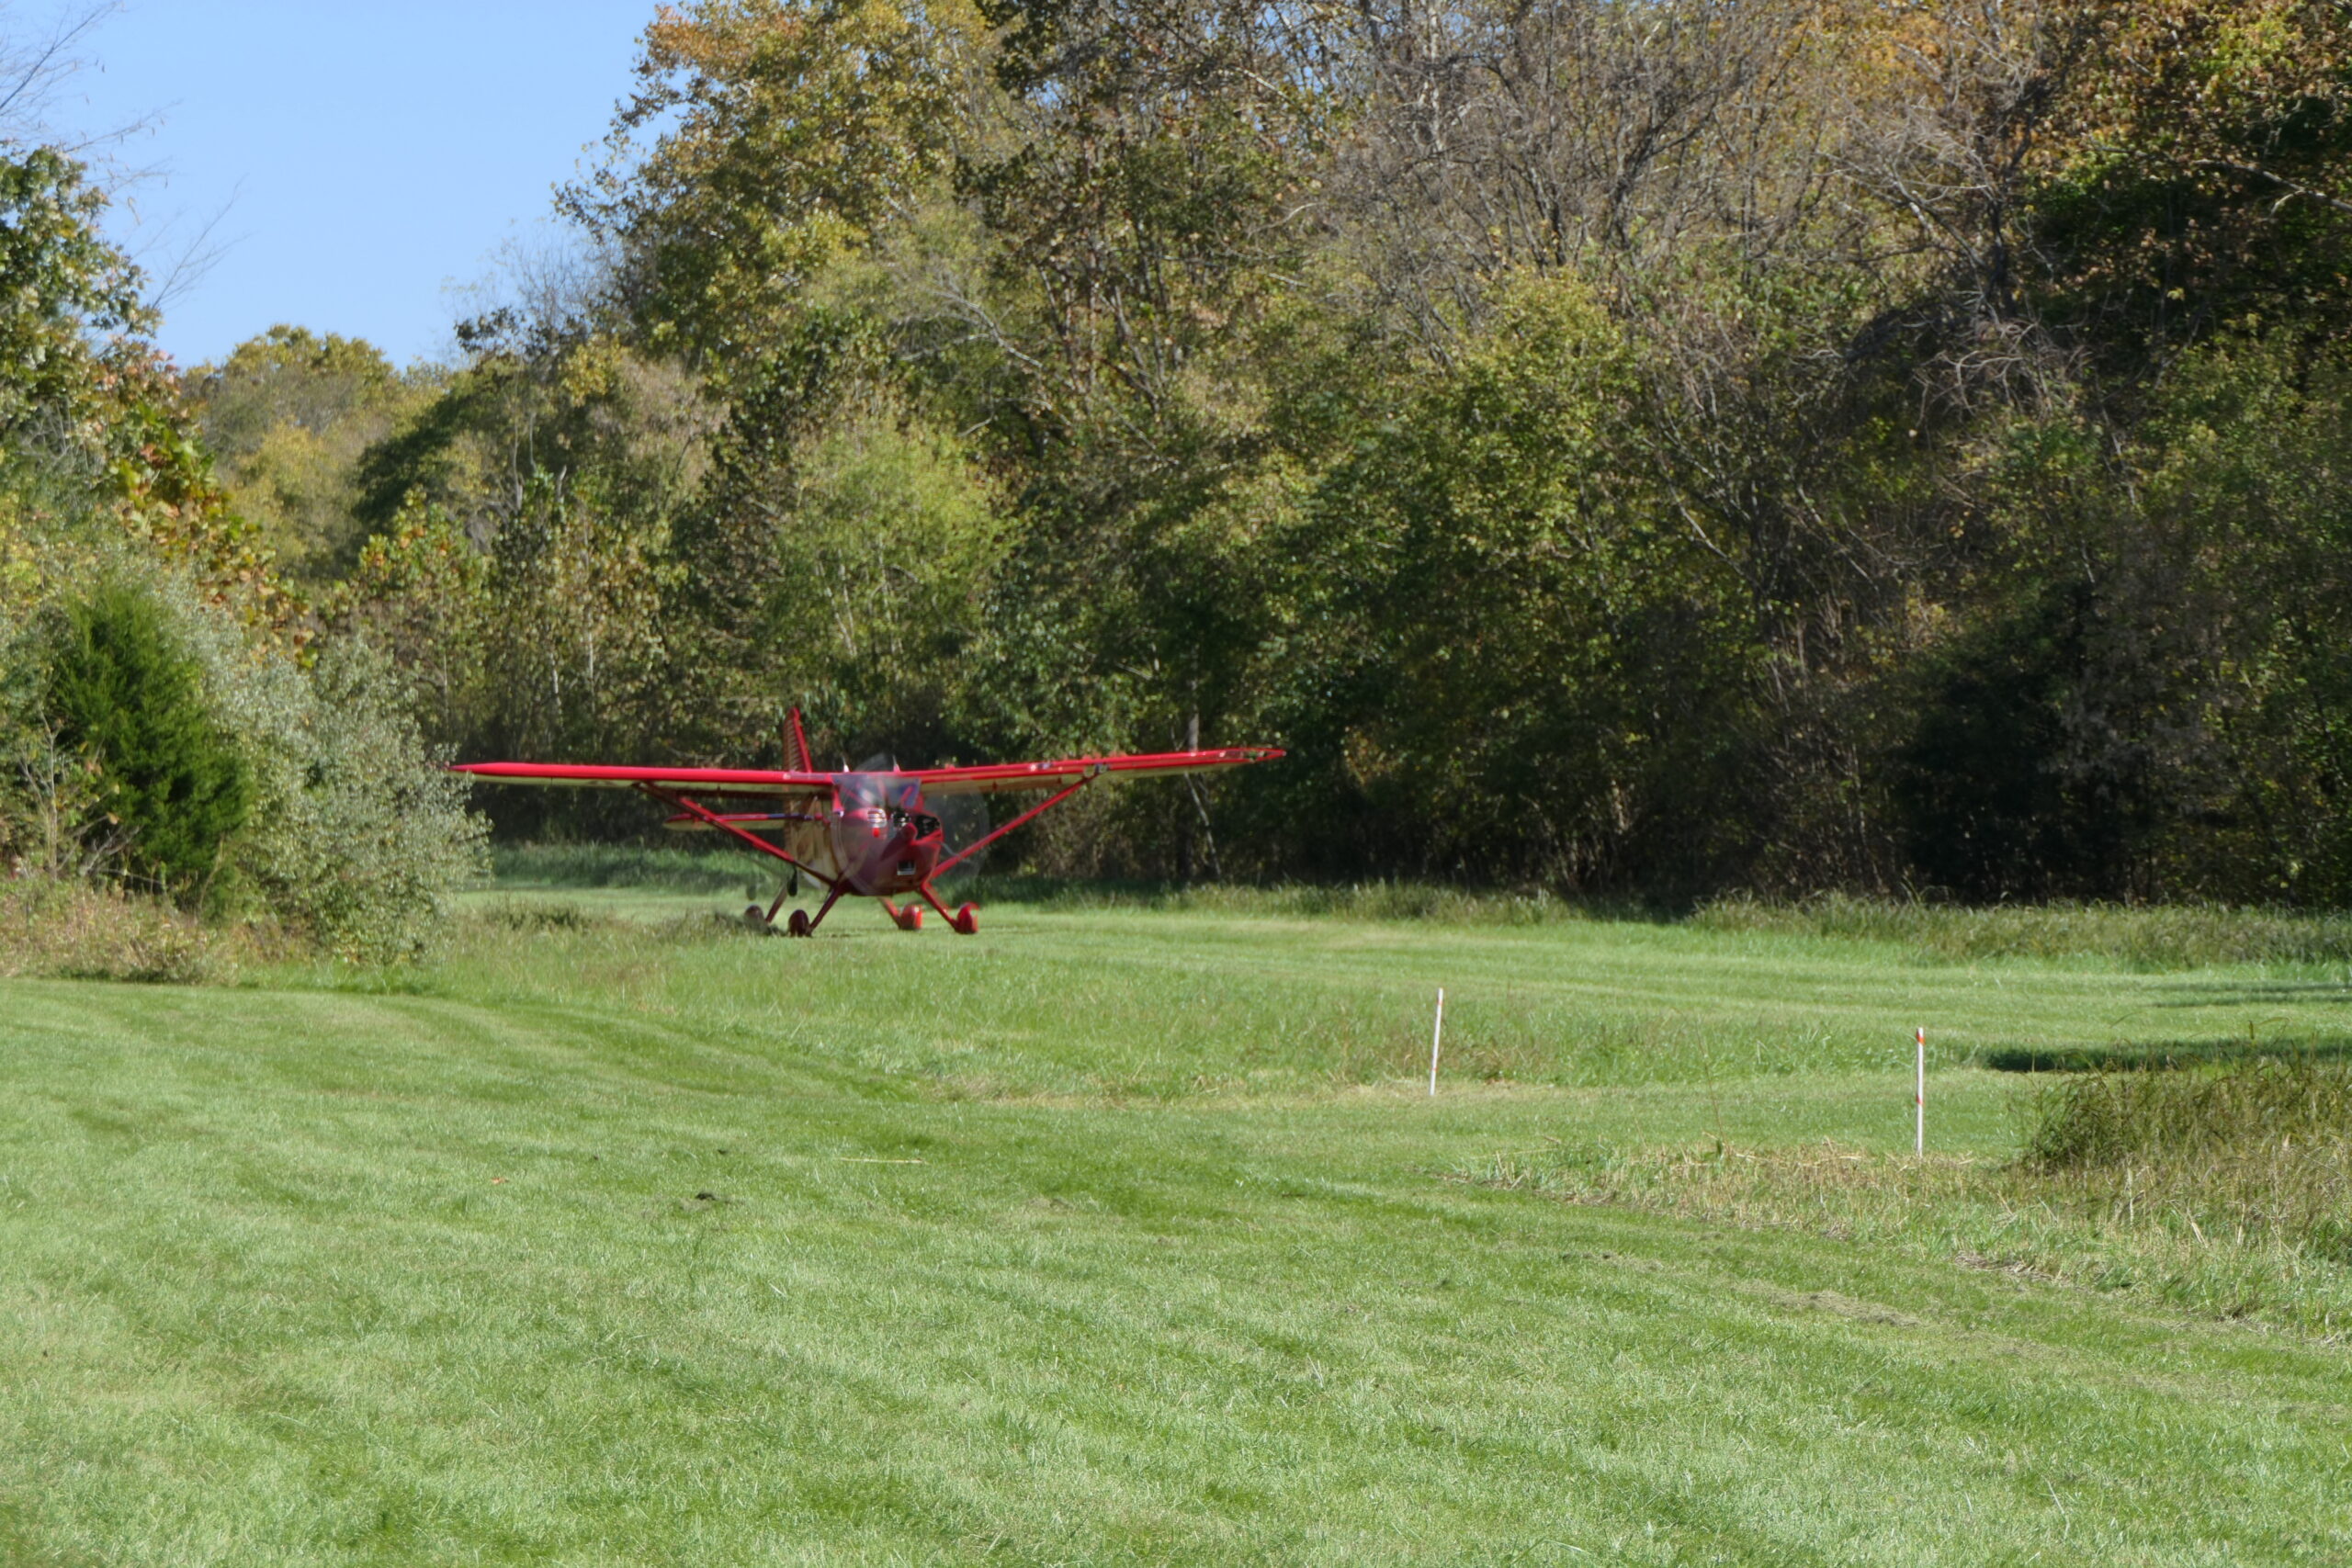
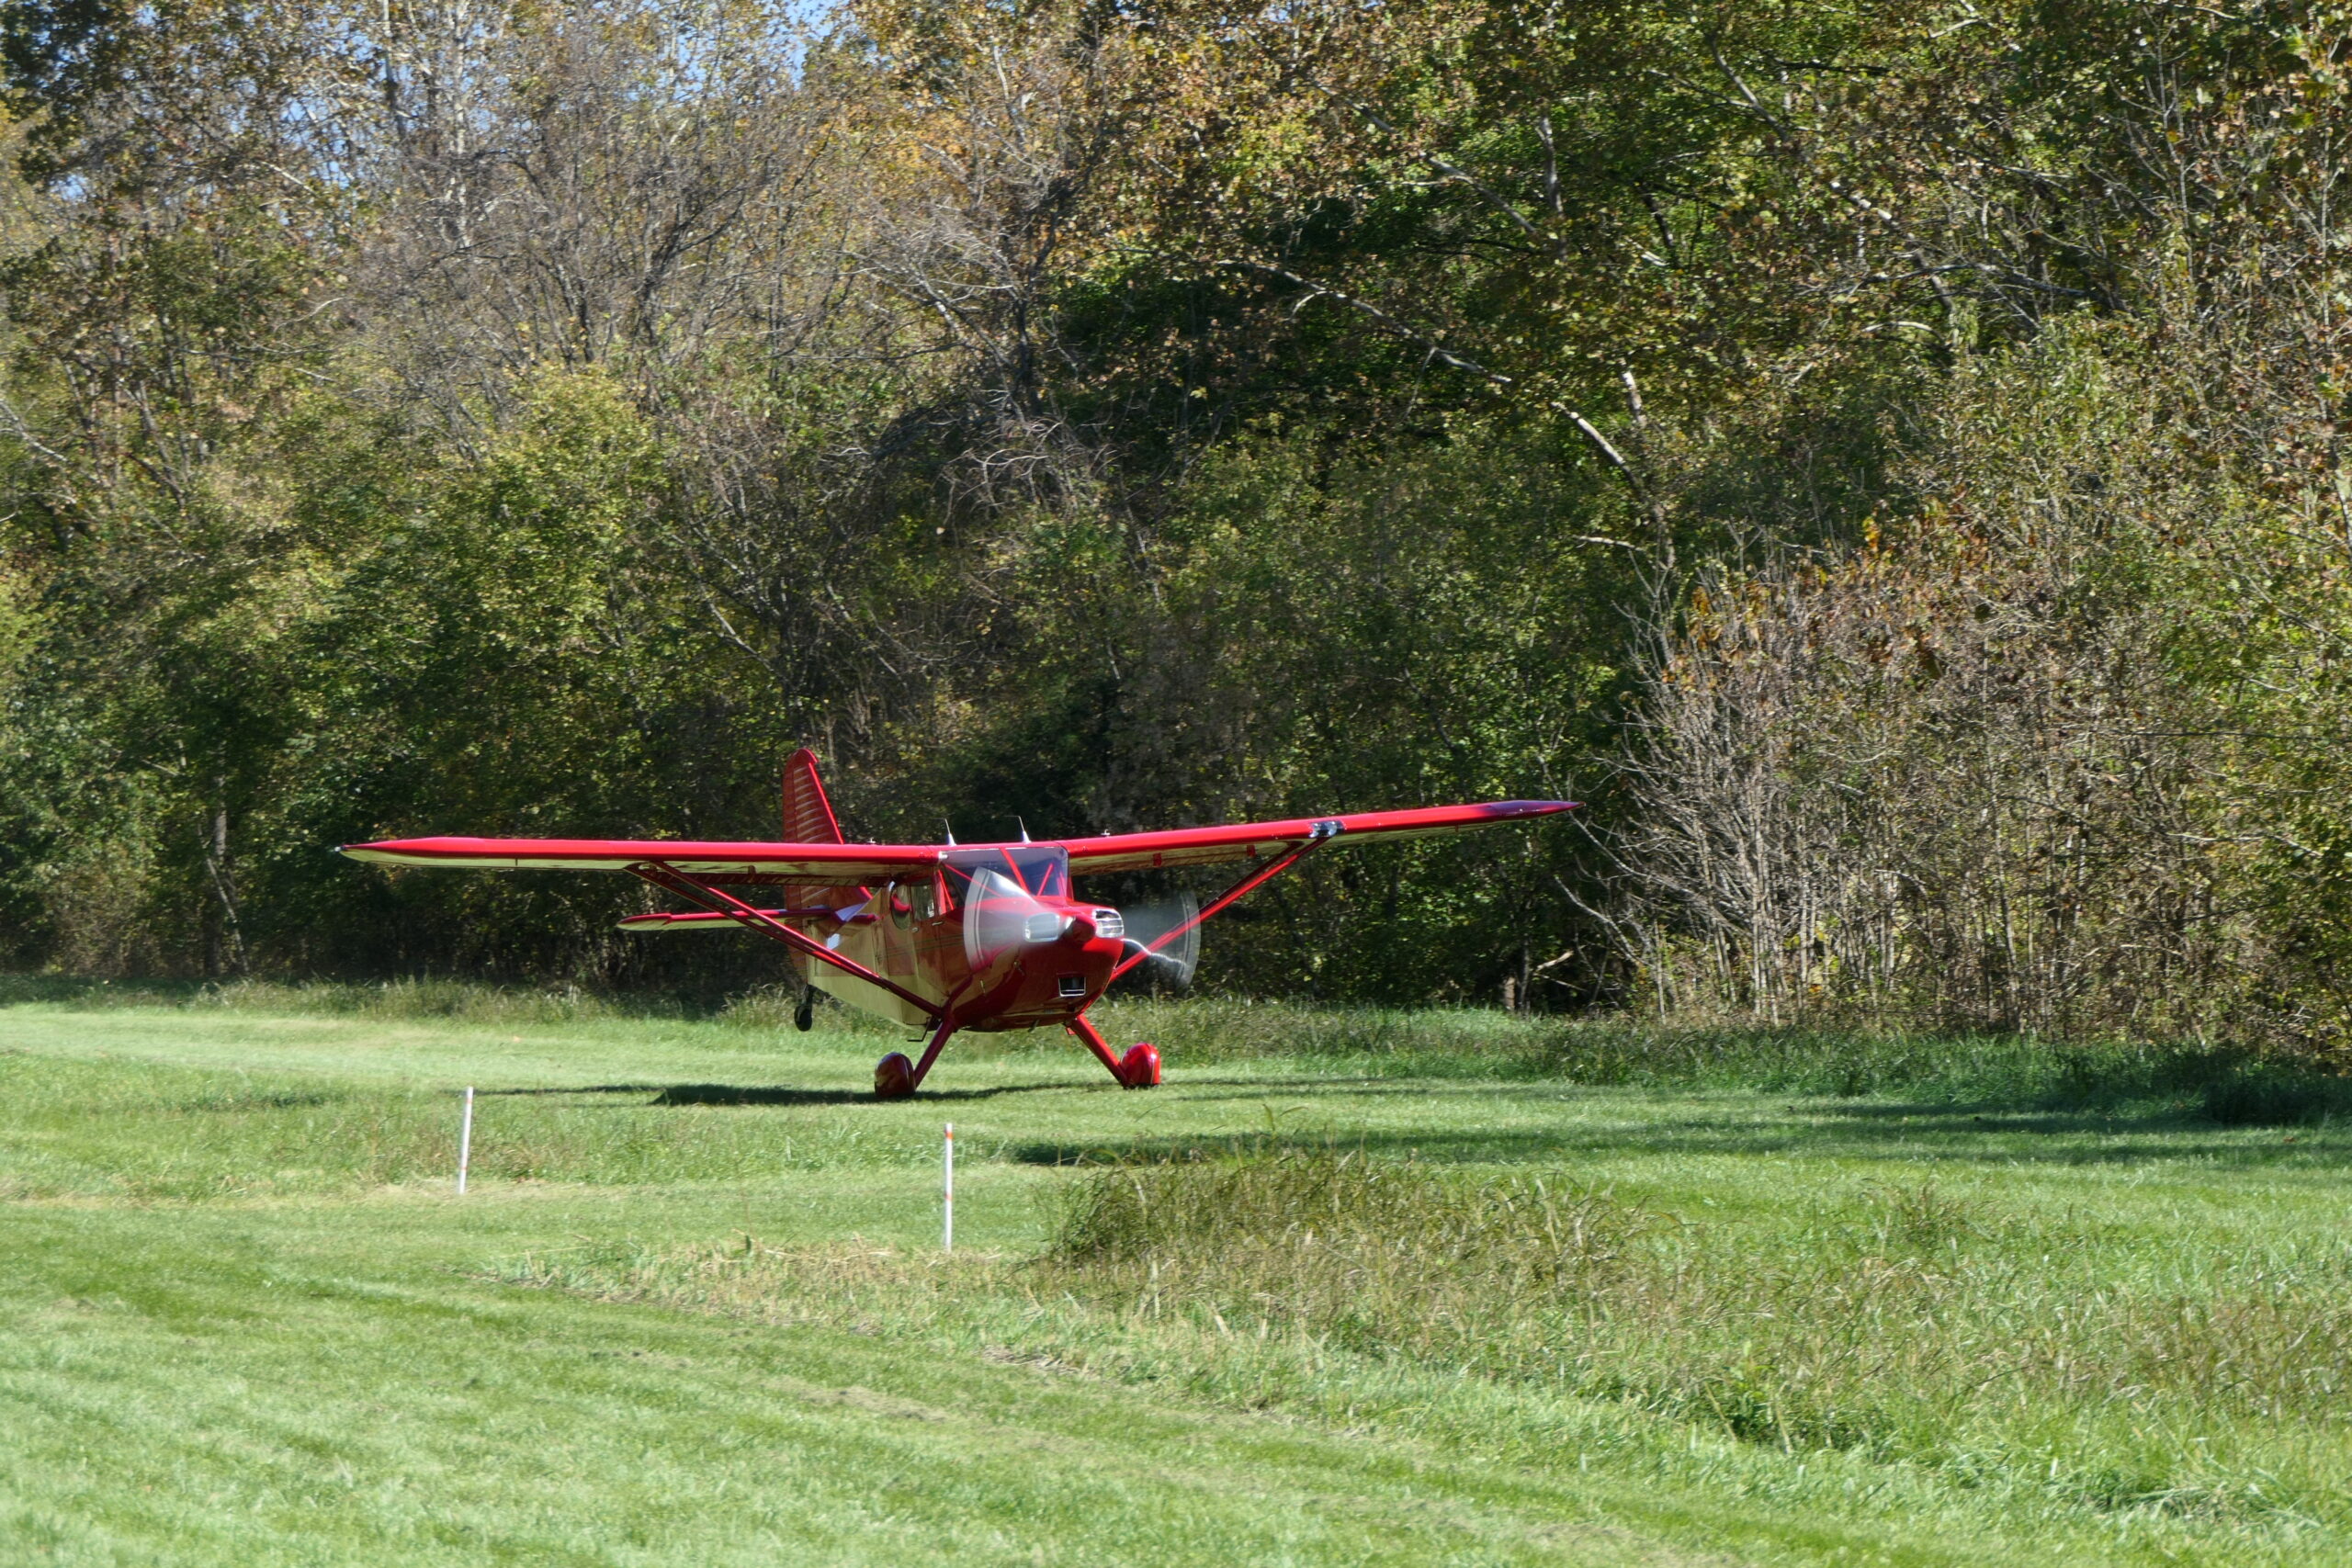
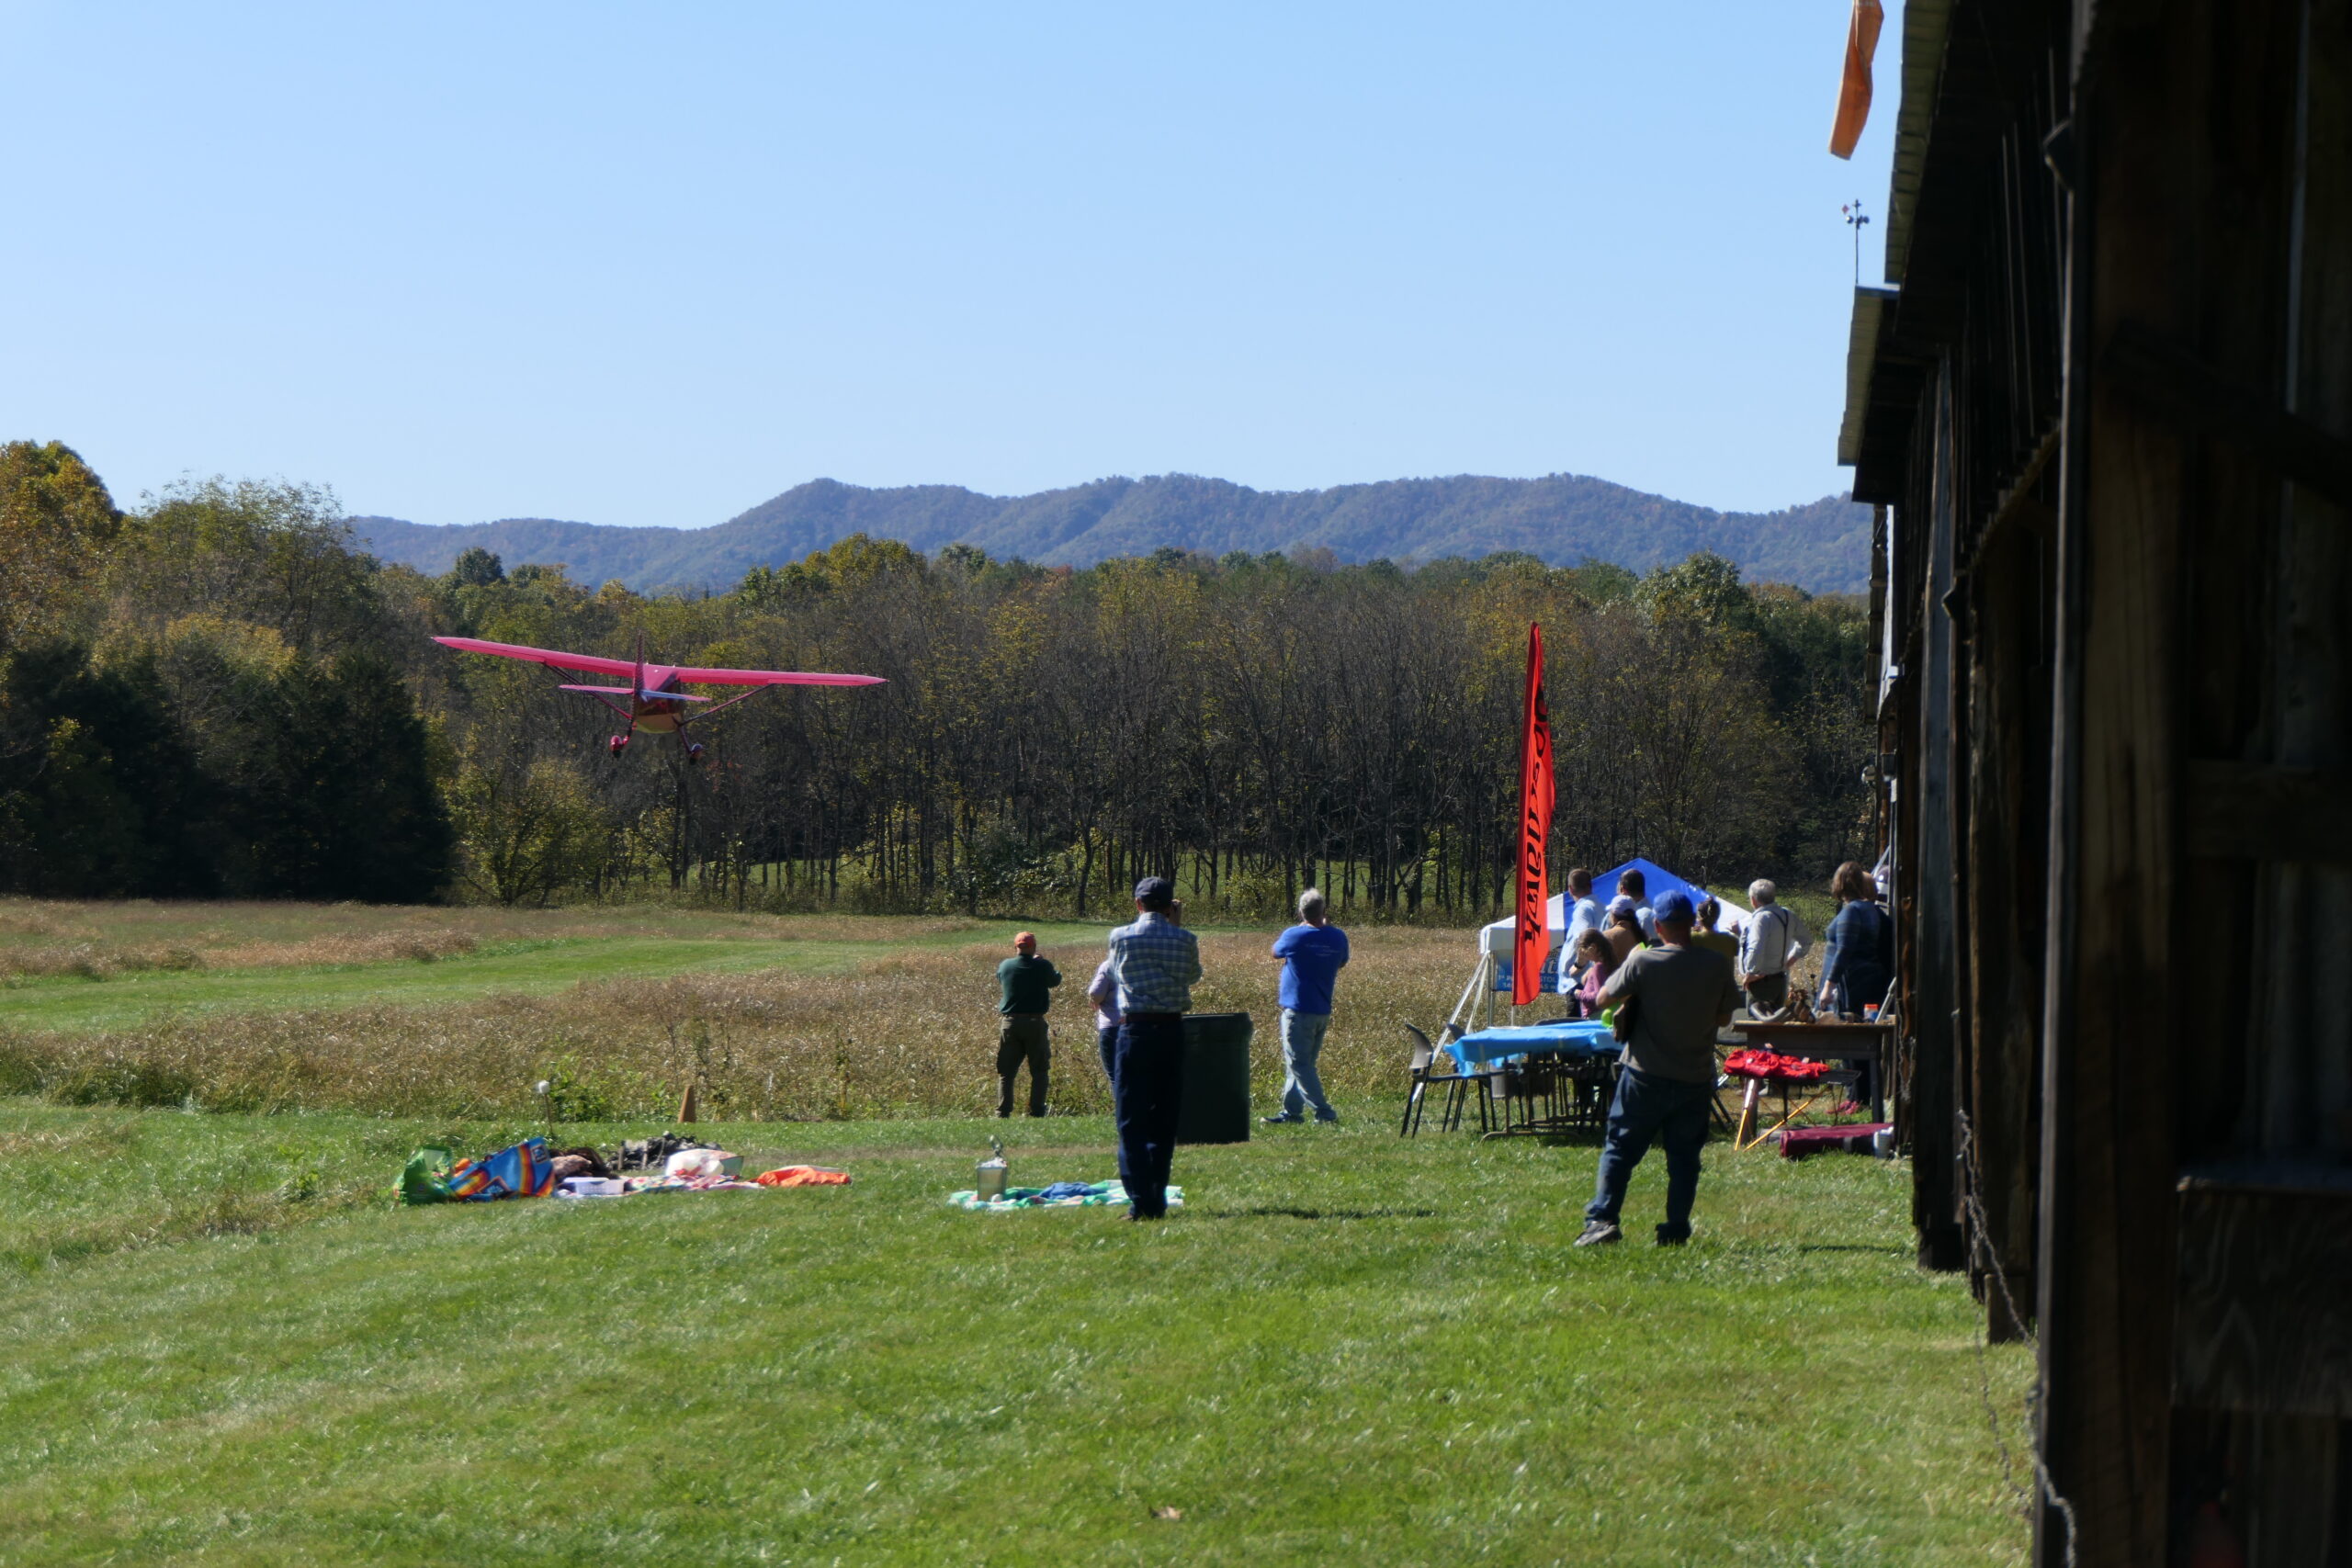
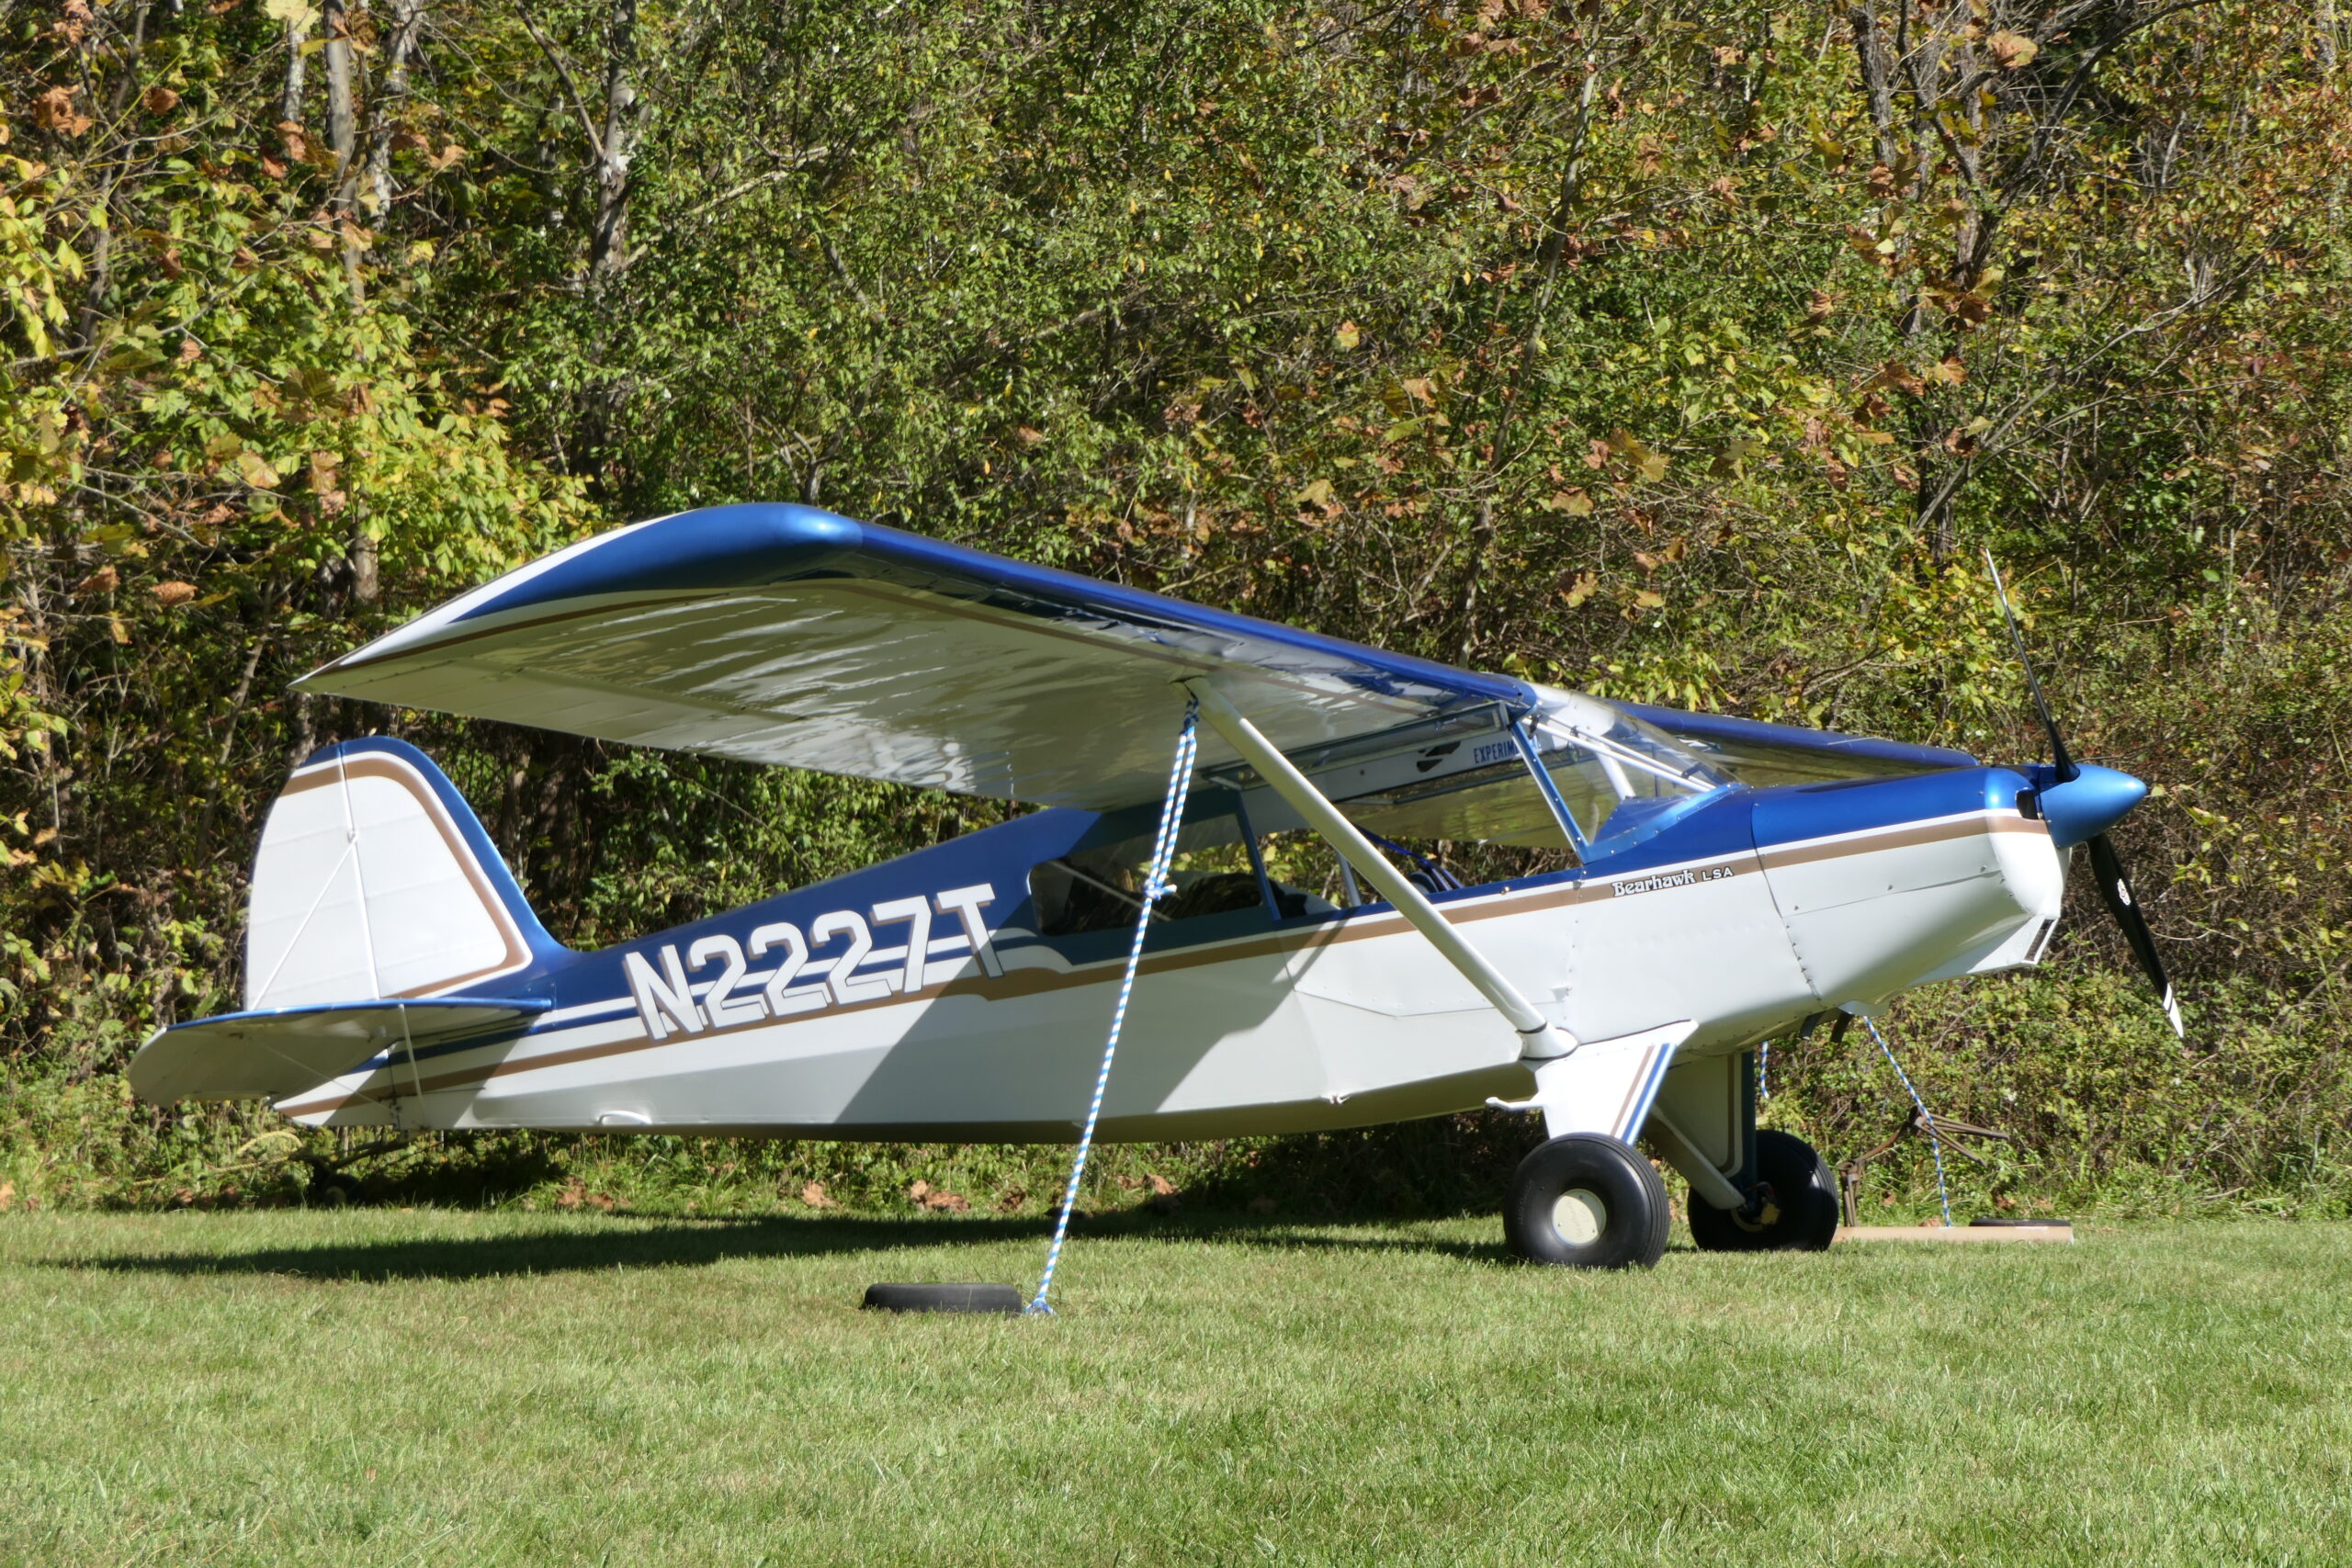
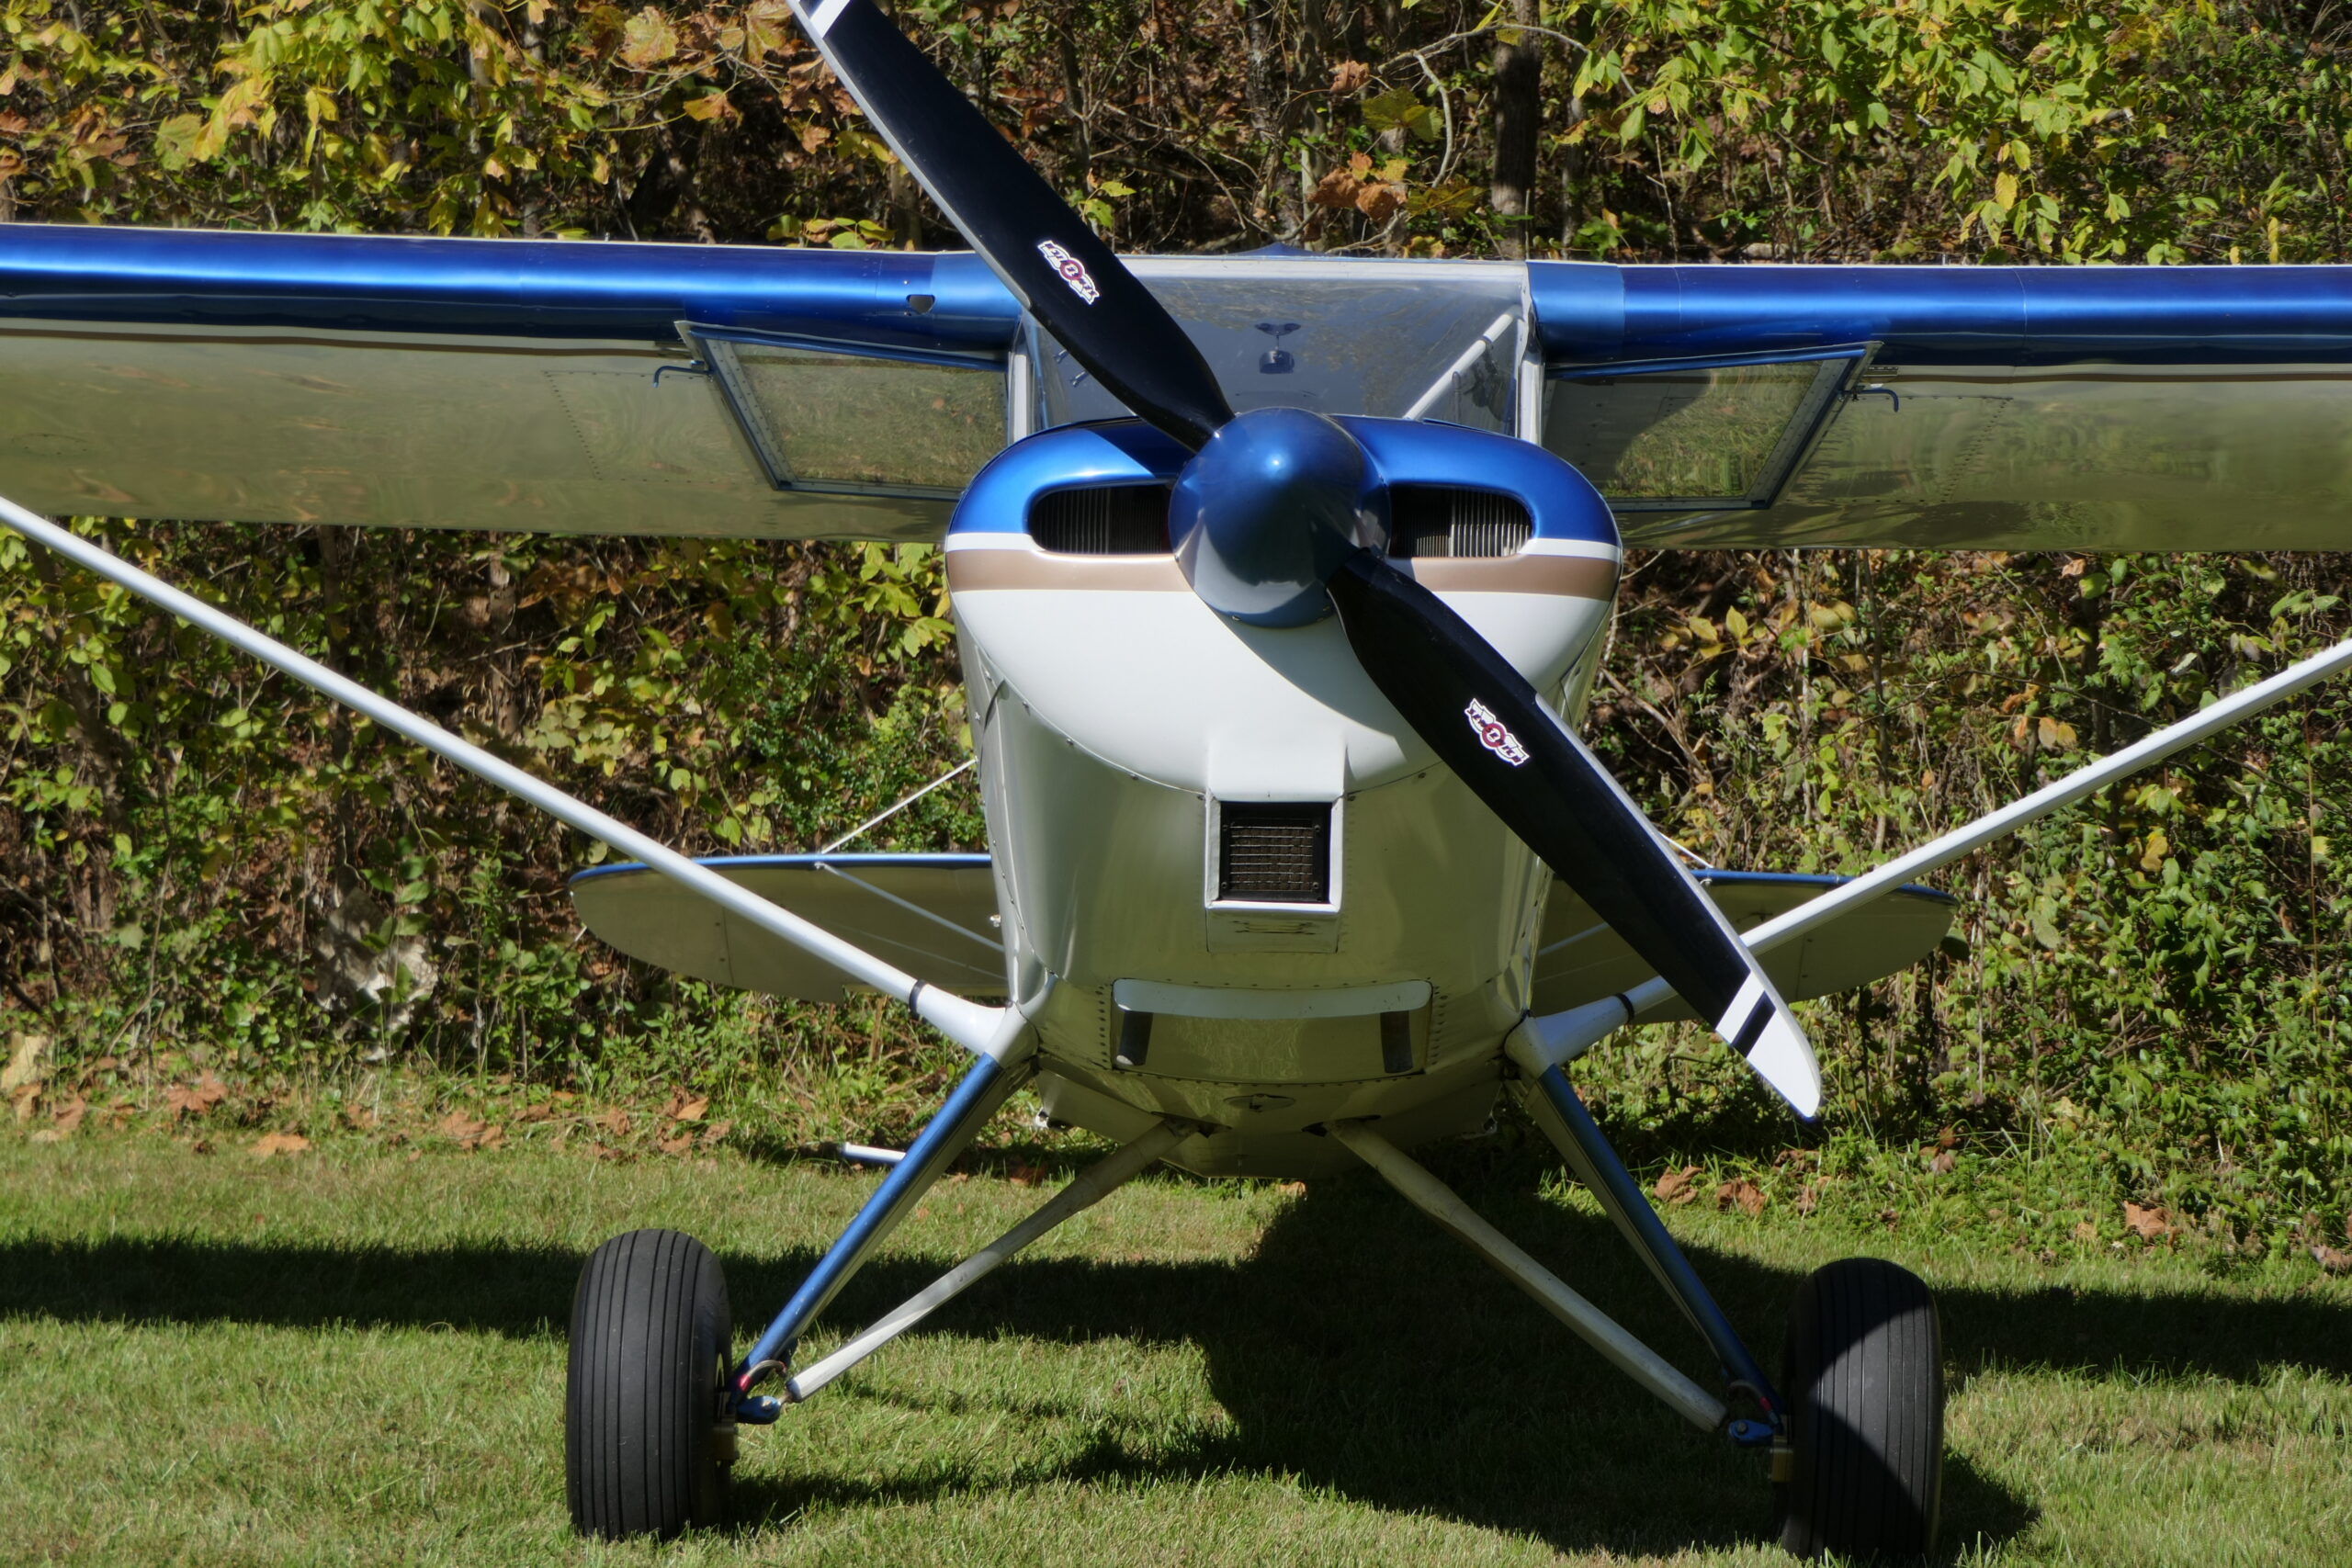
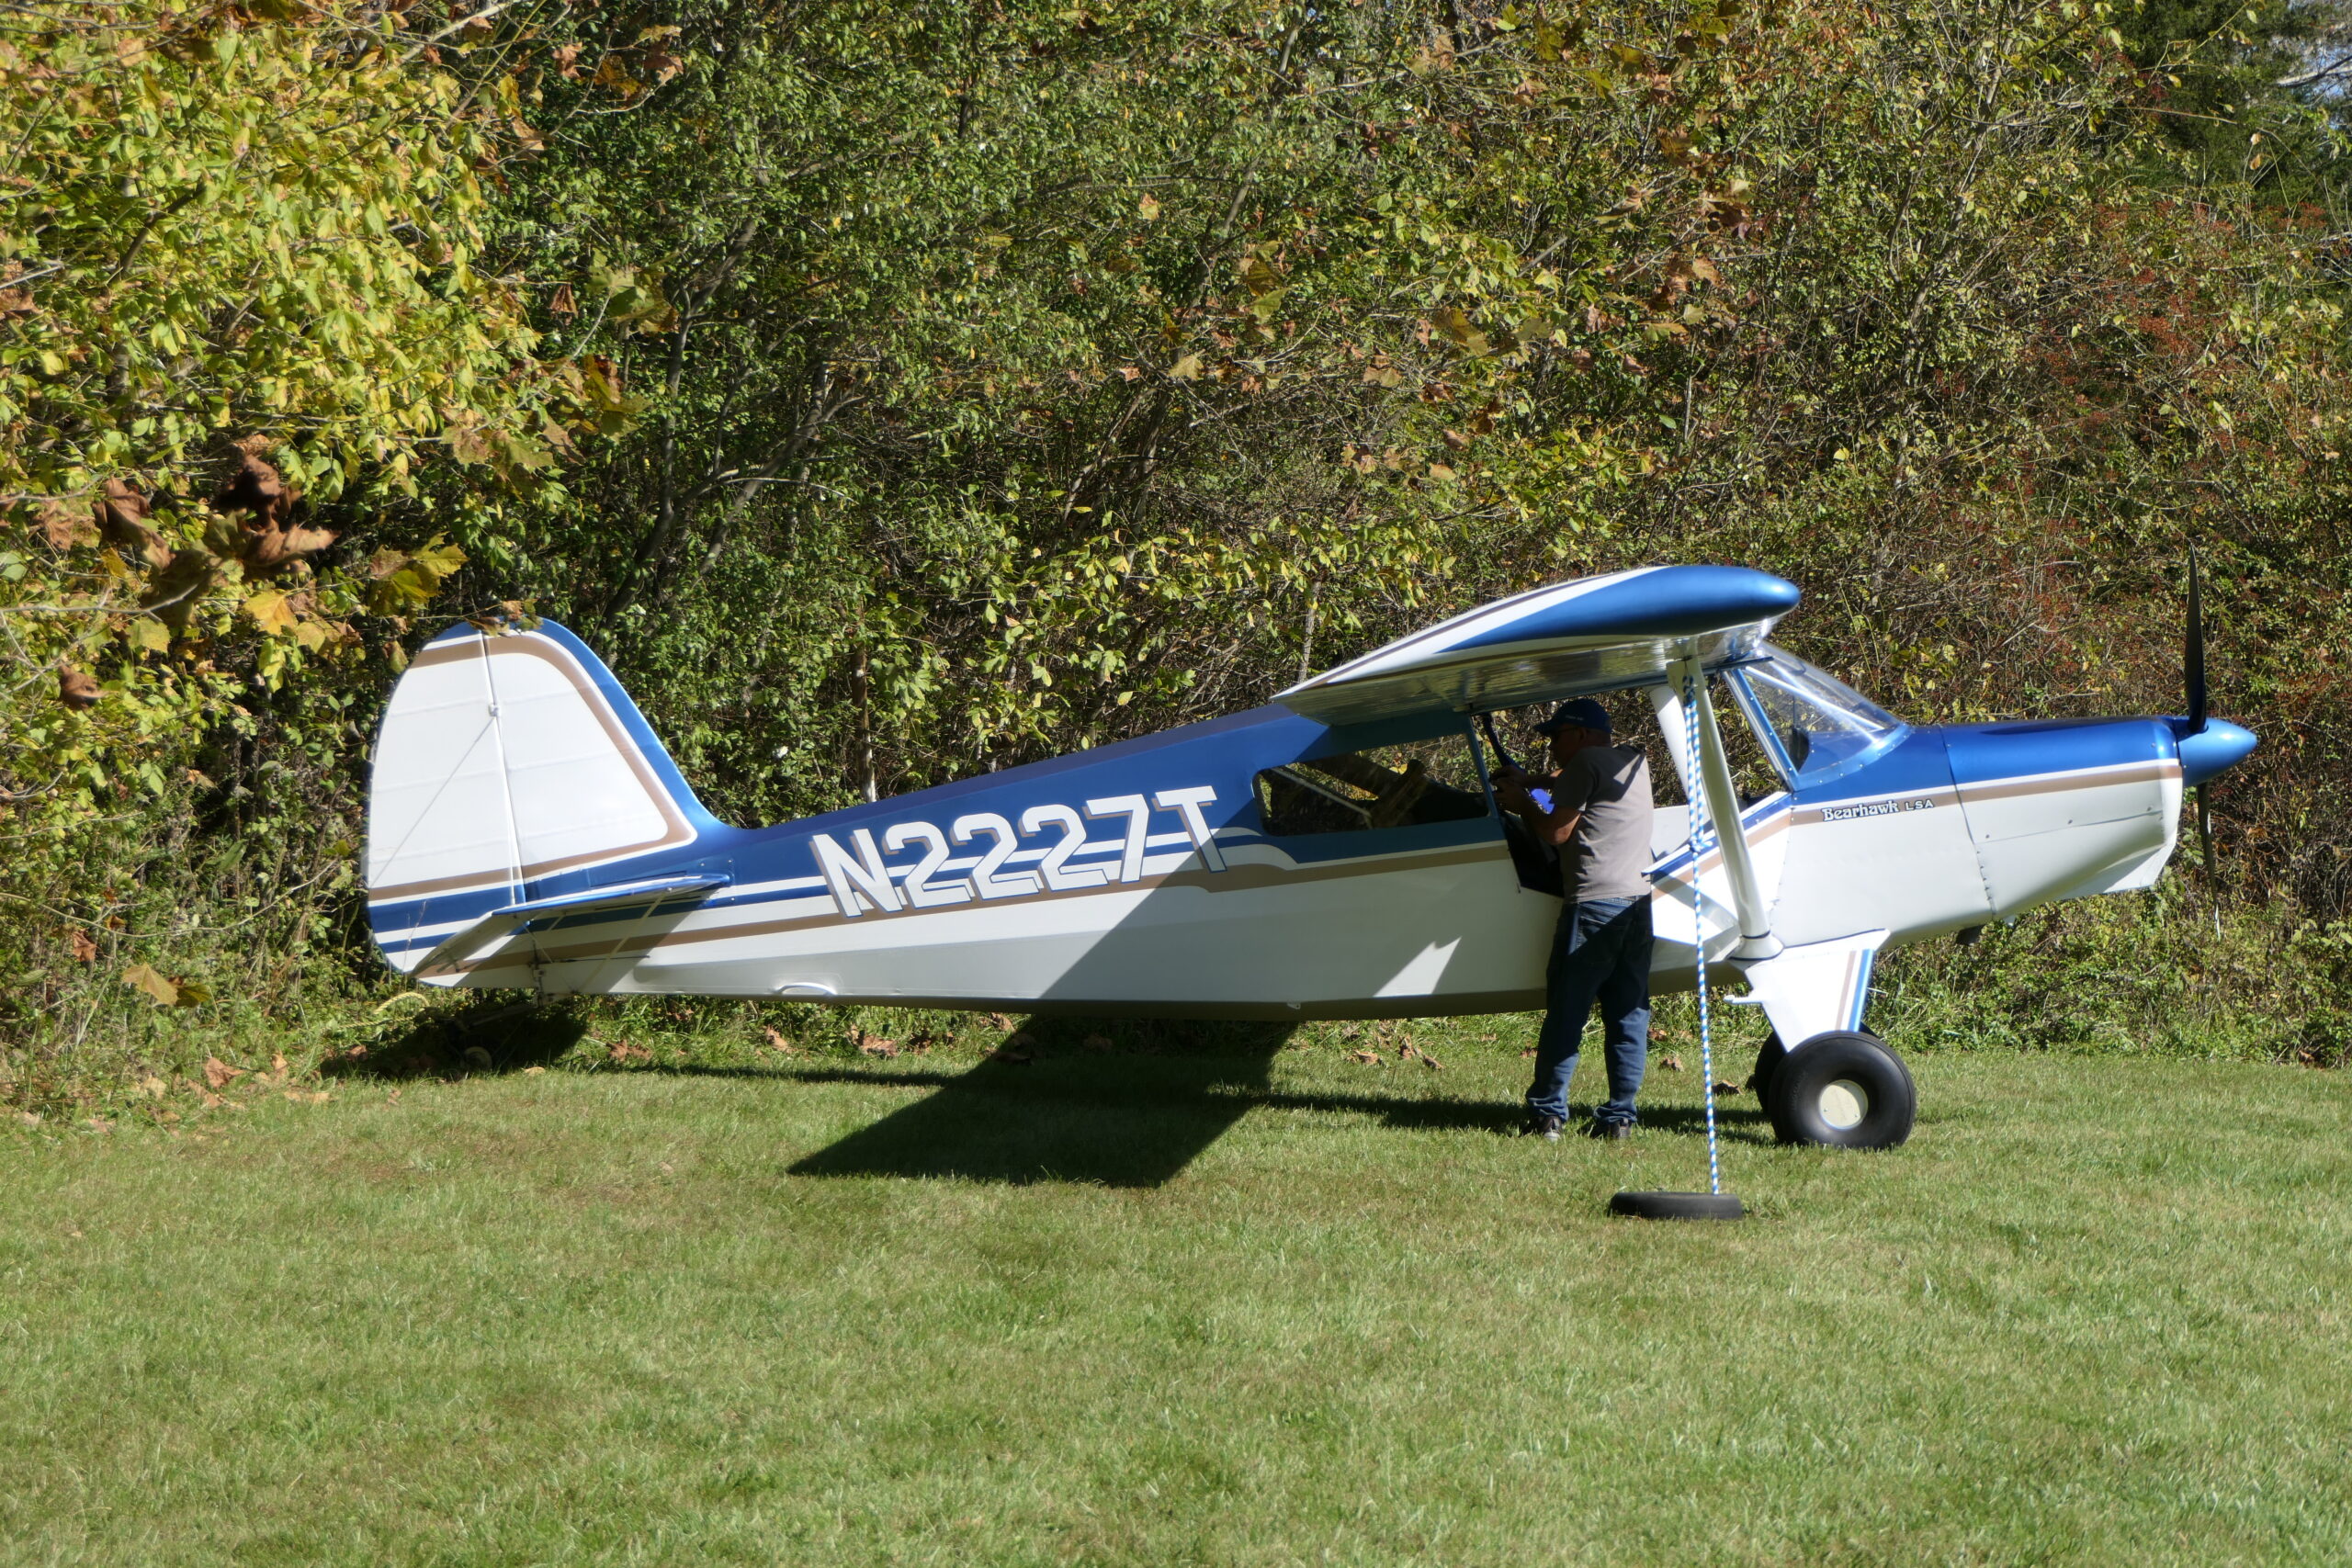
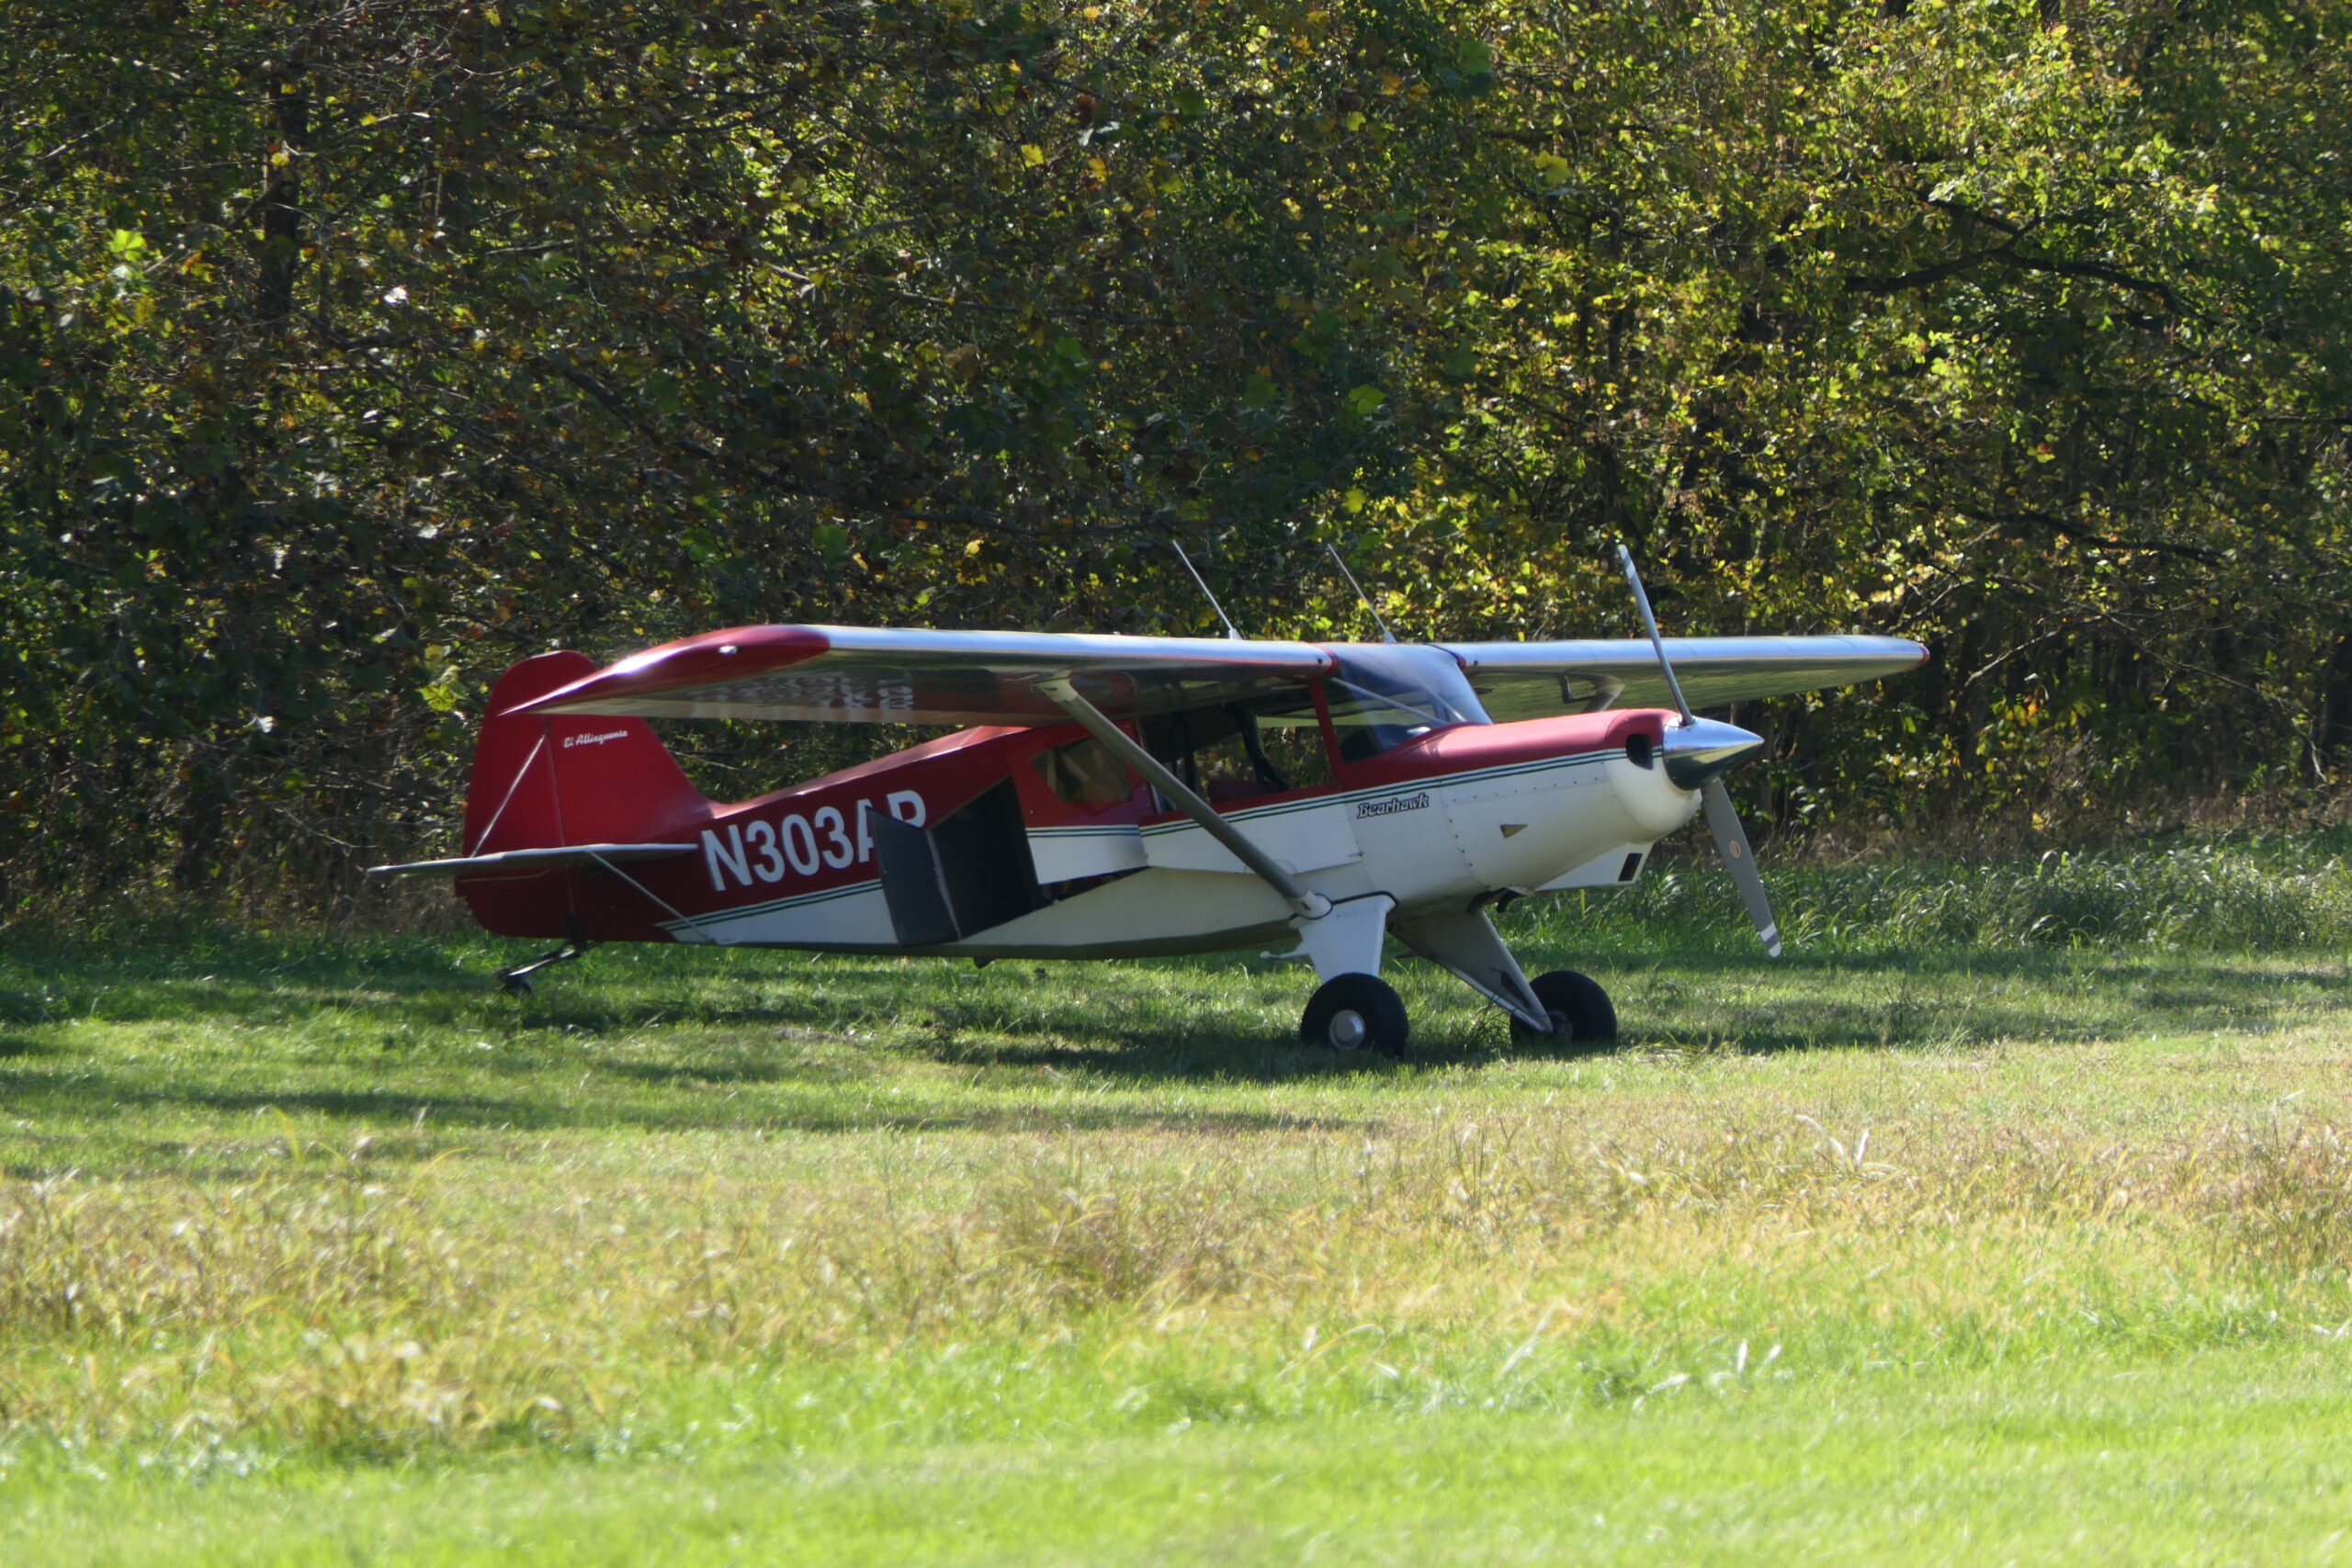
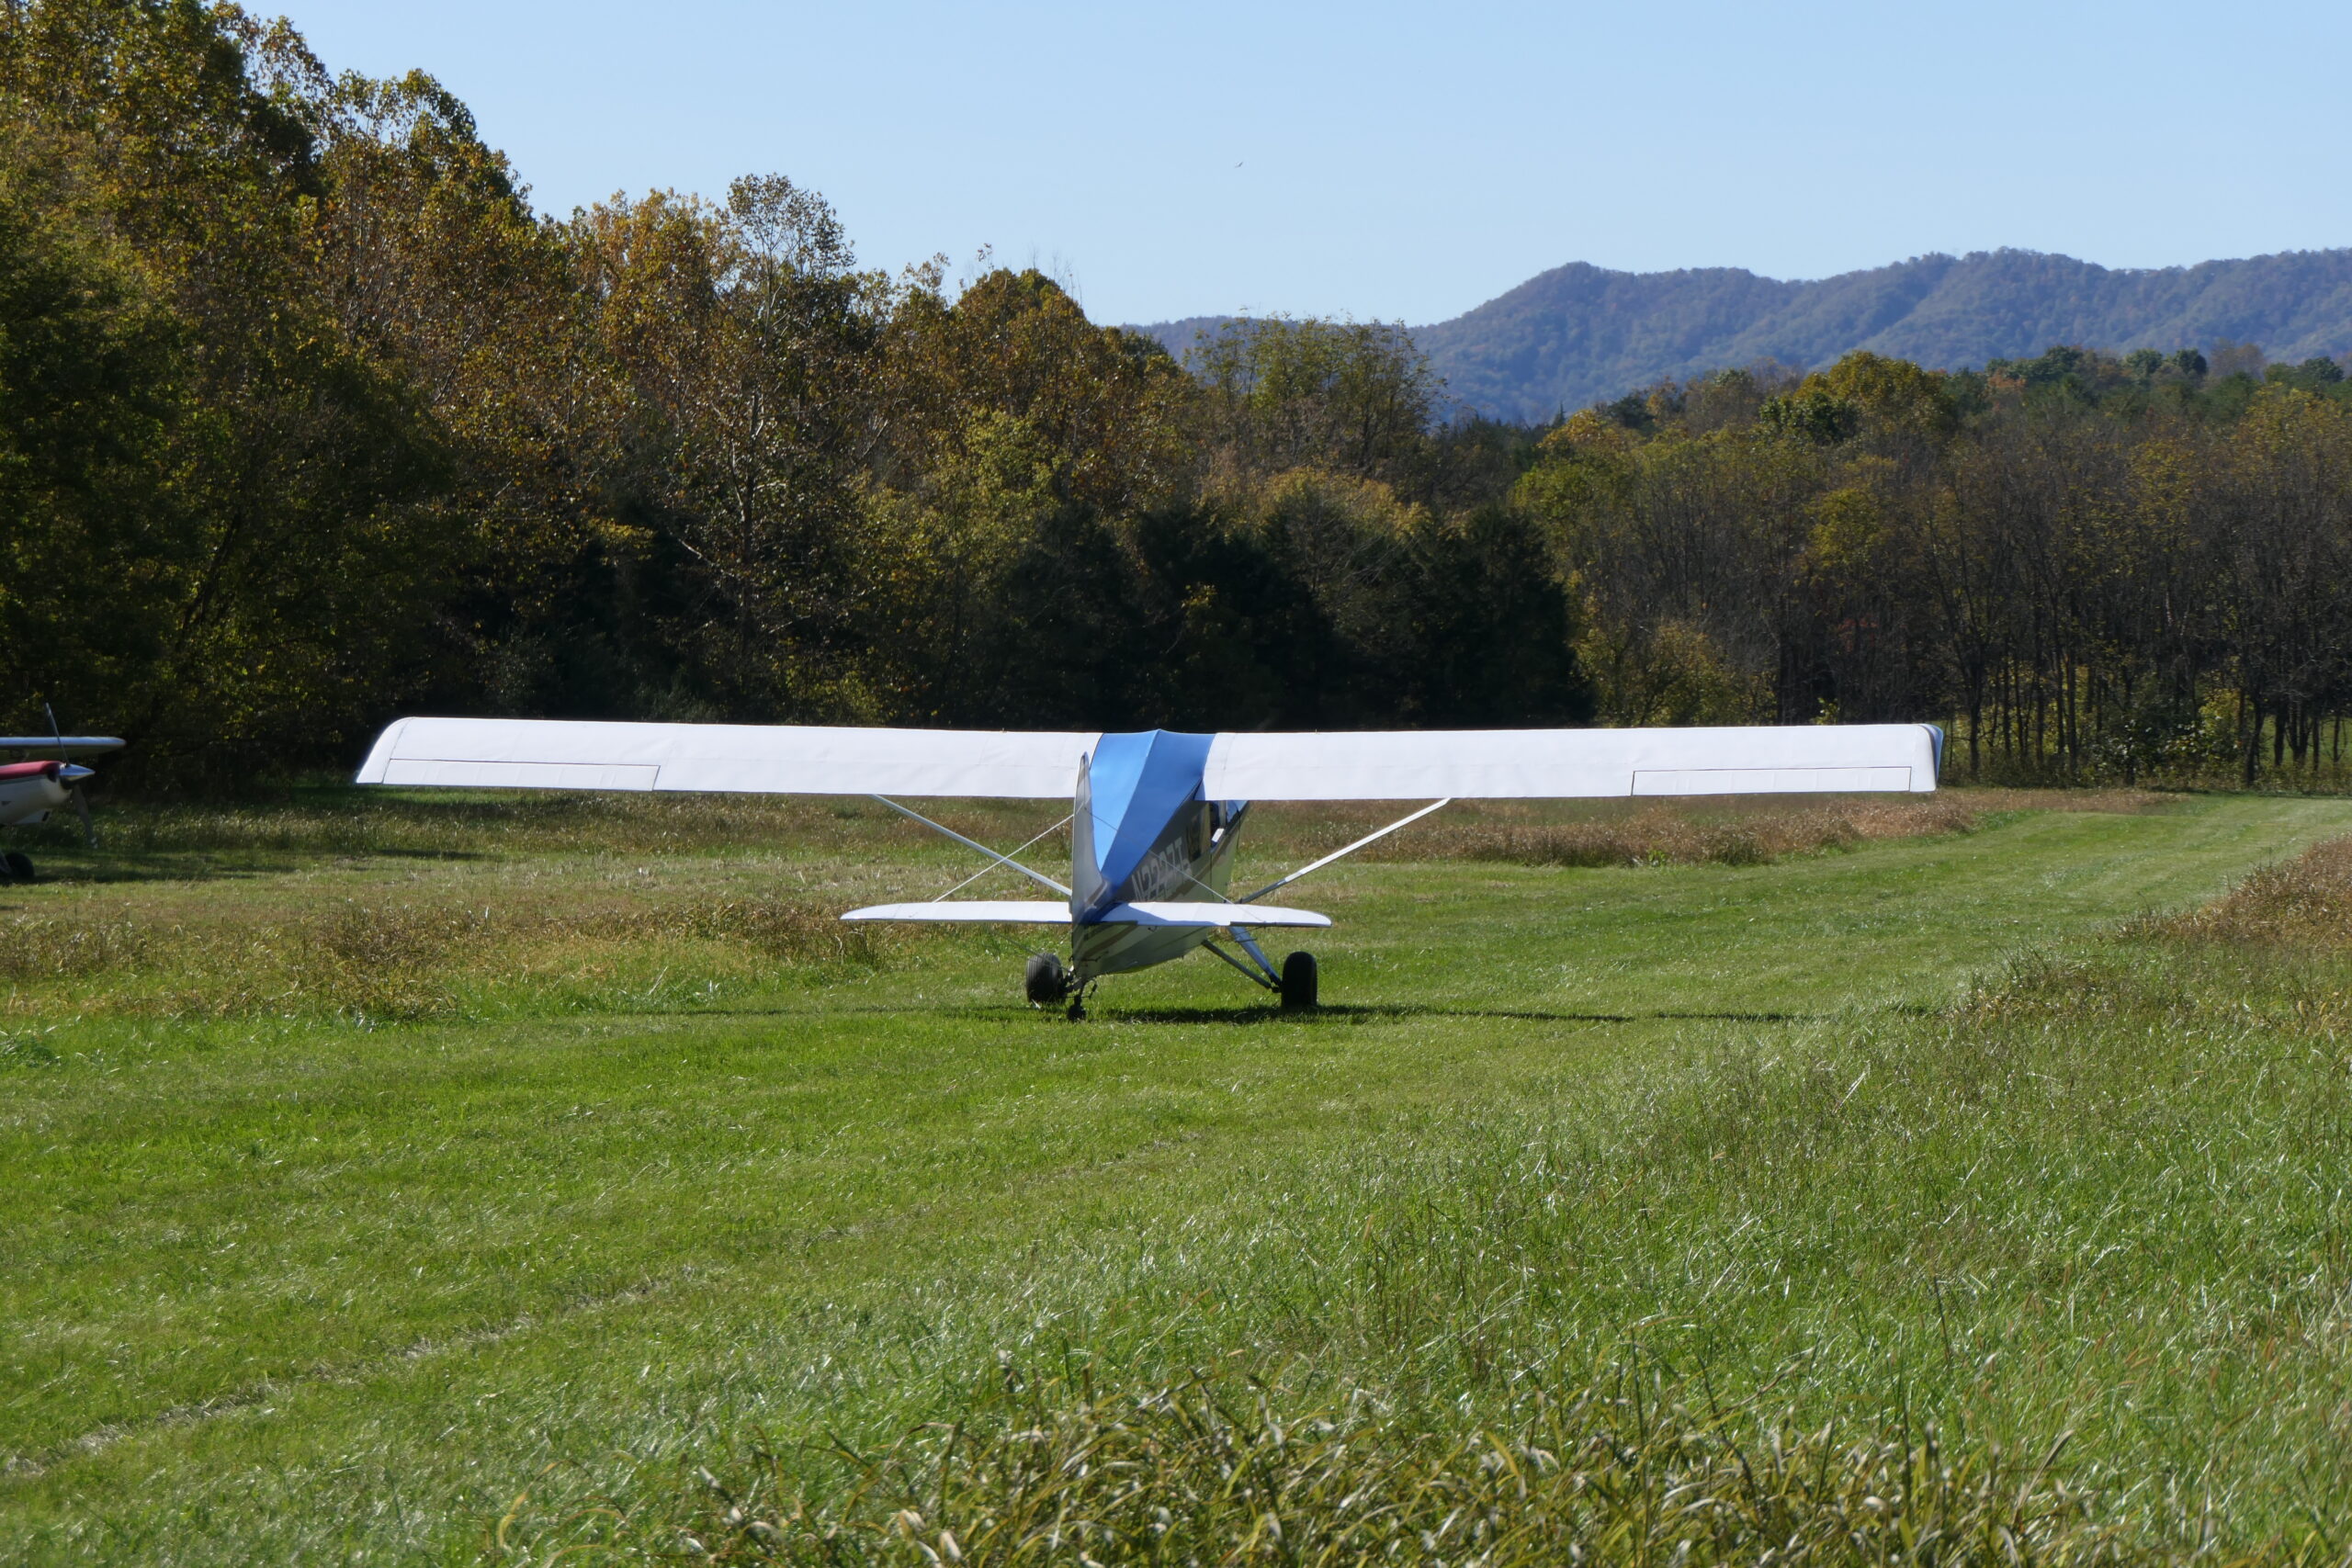
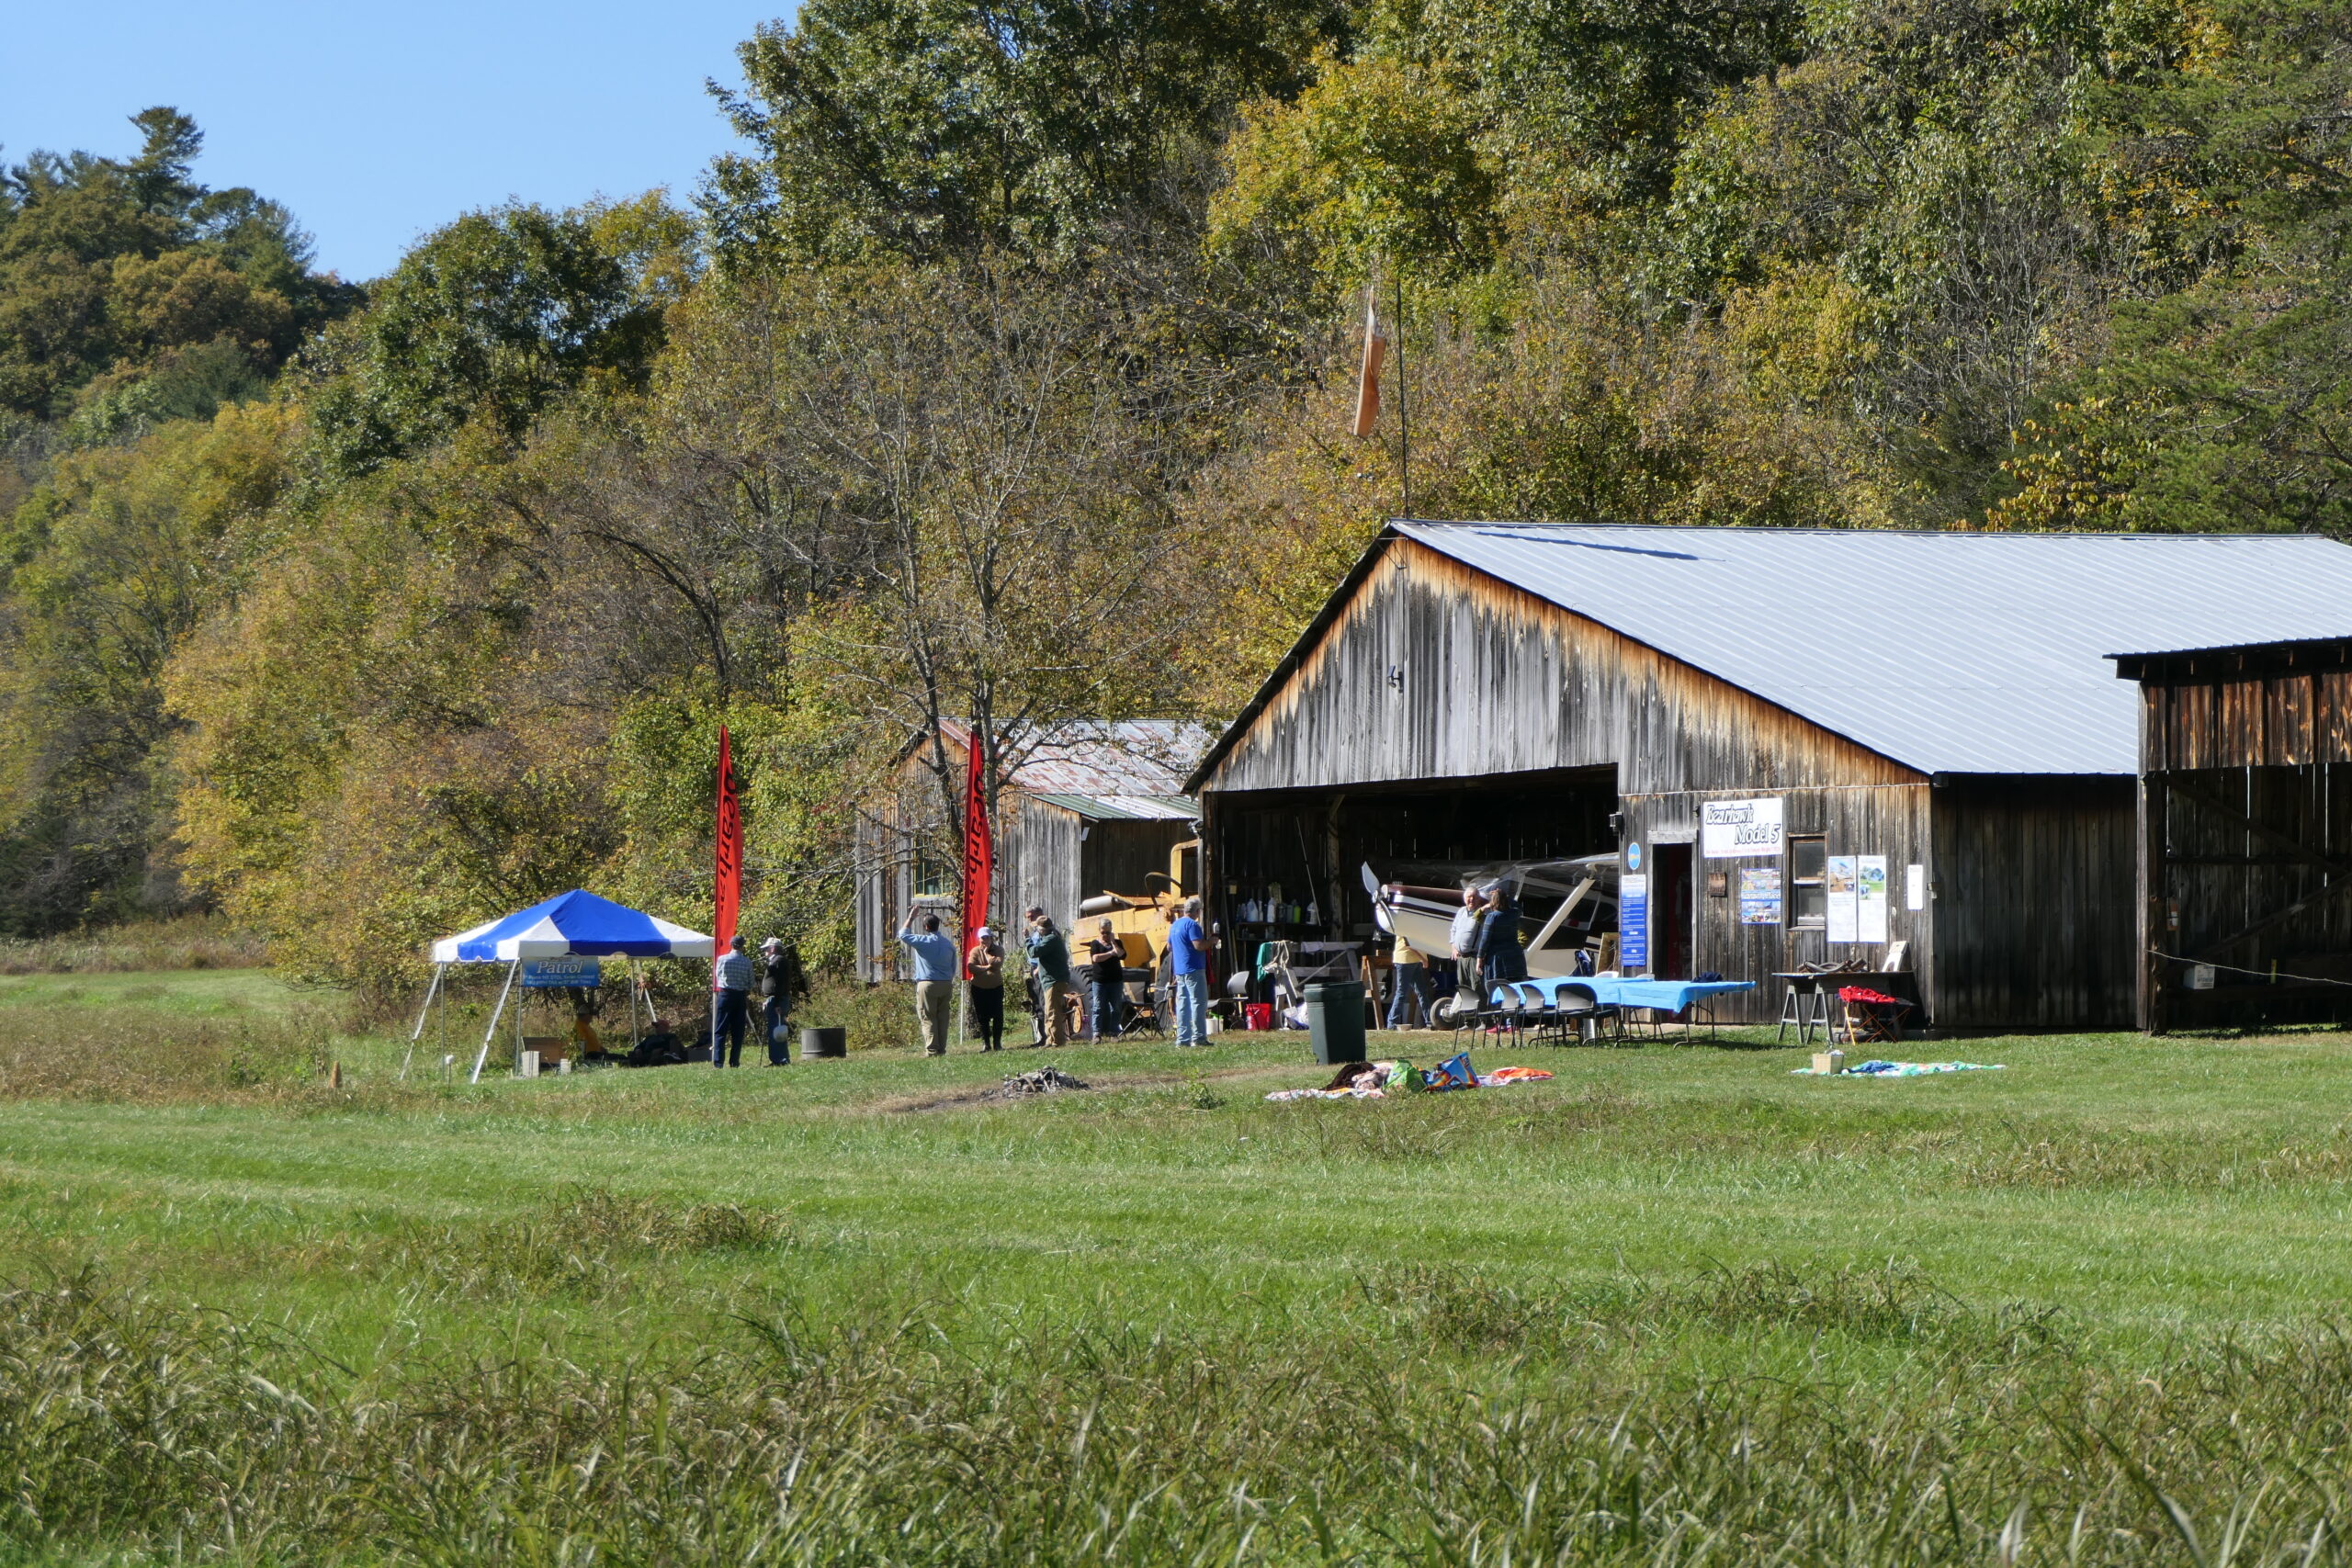
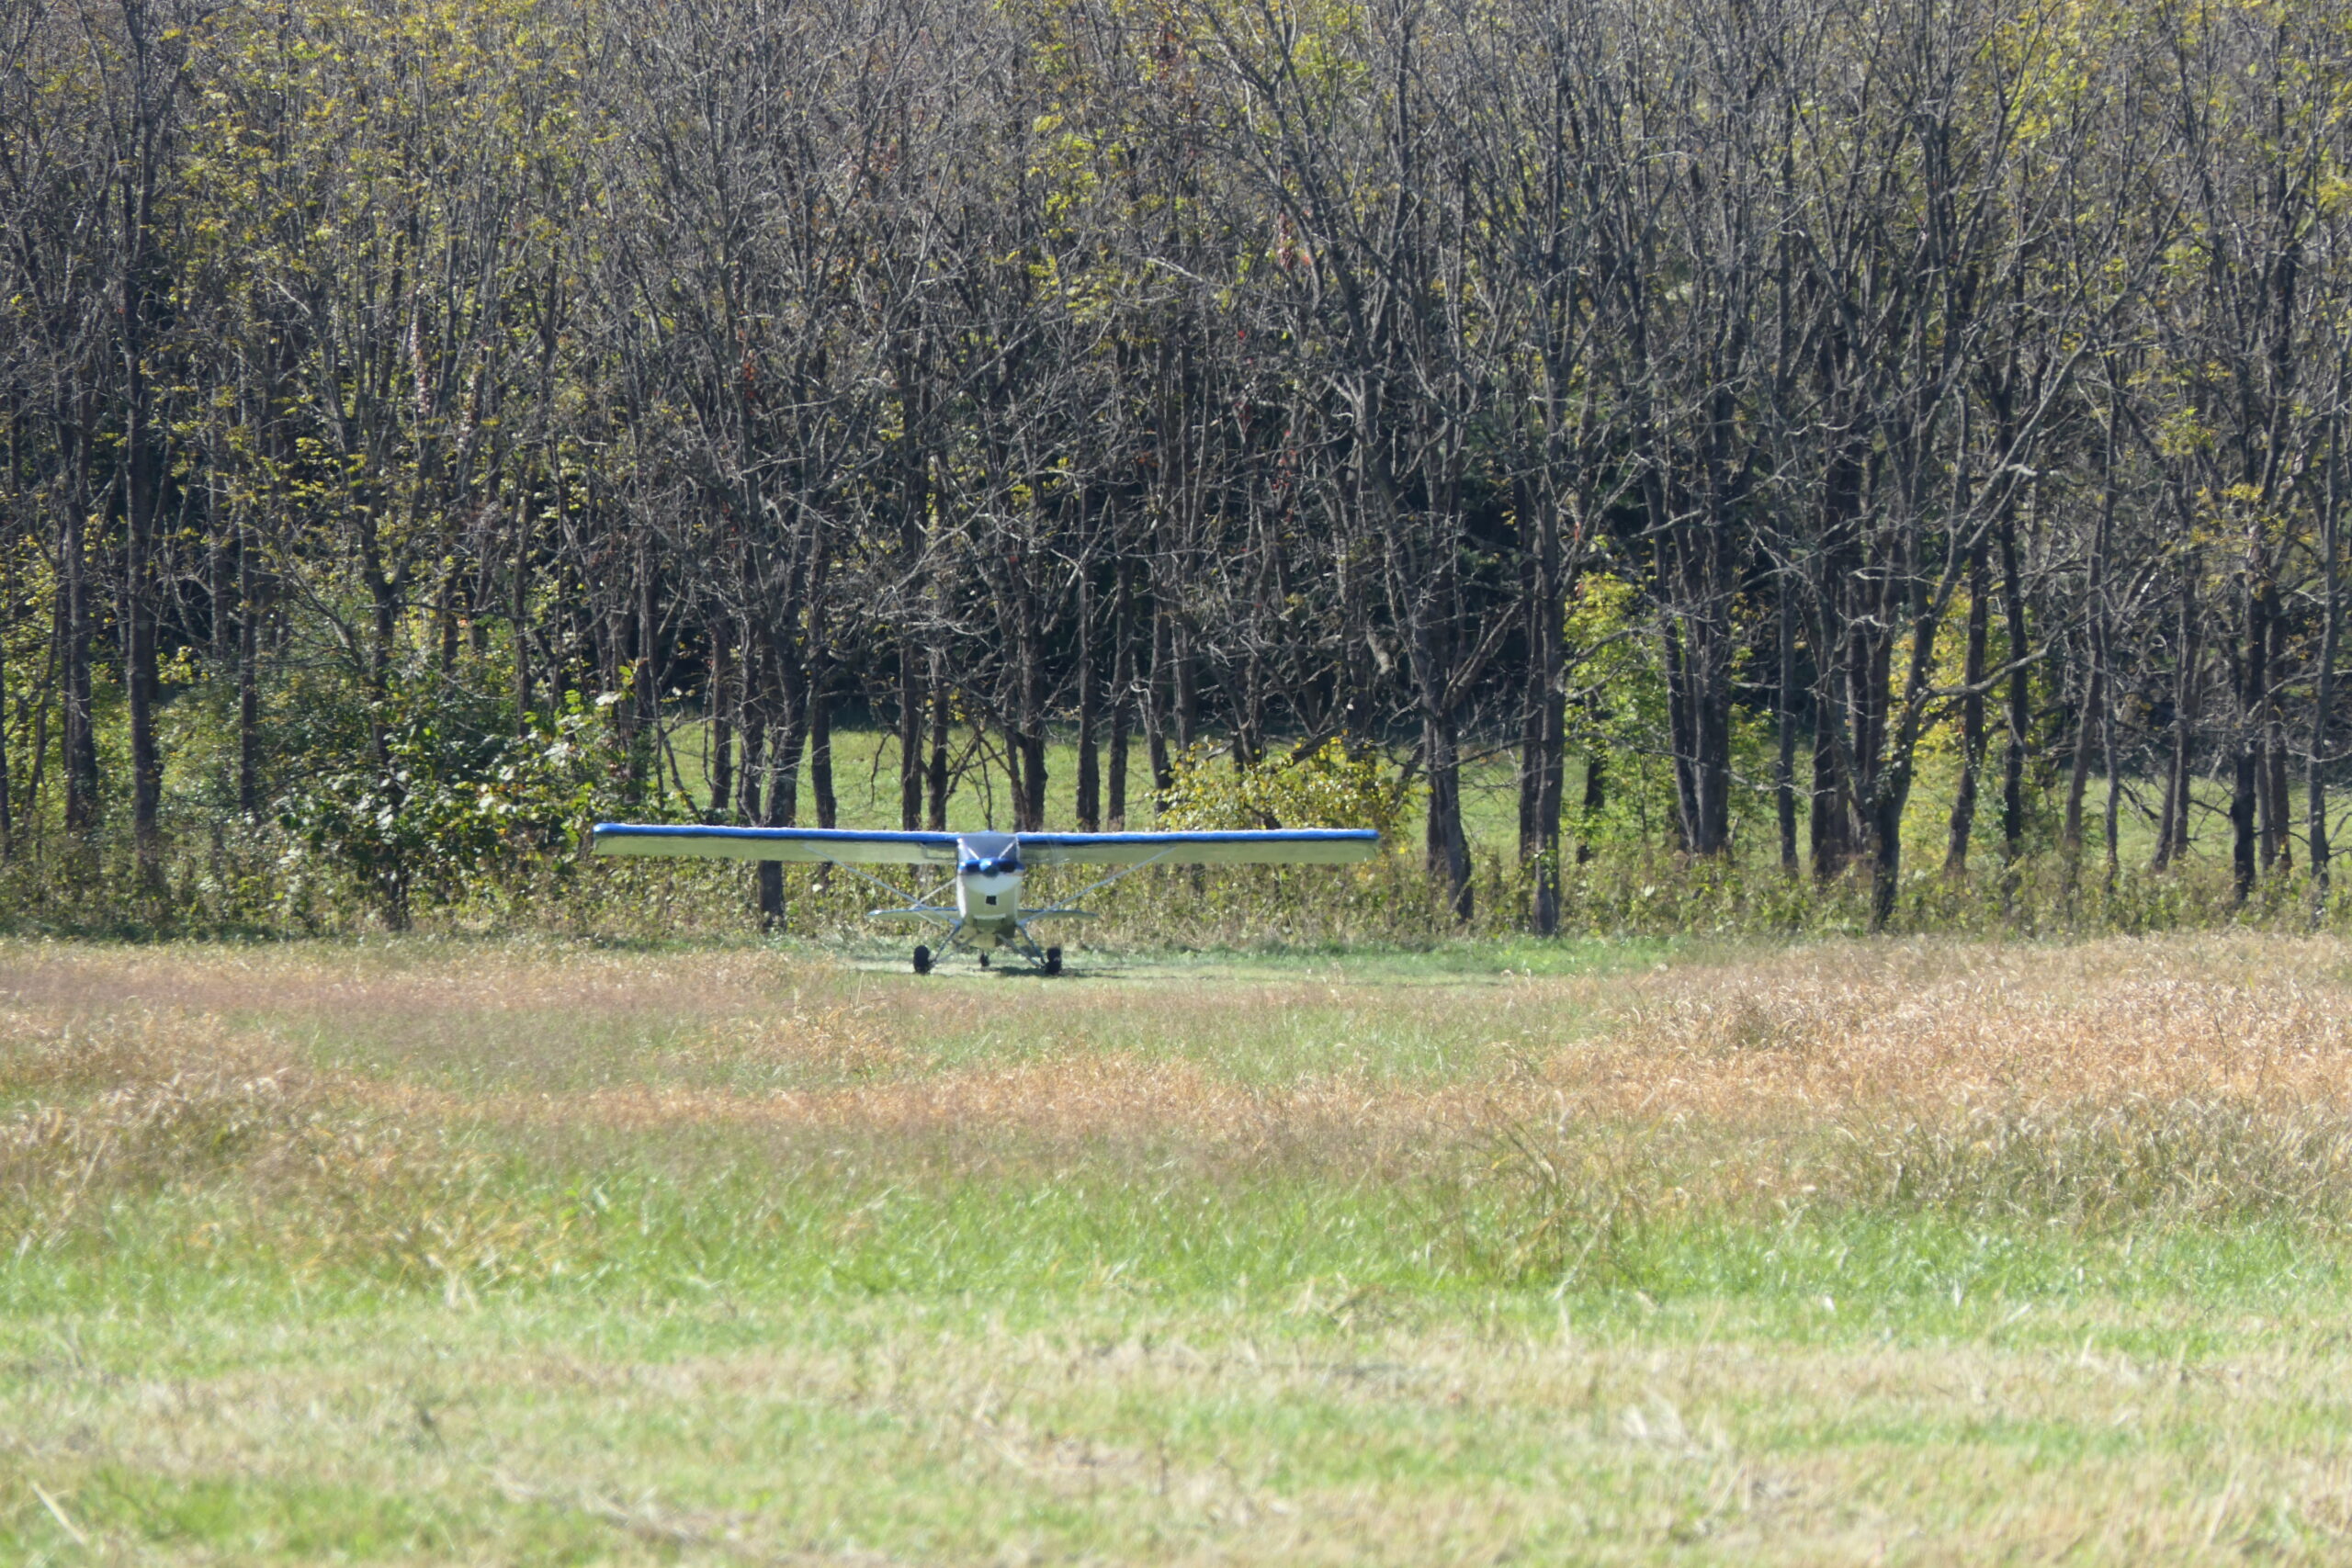
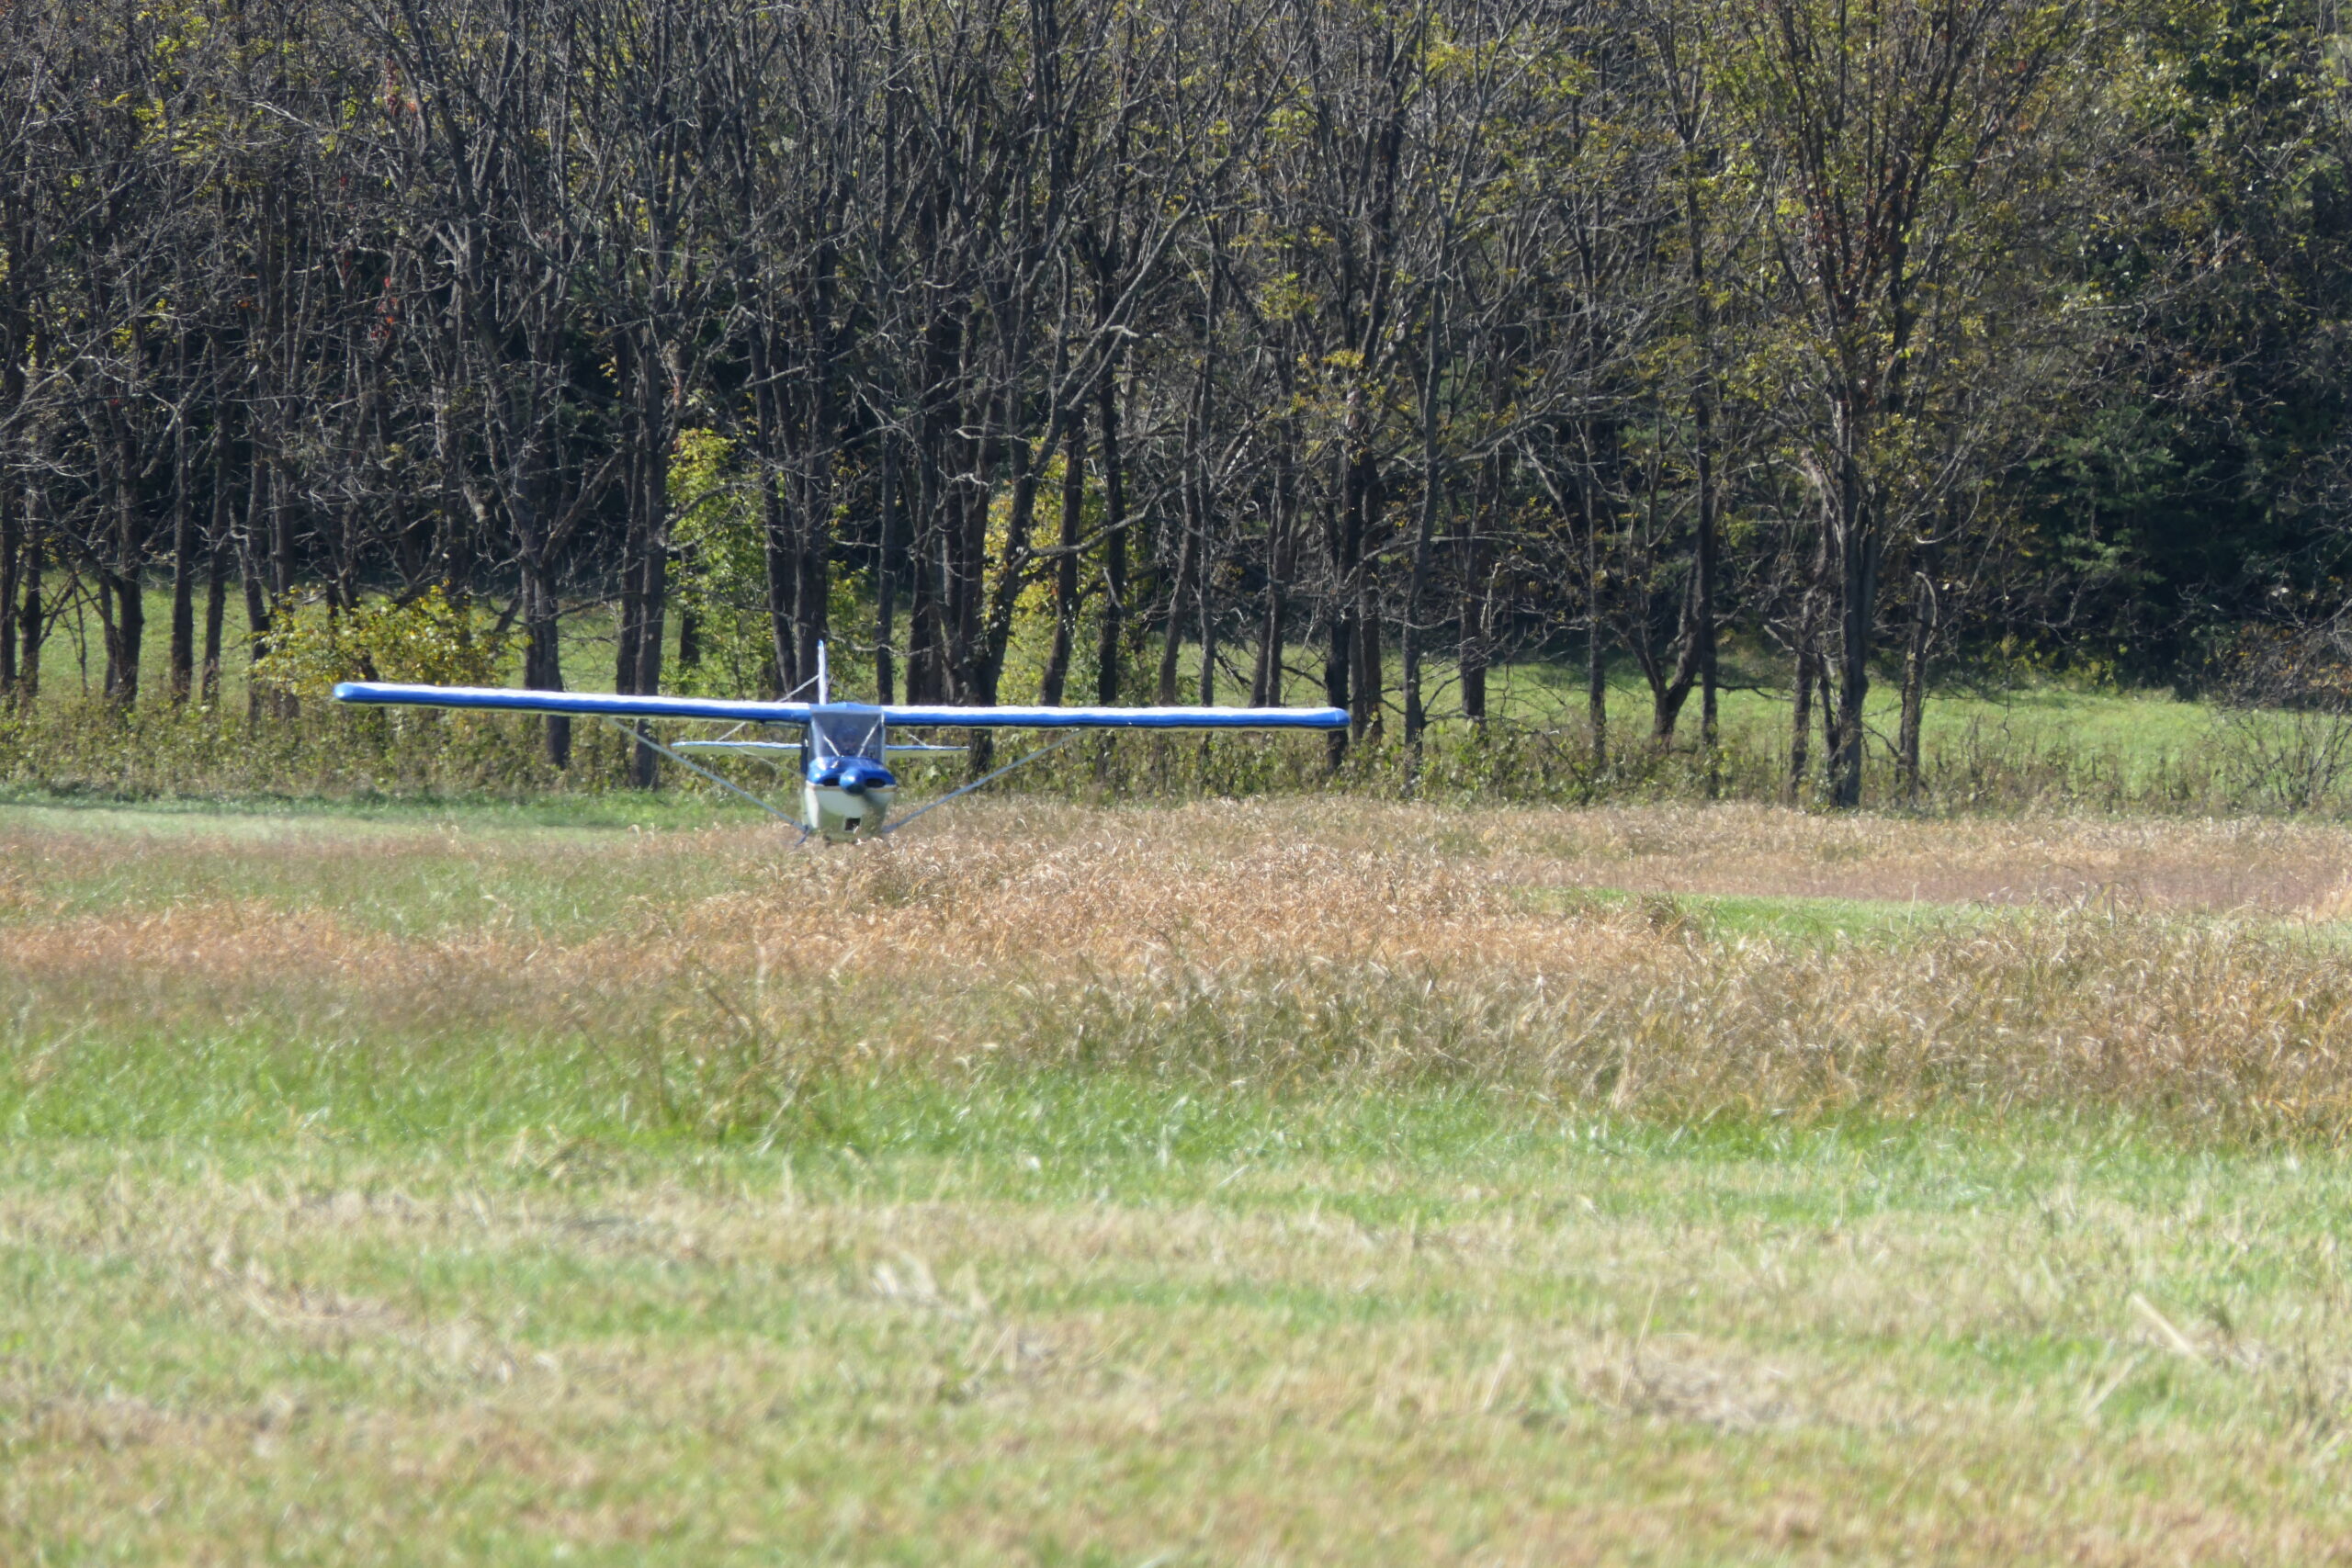
The weather was perfect for Bob’s annual event at VA04. We had light winds, warm temperatures, and a great turnout. Tim Weaver came from Lancaster, Pennsylvania with his white and blue Bearhawk LSA. Rollie Vandorn brought his silver and blue Bearhawk Patrol from Zanesville, Ohio. We brought our Bearhawk 4-Place from North Carolina. Wayne Milbauer’s Bearhawk wasn’t quite ready yet, but he brought his Sportsman. There was a very fancy Stinson from Bob’s local EAA Chapter.
Several Bearhawk builders were also on hand, including Stephen and Monica Murphey from South Carolina, Isa Merkt also from South Carolina, Roy Glenn from Tennessee, Dave Matthews from New York, and also Todd Stock and Carlo Cilliers from Virginia. Michael Riston was there, and we got to meet Bob’s sister Cindy, who has recently moved to Virginia from California.
Todd and Carlo travelled by pickup truck so that they could take home struts, stringers, an engine case for mockup, and probably a few other parts.


A Few Walk-Around Details of Jay Townsend’s Bearhawk Companion, Nearing its First Flight
Source: 2024 Q4 Beartracks
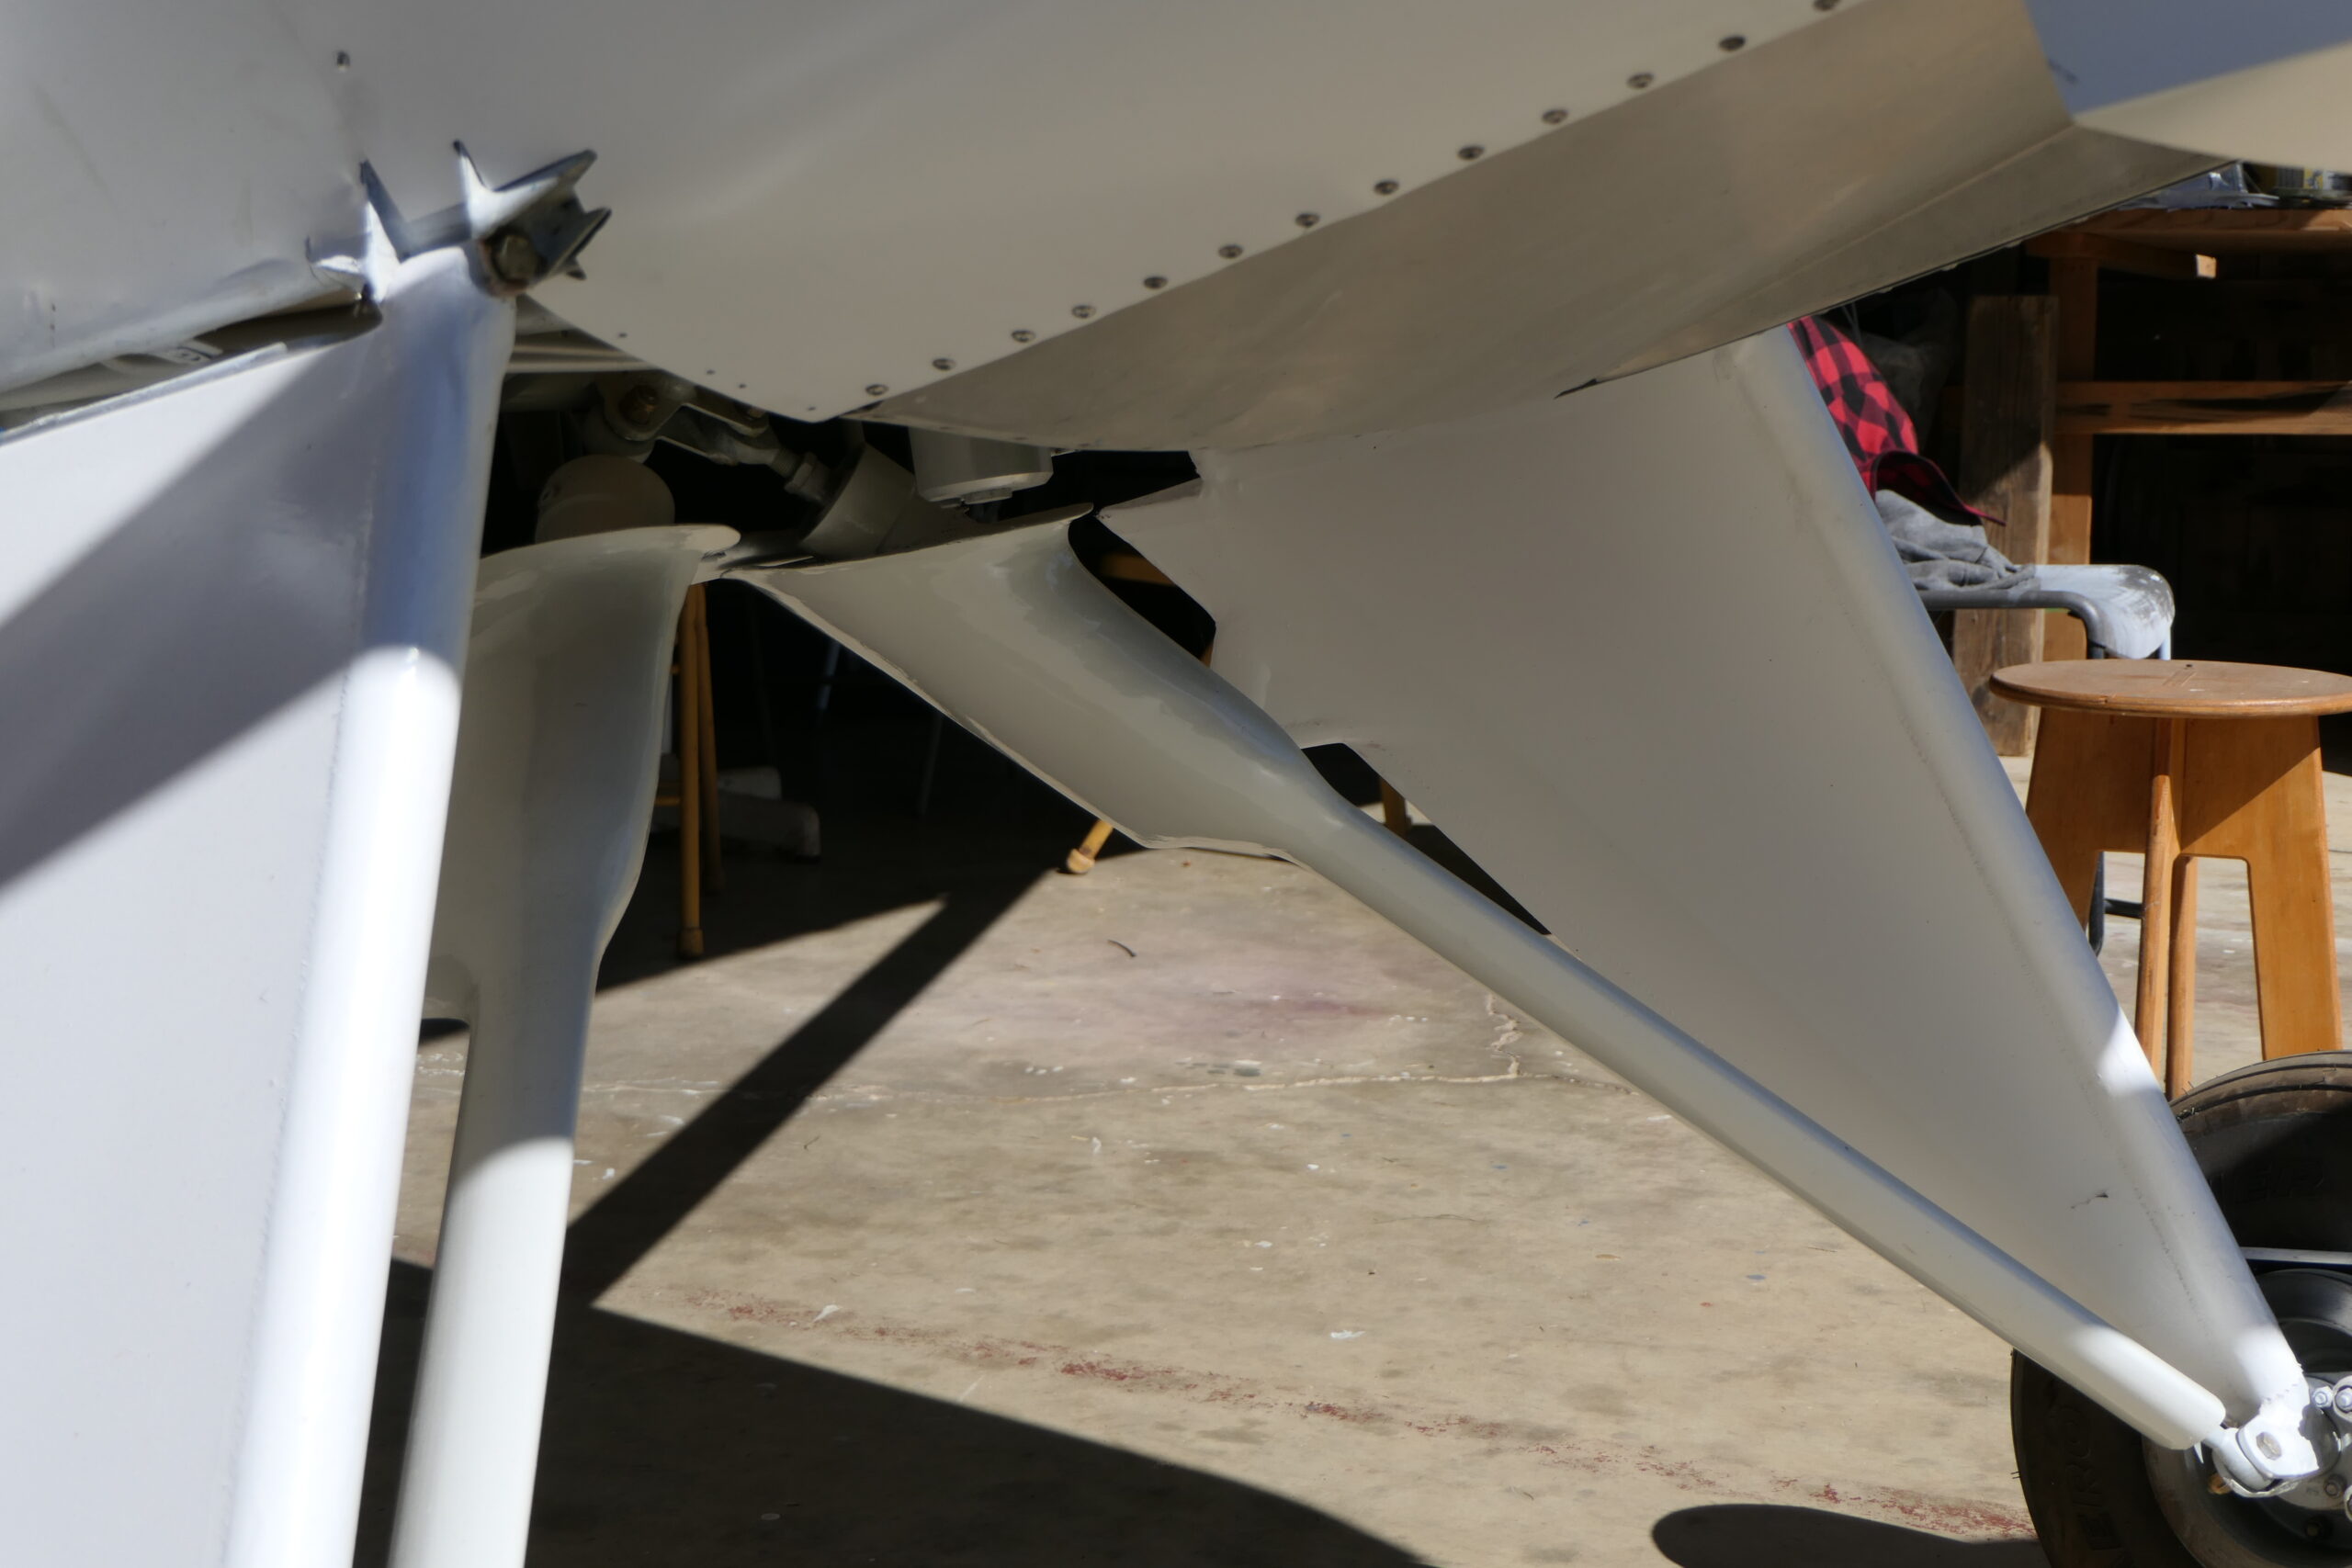
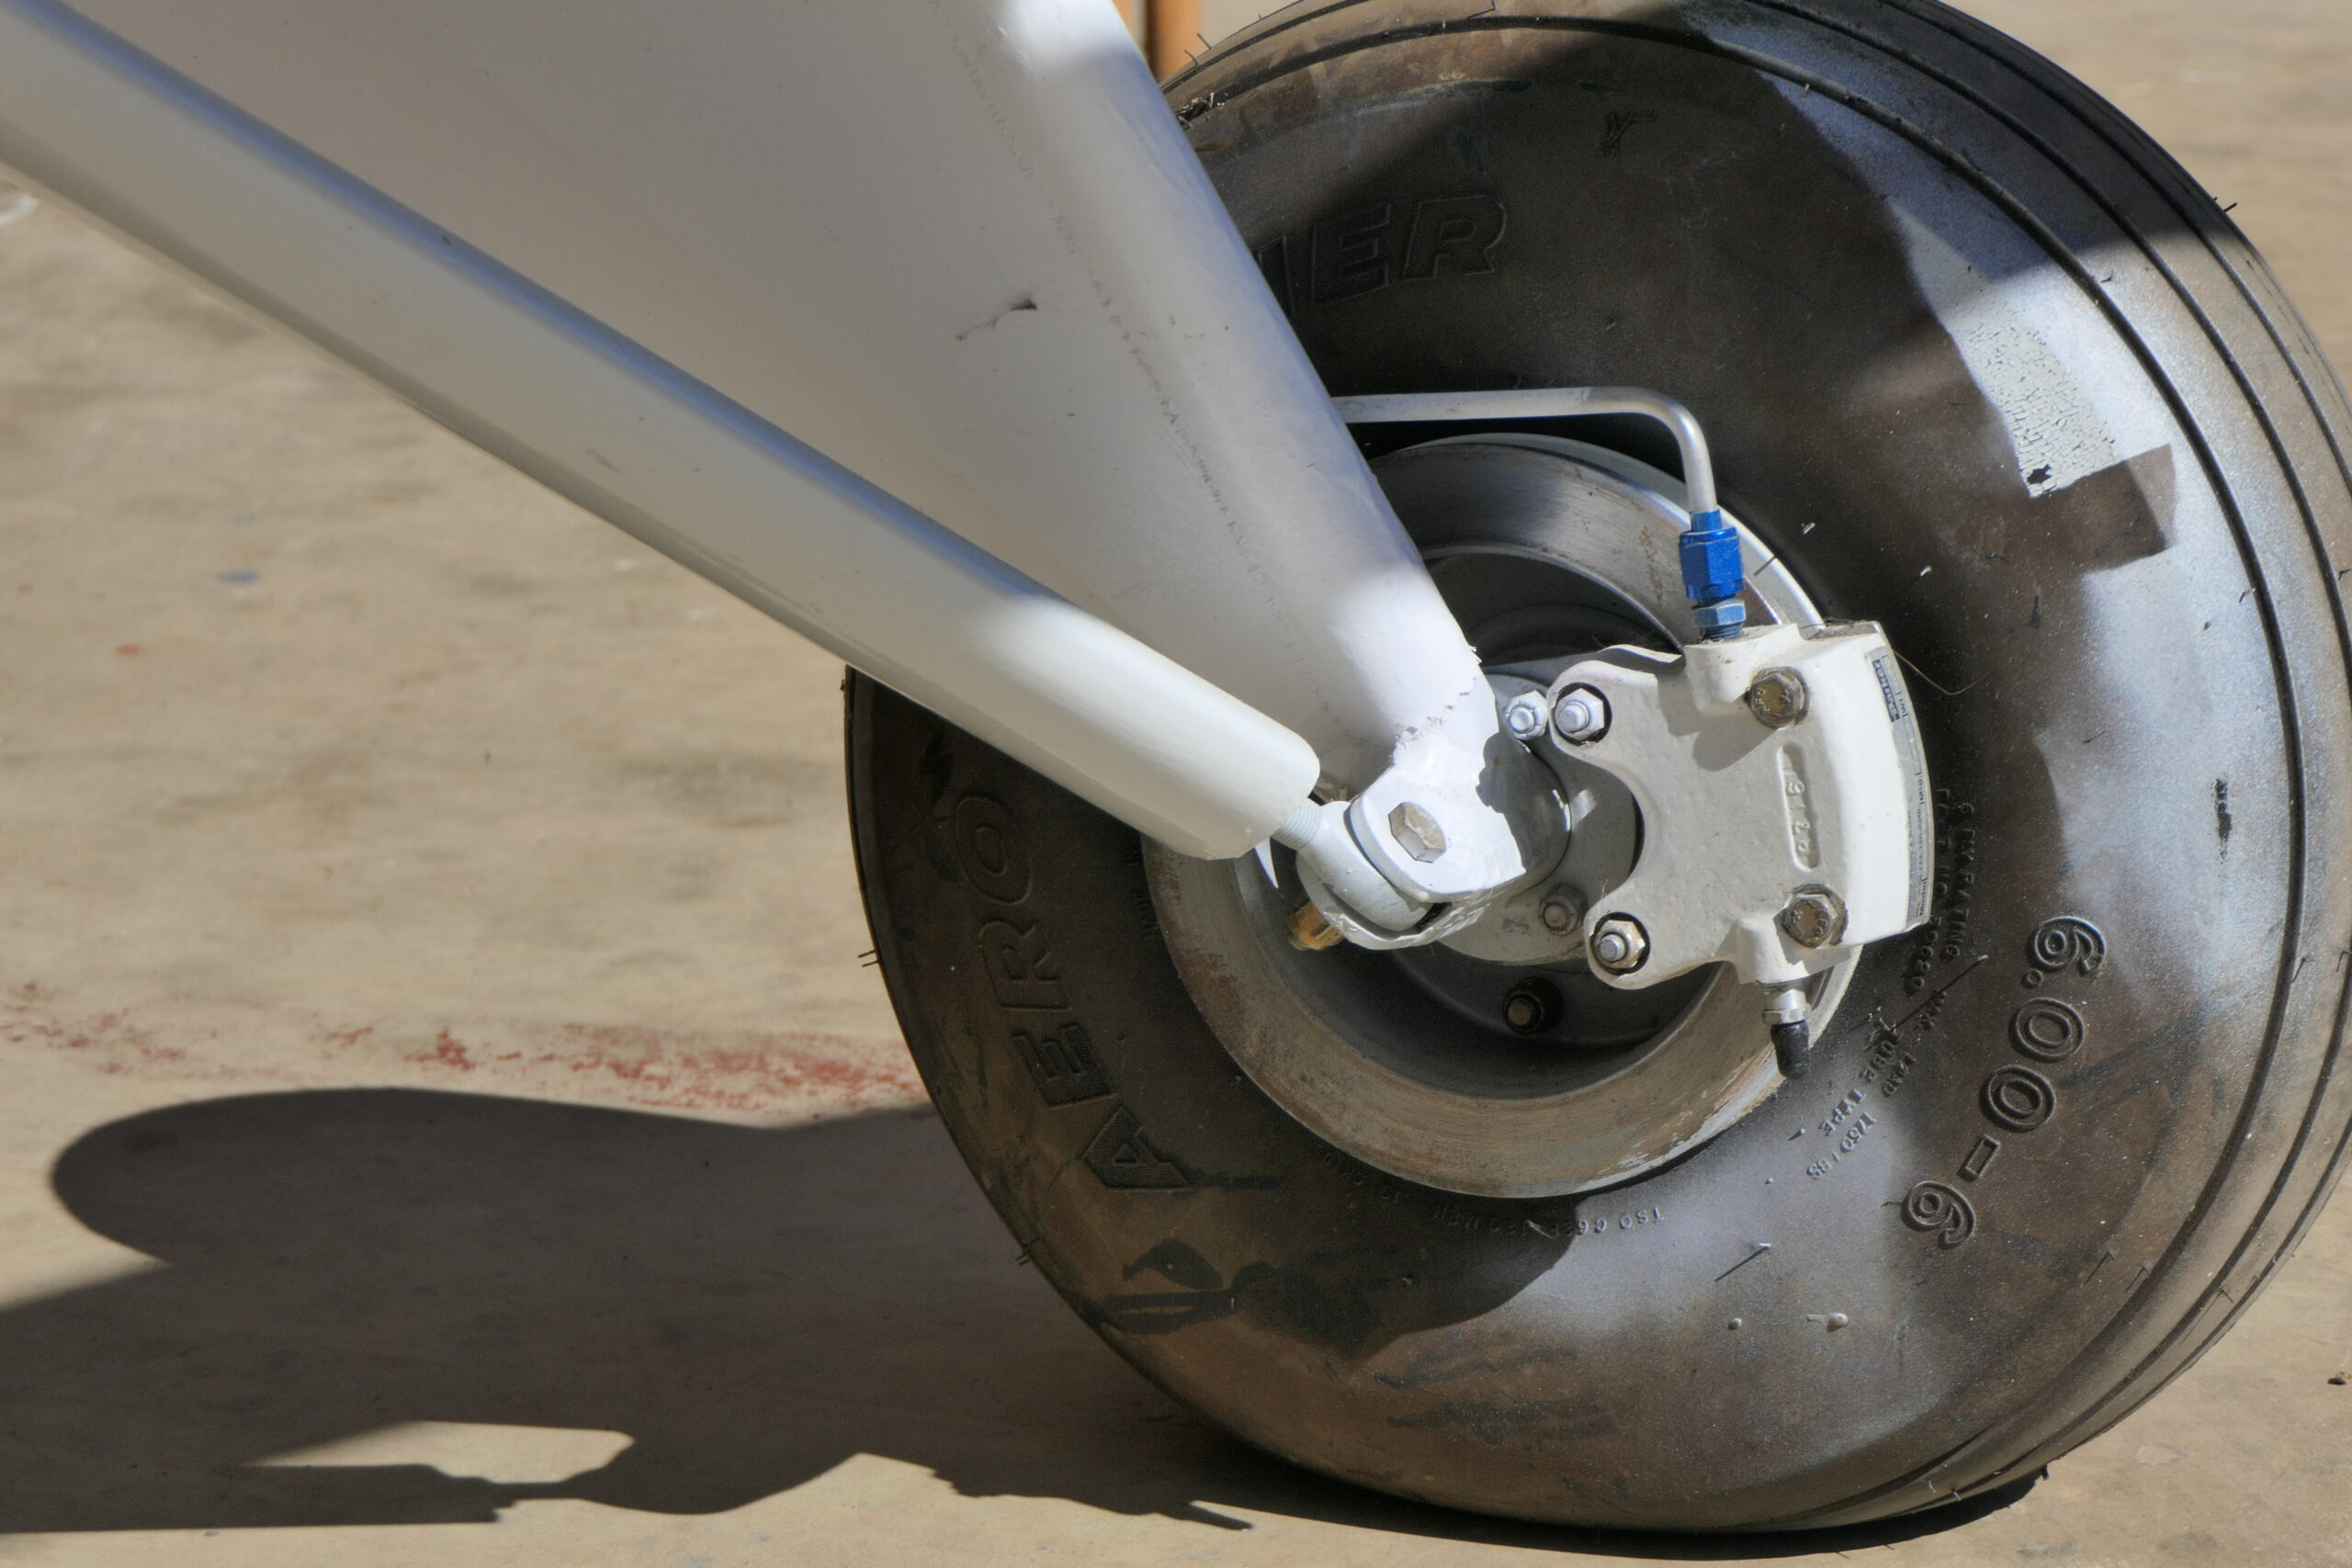
On the boot cowl Jay used a nifty carbon fiber NACA scoop made by Bonehead Composites. The paint is flattened to more closely match the texture of the Oratex covering. The covering is translucent, so poking my head into the tail cone felt like being under the sea. The black box on the left side of the photo (right side of the fuselage) is a tube for longer cargo items like fishing poles. The engine sump includes a heater plug sold by Anti-Splat Aero.
Jay has installed Hall Brothers vortex generators, based on testing from Patrol builder Chris Spira. They are 7.25 inches forward of the main spar rivet line, spaced laterally as the skin overlaps allowed.


Phase 1 Testing Tips
Source: 2024 Q4 Beartracks, Greg Charest
After investing a lot of time and money, your shiny new Bearhawk is complete and has a special airworthiness certificate. You have taken transition training, made decisions about insurance and your first flight was a success. Fantastic! You are officially in Phase 1 Testing. But what now?
As you probably know, the FAA allows two different approaches to Phase 1 testing:
1) You can operate the aircraft within a designated area for some number of hours (usually 25 or 40) with some number of takeoffs and landings (generally 10 or 20) to complete Phase 1. These limits are specified in the Operating Limitations that accompany your Airworthiness Certificate.
2) Alternatively, you can use the Task-Based Approach to testing outlined in Advisory Circular (AC) 90-89C. This program was developed in cooperation between the FAA and EAA. It outlines 21 different test areas and associated test cards that can be used to document the process and results.
There are compelling reasons to use the Task-Based approach, not the least of which is that you would likely do something similar even if you chose to simply fly the 40 hours. After all, you want to know best glide, Vx, Vy, stall speeds, effects of various flaps settings and so on. Why not take advantage of the structured approach and do it in a methodical manner? As a side benefit, it may be possible to complete Phase 1 in a shorter period as the requirement is to develop and carry out a plan, not meet an arbitrary time goal.
It’s important to keep in mind that the Task Based Approach is FAA guidance, not a set of regulatory requirements. It is intended to help you develop an individualized plan. The related EAA Flight Test Manual is a concrete example of a task-based plan. You can and should feel free to create a plan that meets your needs. While the EAA documents are quite good you may want to include other tools in your plan. For example, The Bootstrap Approach to Aircraft Performance by John T Lowry is an excellent alternative to help calculating V speeds and rates and angles of climb/decent. See Jared Yates’ article in KITPLANES magazine for a review and explanation.
While the task-based approach is superior, there are some practical difficulties in completing the tests. The most significant issue is that there is often a lot to do at the same time. Precise flying, monitoring engine data, watching for traffic and collecting the required performance data can be a lot to manage by yourself. This is especially true if, like the typical builder, you have spent a lot more time building than flying in the last couple of years and are a little rusty.
There are a couple of ways to make the testing process a little easier and to generate better test data. One is human-related and the other technological. The human solution is to use the Additional Pilot Program for Phase I Flight Test Program described in Advisory Circular 90-116. Note that this only applies to aircraft built from commercially produced kits. Operating limitations issued for Phase I operations restrict the number on board an aircraft to the minimum flight crew. In general, the minimum crew for a typical E-AB aircraft is one (you). AC 90-116 provides a mechanism that allows you to have a second pilot on board to assist in the testing process. It defines two categories of pilots approved to assist: Qualified Pilots (QP) and Observer Pilots (OP). Qualified pilots can participate immediately but the QP experience qualifications are quite high (see 90-116 for the specifics). Observer pilot qualifications are lower, but you must complete the first 8 hours of testing, including a specific set of tests and maneuvers, before you can use an observer pilot. If you want to have another pilot assist you, it makes sense to modify your test plan to meet these requirements early on.
The technological solution works if your airplane has an EFIS. Most if not all EFIS systems are able to write data to a log file. The Garmin G3X for example logs 81 data elements every second, some are direct measurements, and some are calculated values. These are written in a standard comma separated format. This relieves you from the need to write down key altitudes, airspeeds, times etc. and allows you to focus more on flying the maneuvers, watching for traffic and staying inside your designated testing zone.
There is an amazing amount of useful data in the log file, but it can be overwhelming. A typical test flight will result in a >3000 row spreadsheet. Finding and selecting the relevant records and values can be a challenge. It’s helpful to use the tools provided by whatever spreadsheet program you prefer to reduce the data set. Spending a little time to hide the columns you don’t need and freeze the field name rows is worth the time. More advanced techniques to average some of the measurements may also help to reduce short term variability in the recorded data.
Even after cleaning up the data it can still can be tedious to find the records that correspond to precise start/stop times in such a large data set. This is where the web application at https://www.flysto.net is especially useful. This tool can analyze the log file, separate the flight into parts, map your flight path and plot altitude, speed, pitch, bank etc. Placing your mouse pointer over a specific point on the flight track will display the related time field. This lets you pick a portion of the test flight graphically and directly match it to the corresponding rows in the data. You can see in the example below how straightforward it is to select the exact time elements for the climb/descent portions of the test I was flying. The flysto.net tool is free and has many other useful capabilities.
Flight testing is not easy and can be a little frustrating. Real world data rarely looks as nice as the textbook examples. Hopefully some of these tips can help you get better results and focus on the fun and educational aspects of the Phase 1 process.

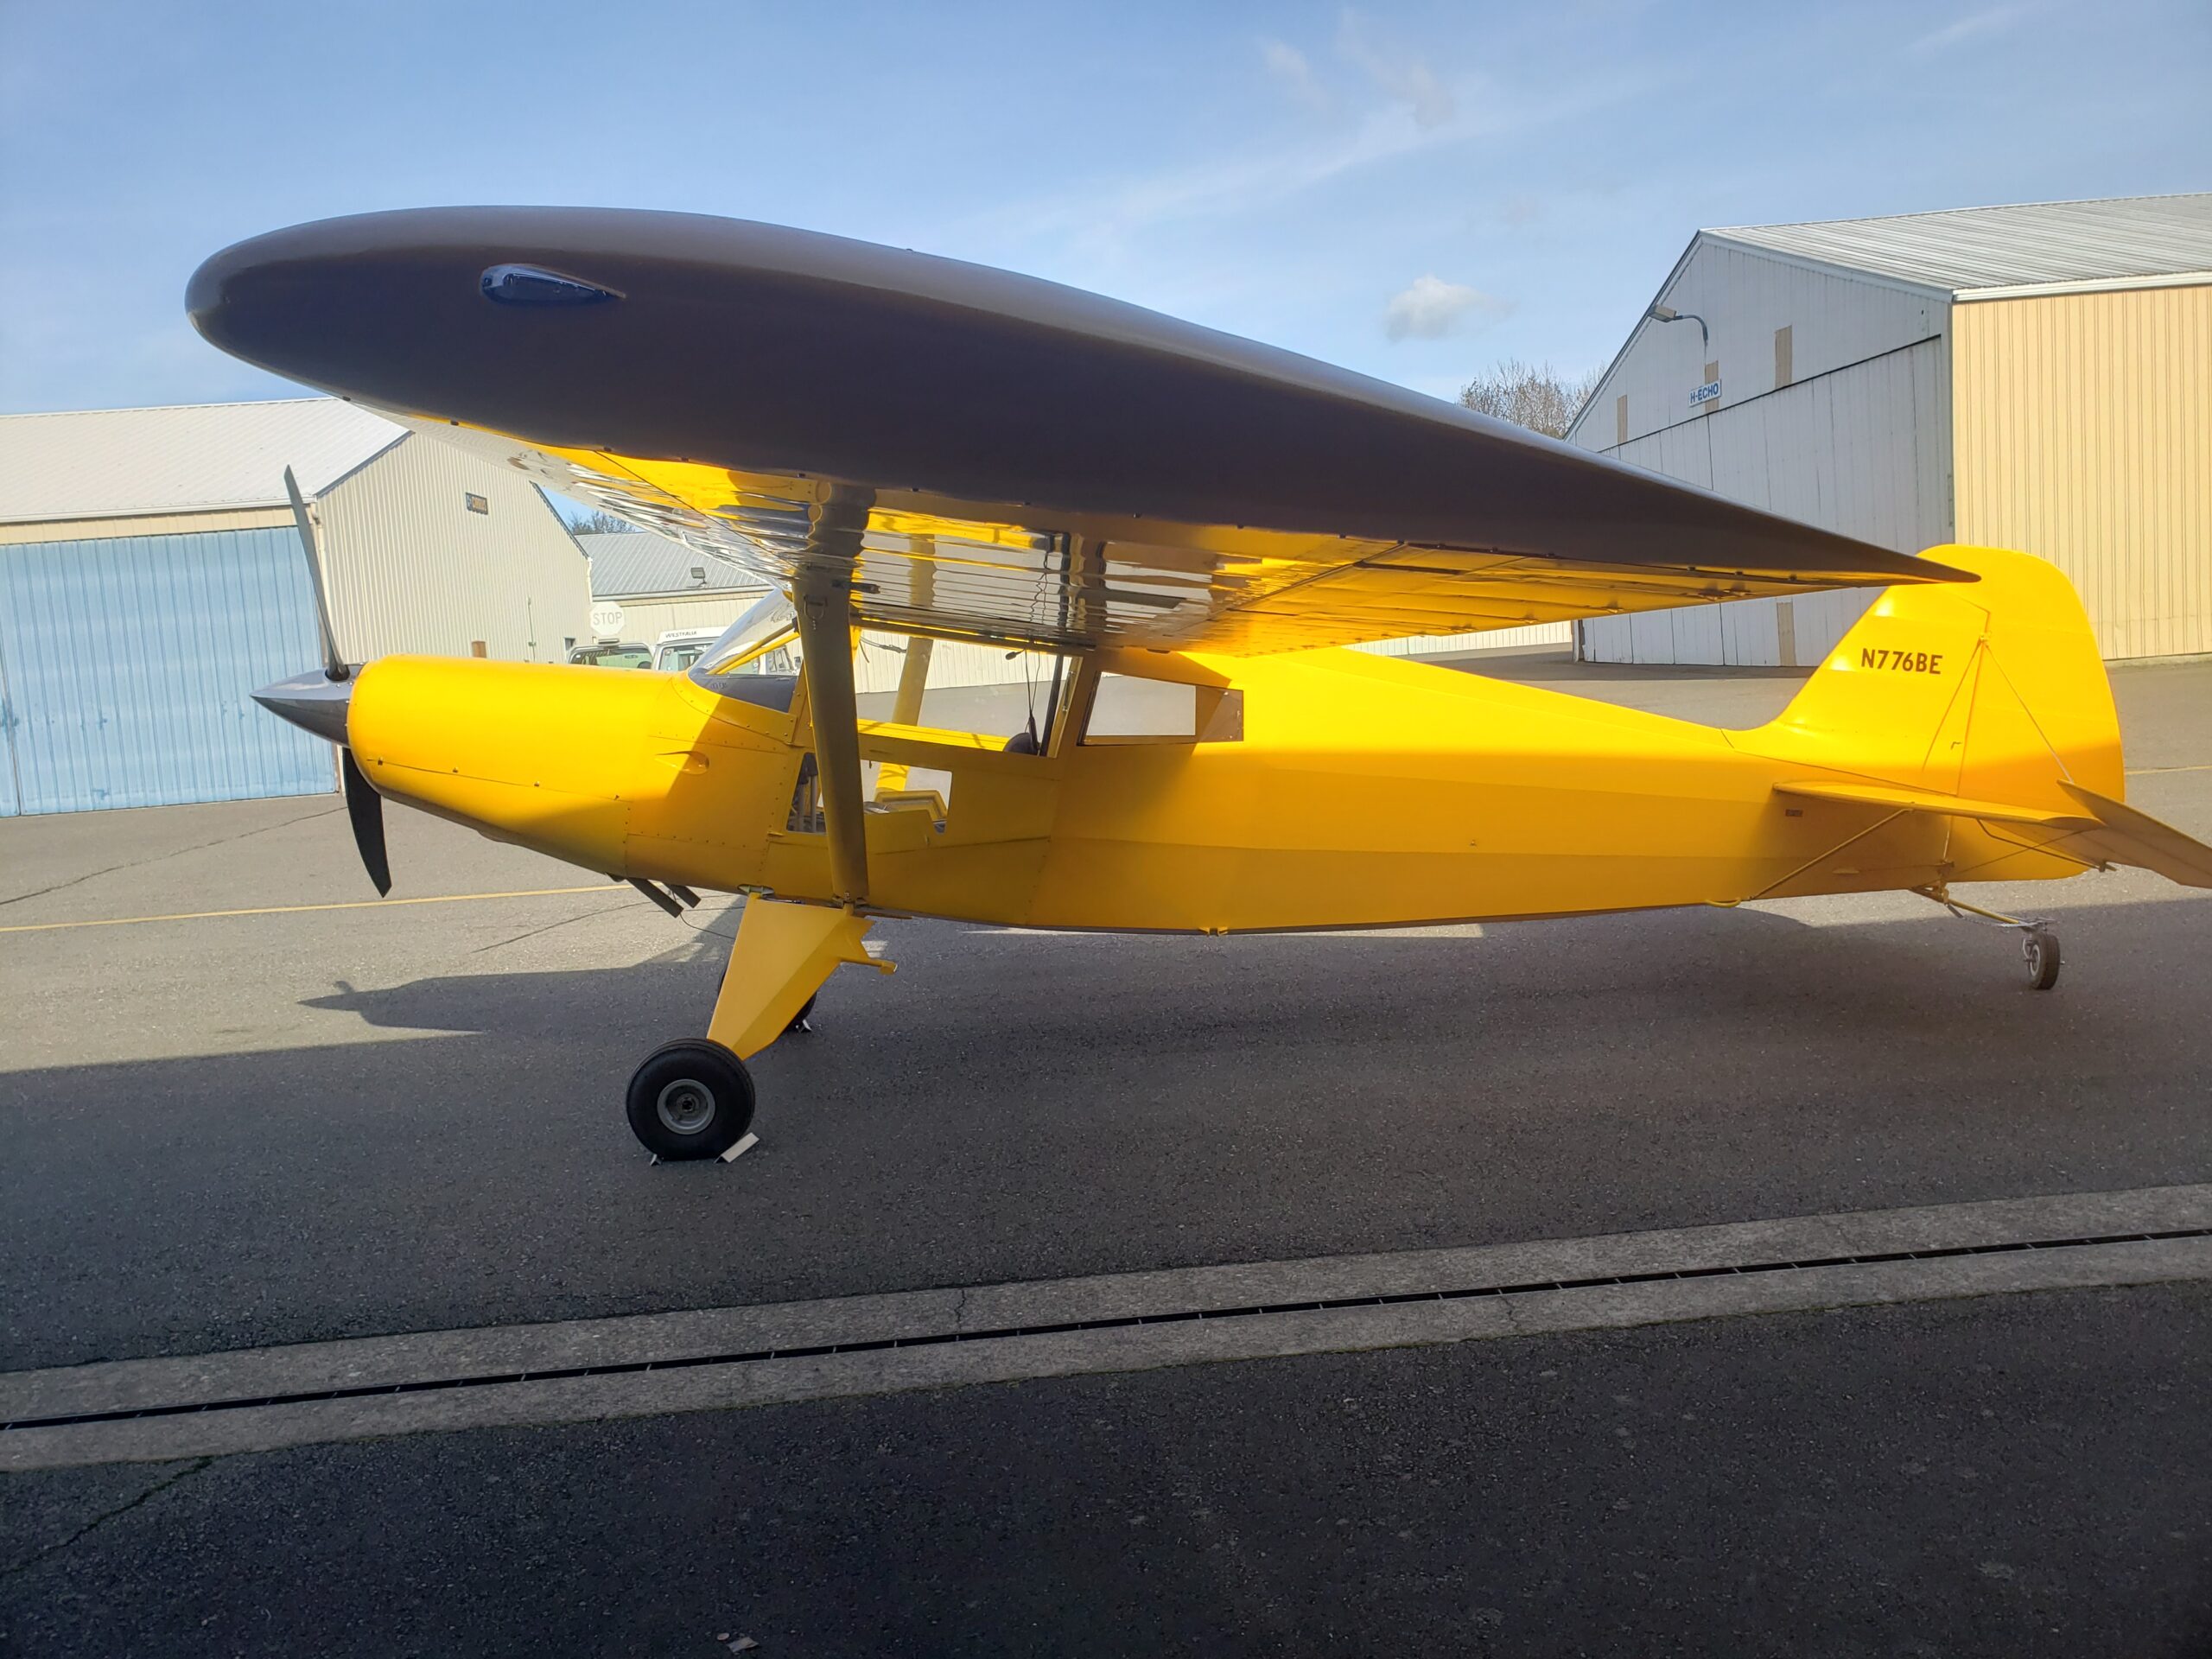
Bearhawk 4-Place N776BE First Flight in Washington
Source: 2024 Q4 Beartracks, John Reddick
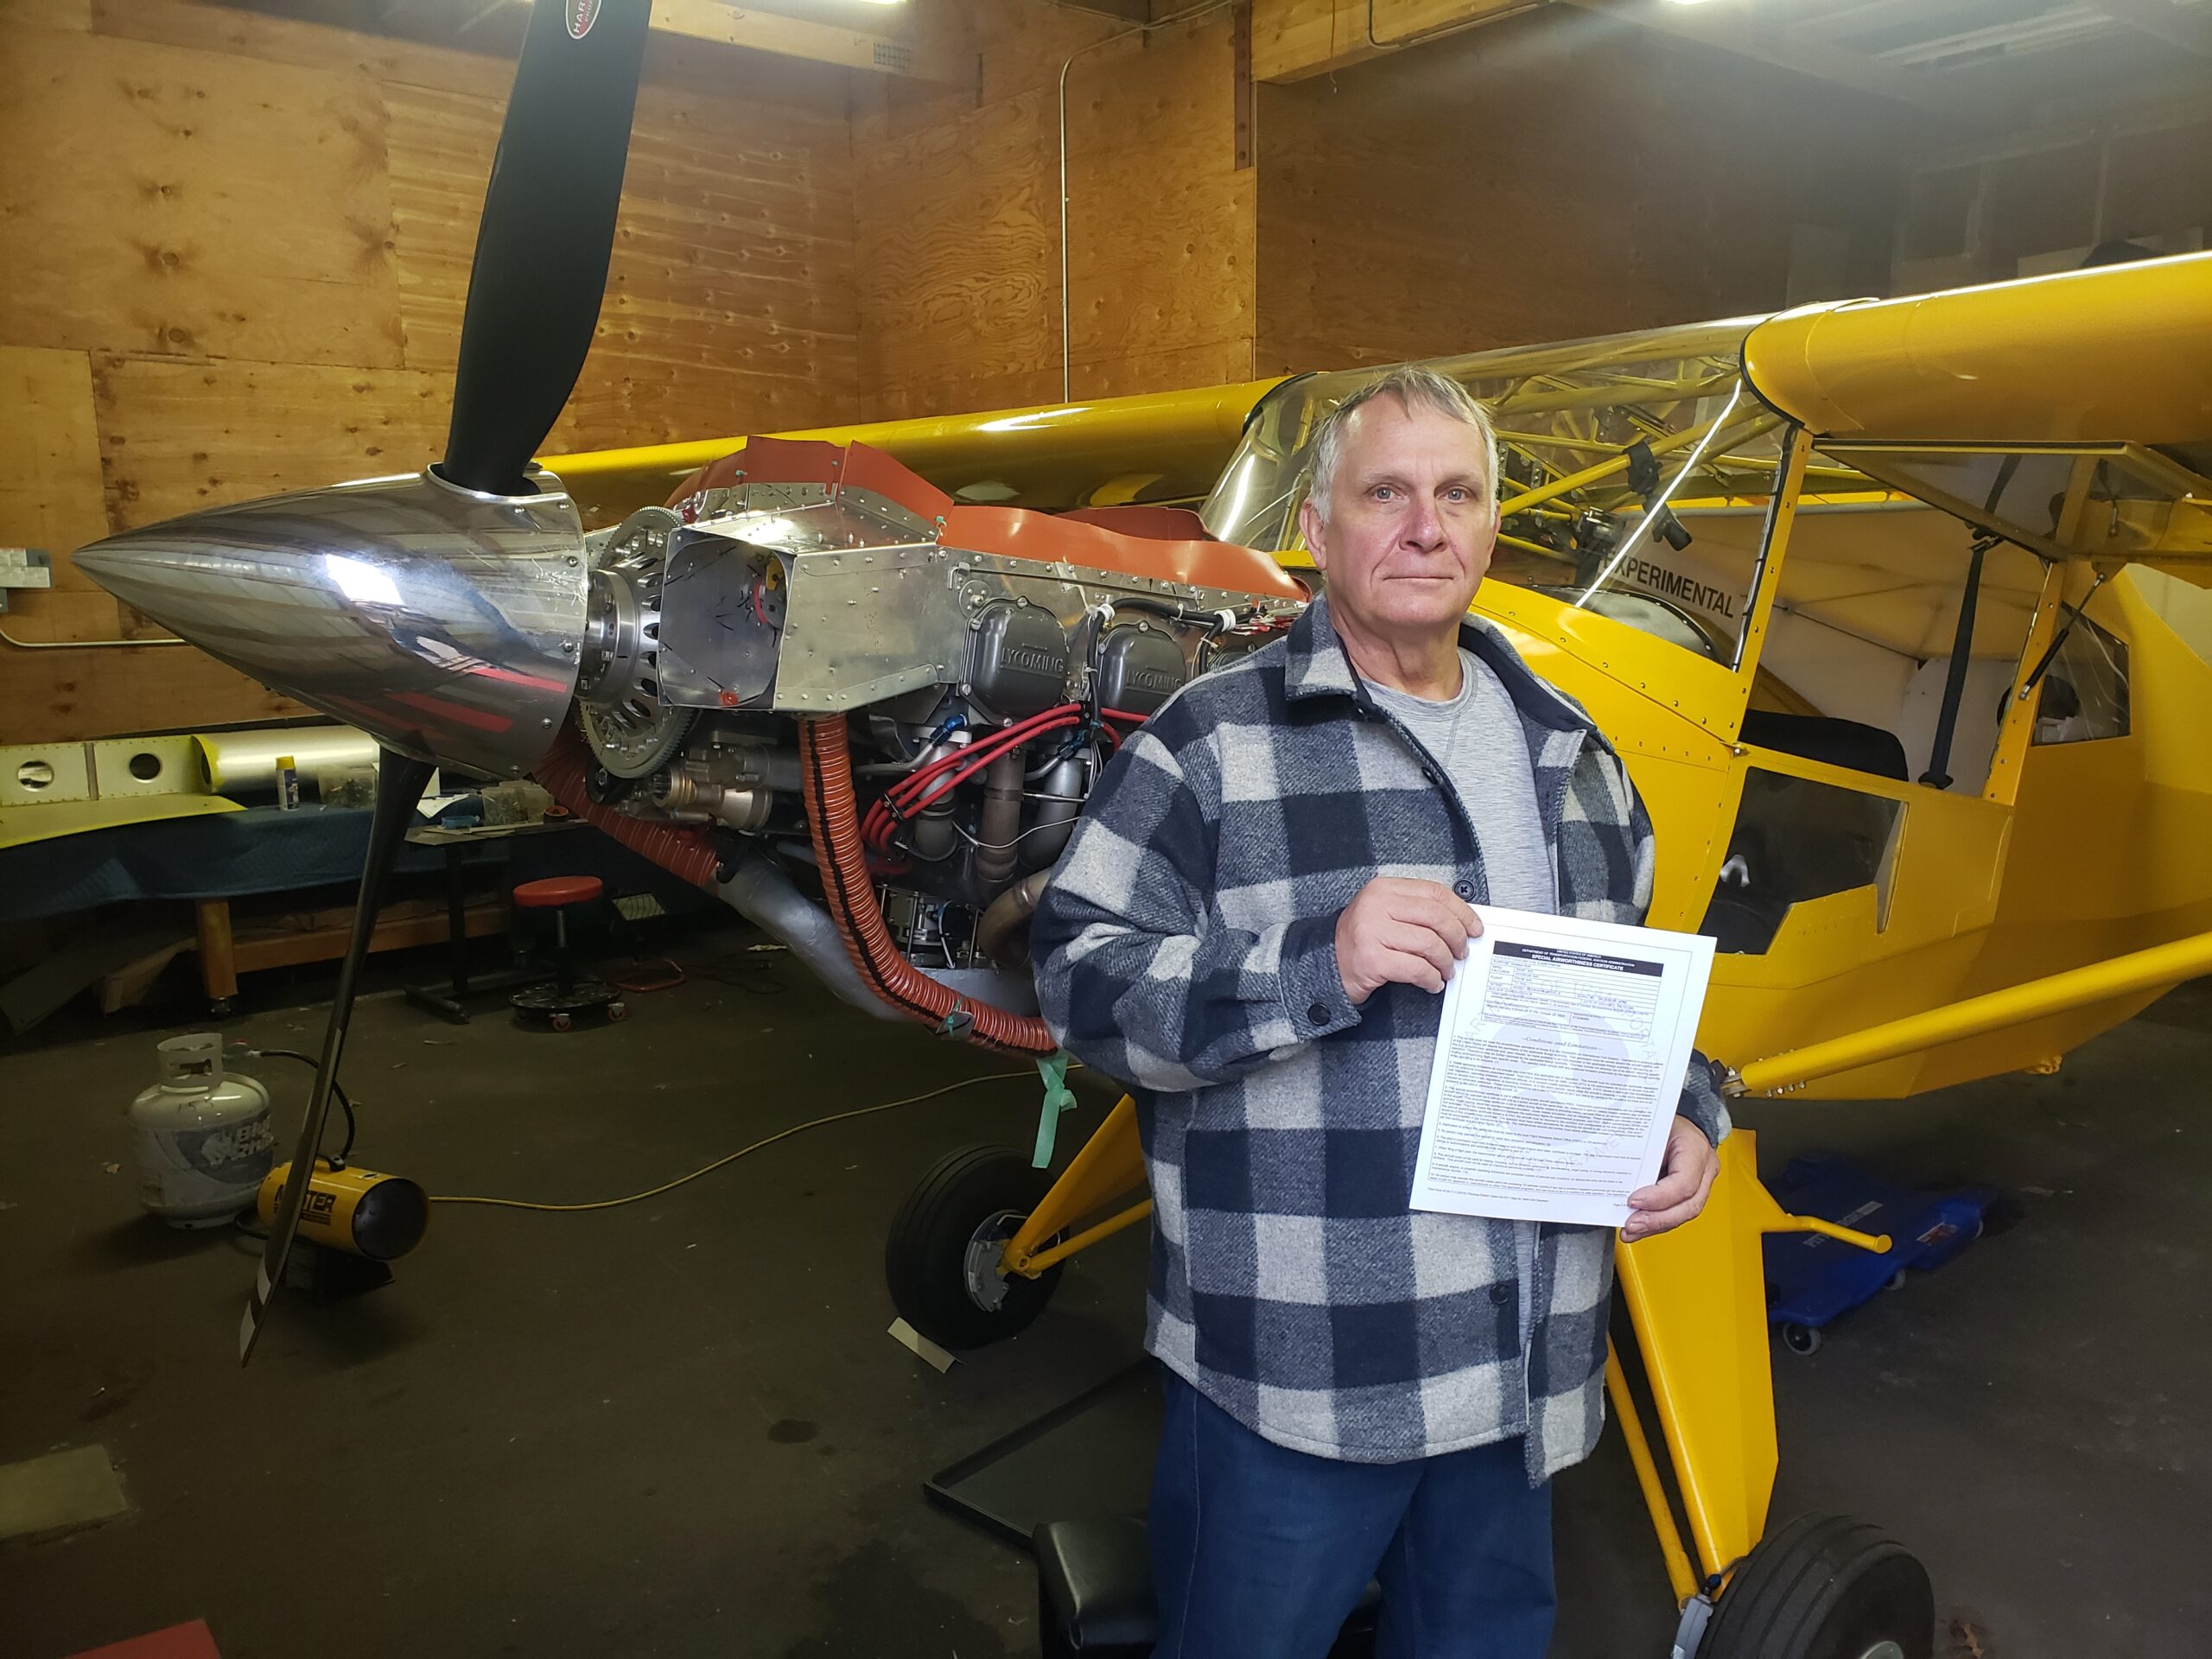
N776BE flew for the first time on Dec 6, 2024 after 6 1/2 years of on-and-off building. I actually only worked on it for 2 years and 4 months. I did numerous “off the ranch” things to the QB “B” model kit. All of that contributed to the extended build time. It was inspected by a DAR on October 30th, 2024.
I have about 5 hours flight time in 4 flights, most things working well. Sorting out a heavy left wing, and noise on the VHF com. The #6 cylinder gets hot pretty quick on climb out, despite it being 40-45 F outside. Other cylinders are fine in climb, and all are fine in cruise. Probably mislocated oil cooler flange (installer error). Other than that, going smoothly.
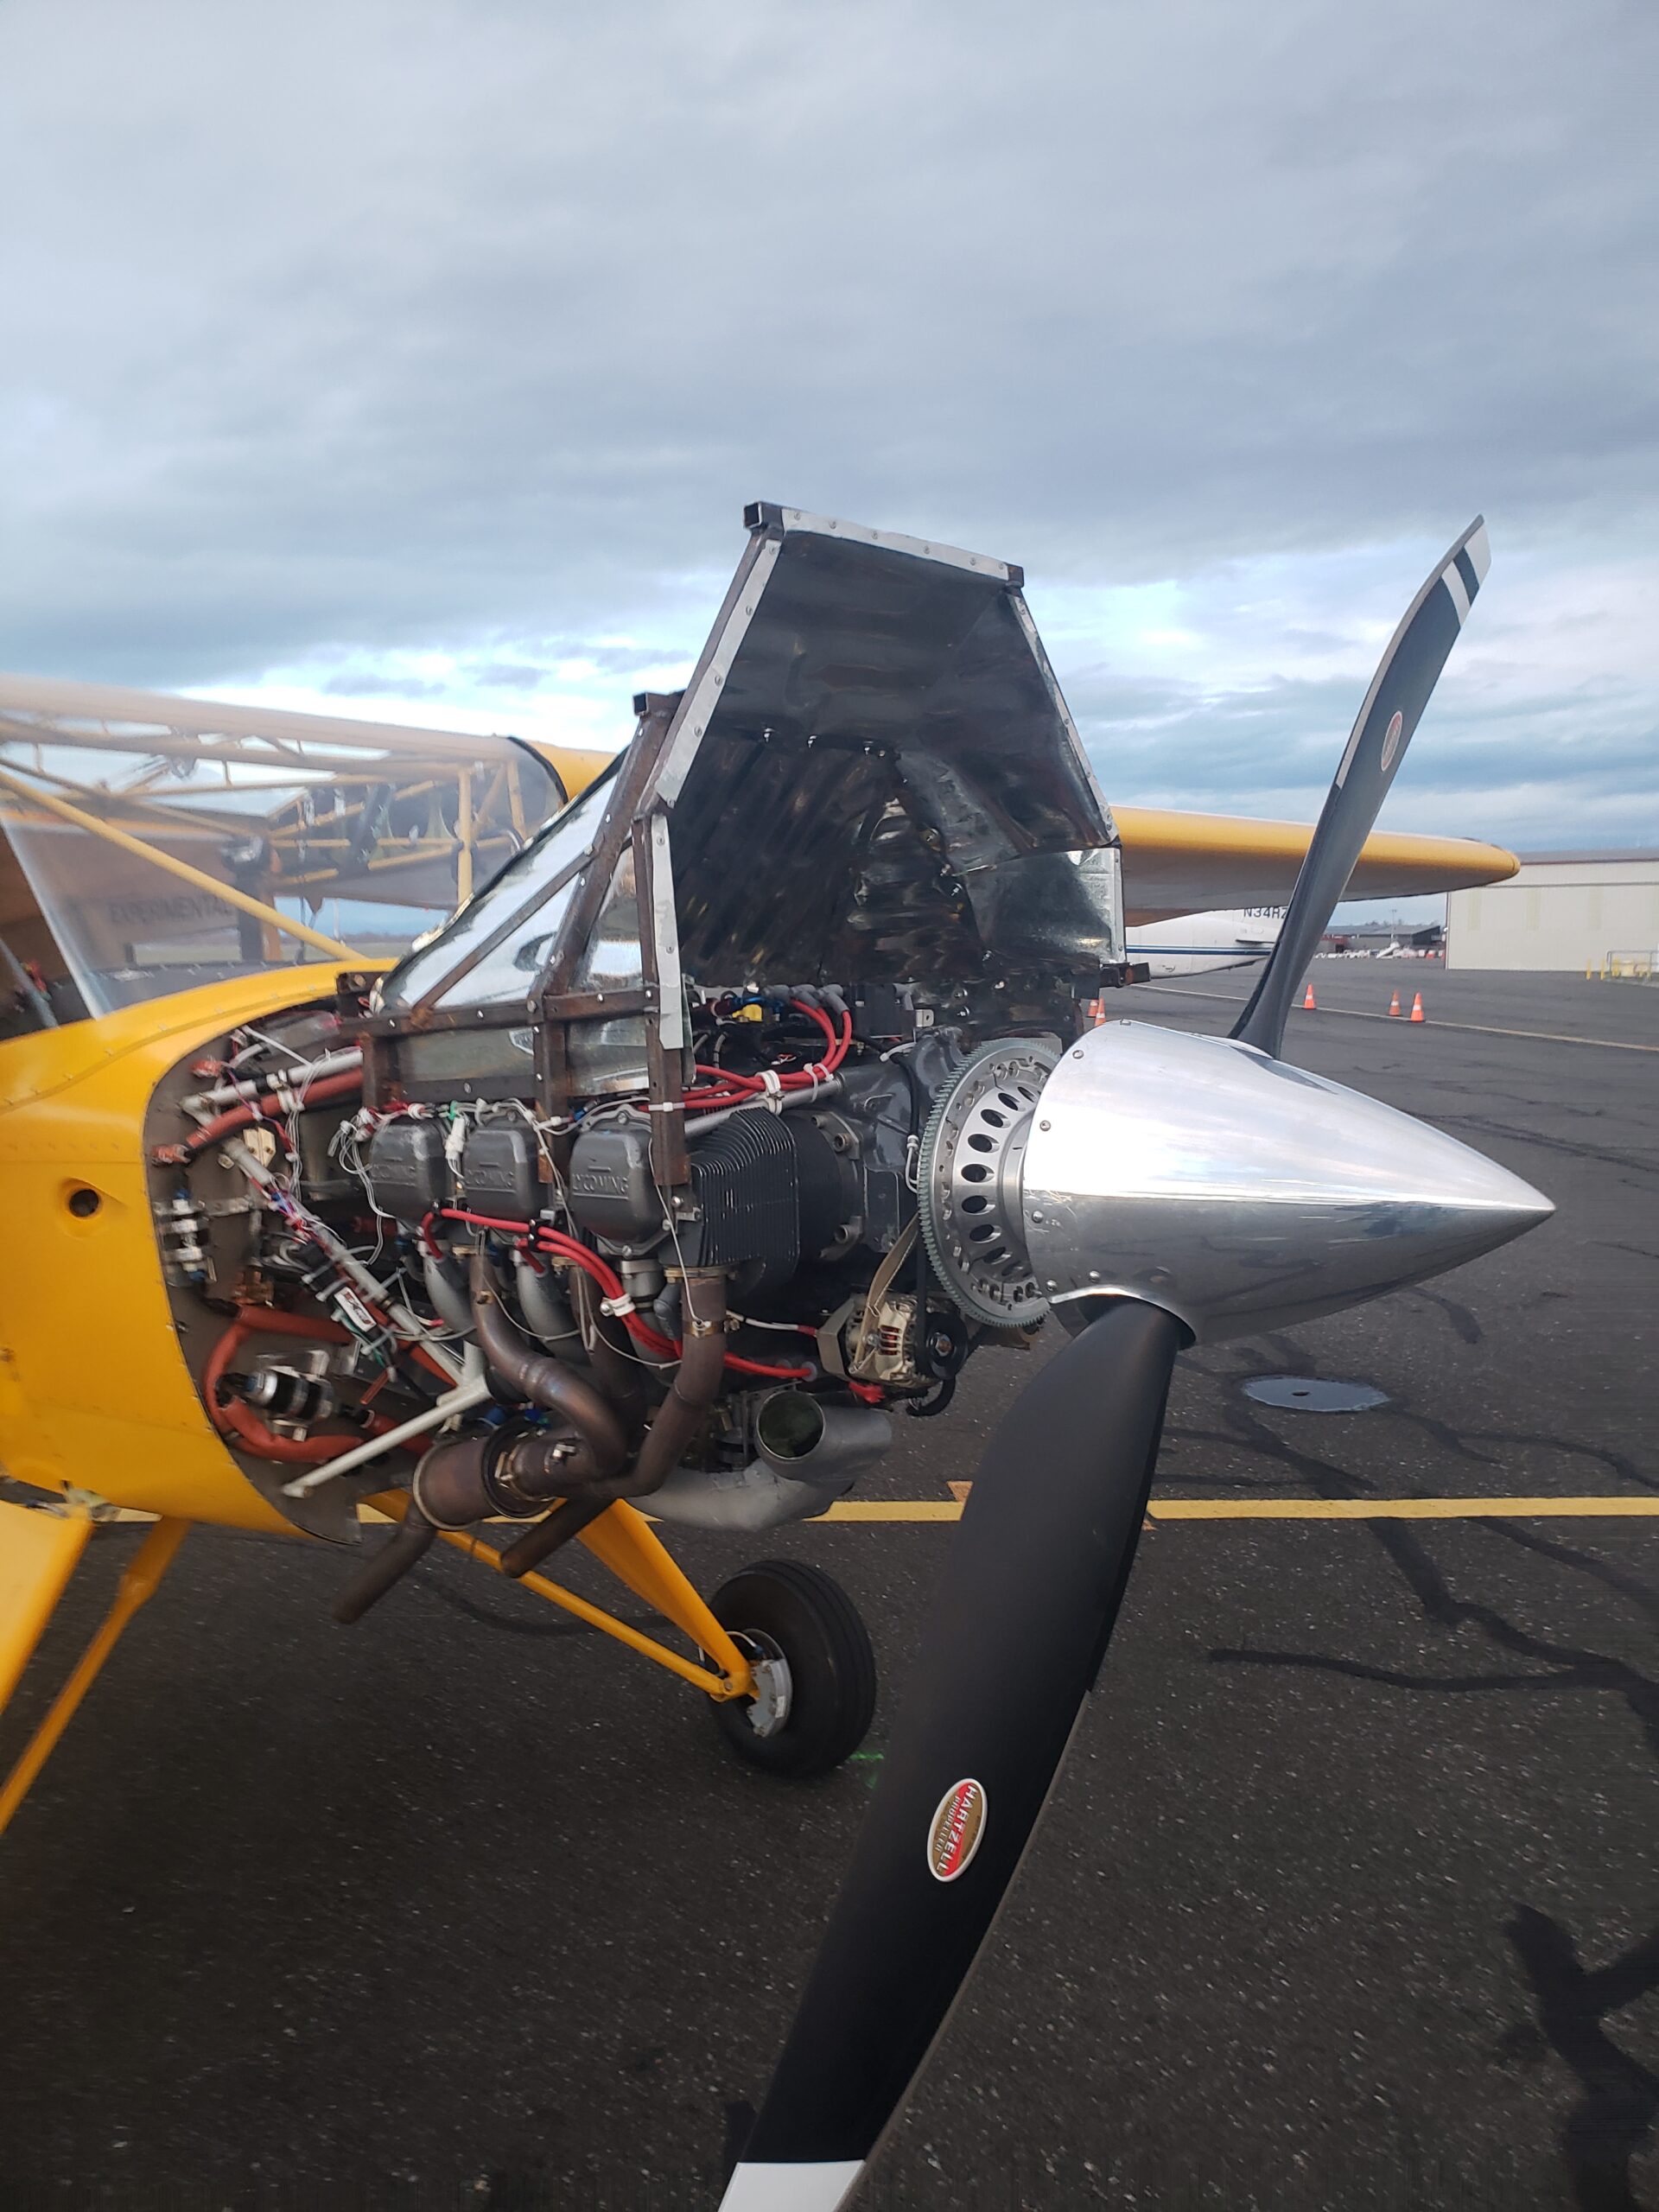
I think the two things that made the first flights much less stressful were 3.2 hours of transition training with Jared, and running the engine in on the ground for 2 hours (picture below). Both gave me a lot more confidence on the first flight.
My “off the ranch” mods were:
-Custom fold down instrument panel
-Composite tail fairing
-Electrical system
-SDS EFI/EI
-“Almost” 2 alternators
-“Almost” 2 batteries
The panel is a simple, single EFIS with a tablet, single com, and remote transponder. The EFI/EI turned a simple plane into a bit of a high school science project, wiring-wise. But I am most comfortable with EFI, and have done a huge amount of 12V wiring, including a business I had for 3 years. This may not be the best choice for someone who hates wiring.
I also used Oratex (which caused the composite tail fairing). If it lasts a long time I love it but it was tedious and time consuming to install.
Empty weight was 1403, CG was 7.1 inches (67 lbs on the tail). IO-540, 2 blade Trailblazer, full skylight. That weight is on small tires, and no back seat. That makes it the mid 1400’s with bigger tires and a back seat. I need 50 pounds of ballast with only front seat occupants.
It is exactly what I wanted when I ordered the kit. Like a lot of homebuilders, I always wanted to build an airplane. I even bought a set of plans when I was 15 or 16. I ended up flying for a living, and moved around so much I was never able to build one, until now.
Thanks to everyone on the forum for all the contributions. I knew what I was getting into before I bought the kit. Thanks to Jared for moderating a great forum, and Mark and Bob for the customer support.
I will put up some posts on my “off the ranch” stuff if anyone is interested.
Bearhawk 4-Place N3XH First Flight in Colorado
Source: 2024 Q4 Beartracks, Rod Smith
After a very long time coming, December 17th, 2024, was the day my Bearhawk finally took to the air. As a very rusty tailwheel pilot with just 6 hours of tailwheel time in the past few weeks, I wondered how it was going to handle and how I would react to any problems that might pop up. Fortunately, the flight went very well. The EAA flight test card #1 says to make your first flight without flaps, I chose to takeoff with 2 notches and land with 3 notches. That’s how Virgil Irwin had me taking off and landing in his beautiful Bearhawk 5 during a 2 hour checkout.
The flight went very well, and I was in awe of the performance. I found my plane to be light on the elevators, a little heavier on the ailerons. As a bonus it flies level with hands off the sticks. The only issue I had was way too much angle on my rudder tab and I was having to use an awful lot of pressure on the left rudder pedal to stay coordinated. So much so that after about 20 minutes my left leg went numb and I thought I better land while I could still move my leg. My first landing wasn’t pretty, didn’t get fully stalled and bounced it. I now have made 3 flights for a total of 2.7 hours. It gets better every flight.
My plane is the original 4-seater with the modified 4412 airfoil. It is scratch built, except I did buy the quick build wing kit from Avipro in 2004 for $9900. I have a modified parallel valve 300HP IO-540 and a 3 blade 83” MT prop. My panel is Garmin G3X with 2 10” screens and set up for GPS IFR. Some modifications I made are carbon fiber gull wing doors and Hoerner wingtips. I moved the trim wheel to the floor, just left of the flap handle and have a console covering the flap and trim wheel mechanisms.
I think I may have the unfortunate record for the longest build time of a completed Bearhawk. Life does get in the way at times. My first build log entry was June 1, 1999, a quarter century ago. That first flight made it all worth it. God willing, I will see many of you at Oshkosh this coming July.


Bob’s Companion Project Update – Fall 2024
At press time the fuselage fabric is painted. A few pieces of front-end aluminum parts still need paint. The engine is finished, and is ready to be back on the airframe. Hopefully he’ll have an assembled airplane that looks like an airplane in time for the fly-in. The instrument panel, floorboards, and door sills are all in. He has taken a few antique car tours that have kept him away from the project but he’s still making steady progress.
There have been two completed Companions so far that we have weight and balance numbers for. In both cases, the empty CG was around 14-15 inches, as compared to a more typical 10-12 inches for a 4-Place. Bob says the CG on the companion is intentionally further aft, because it doesn’t need to be prepared to carry such a big load in the cabin. At a full-forward CG, the front seat occupants are aft of the CG, but approaching the aft limit, the front seat occupants become forward of the CG. Bob encountered this when carrying engines by himself. At the heaviest loads, the airplane can carry more if there is someone in the front seat than if the front seat is empty.
Bob says, if Companion builders want to carry a lot of cargo, use the constant speed prop and angle valve engine. For more reasonable/typical loads the parallel valve engine works very well. For both the 4-Place and the Companion, having the CG in the 14” range for day-to-day operations makes for an airplane that handles better, can land shorter, and feels lighter on the controls. It’s just with the 4-Place, we concede ideal solo-load handling by having the empty CG farther forward, to enable more cabin loading. Aircraft design is all about compromise!


Texas Flag Bearhawk Five Nears Completion in Pennsylvania
Source: 2024 Q3 Beartracks, Tim Weaver
Having built a Bearhawk 4-Place and a Bearhawk LSA, my latest project is this Bearhawk Five. The engine, a Lycoming IO-540, was built by Mike Meador, coupled with a three blade composite Hartzell propeller.
The Dynon instrument panel with autopilot was completed by Advanced Flight Systems of Canby, Oregon.
The floor boards and other beginning processes were started. After I completed many interior details like window frames, heat ducts, and autopilot mounting plates, (time consuming for sure), I made and fit all fuselage access hole frames etc., fit cowl, door, and window skins. I began covering it with the Stewart System in the winter of 2023. While Lancaster Aero Refinishers painted it, I continued work on the wings, adding the control mechanism and wiring. In late spring and summer of 2024, I installed the engine and propeller and tested the instrument panel. The engine break in happened exactly two years from the start of the project, following the Lycoming break in procedures. I expect to have finished the plane around the time of this publication.


In the photo below, Sean Geist, who custom makes composite parts, is making windscreen trim piece.
