Source: 2024 Q1 Beartracks, Mark Richardson
Those of us who are building (or have built) an airplane know that there is a lot to learn over and above being a pilot. Leaving aside manual skills, we need to learn about the rules and regulations for building and licensing, avionics and electrical design, AC-43.13B contents and how to actually do … stuff … correctly, it’s the manual skills that are the bread and butter of aircraft building and the most fun.
With all models of the Bearhawk you need to learn how to rivet (both solid and pop), work metal (bending, forming, filing, etc), do fabric covering, run cables, install the engine, fit and prep fibreglass, cut, trim, and fit plexiglass, and a plethora of other detailed skills. If you are brave (stupid?) enough and decide to scratch build, you also need to learn to weld, operate metals shears and brakes, build and align jigs, and so on. There are lots and lots of jobs and skills you will learn by building an airplane.
A couple of the jobs that are often farmed out to the pros are aircraft painting and seat upholstery. I had already learned to paint an airplane when I built my RV-8 20 years ago (Google C-GURV) so although I am using a completely different paint process this time (Stewart vice Imron), it wasn’t totally new.
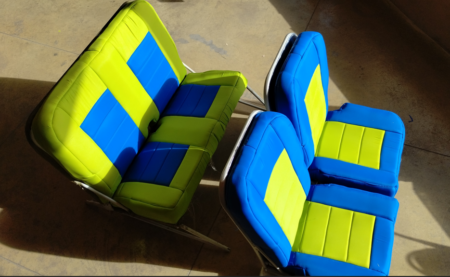
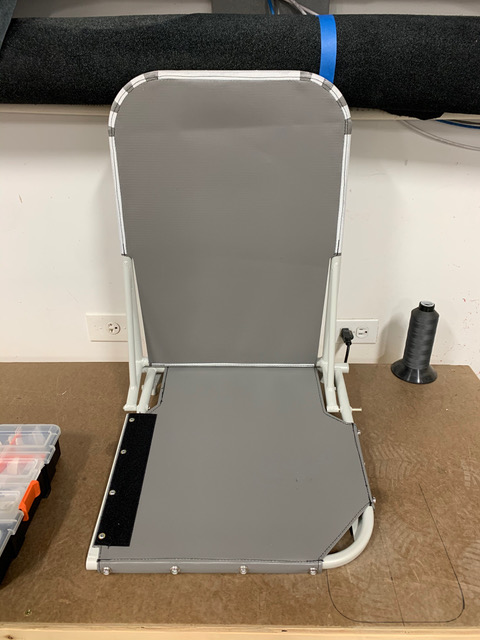
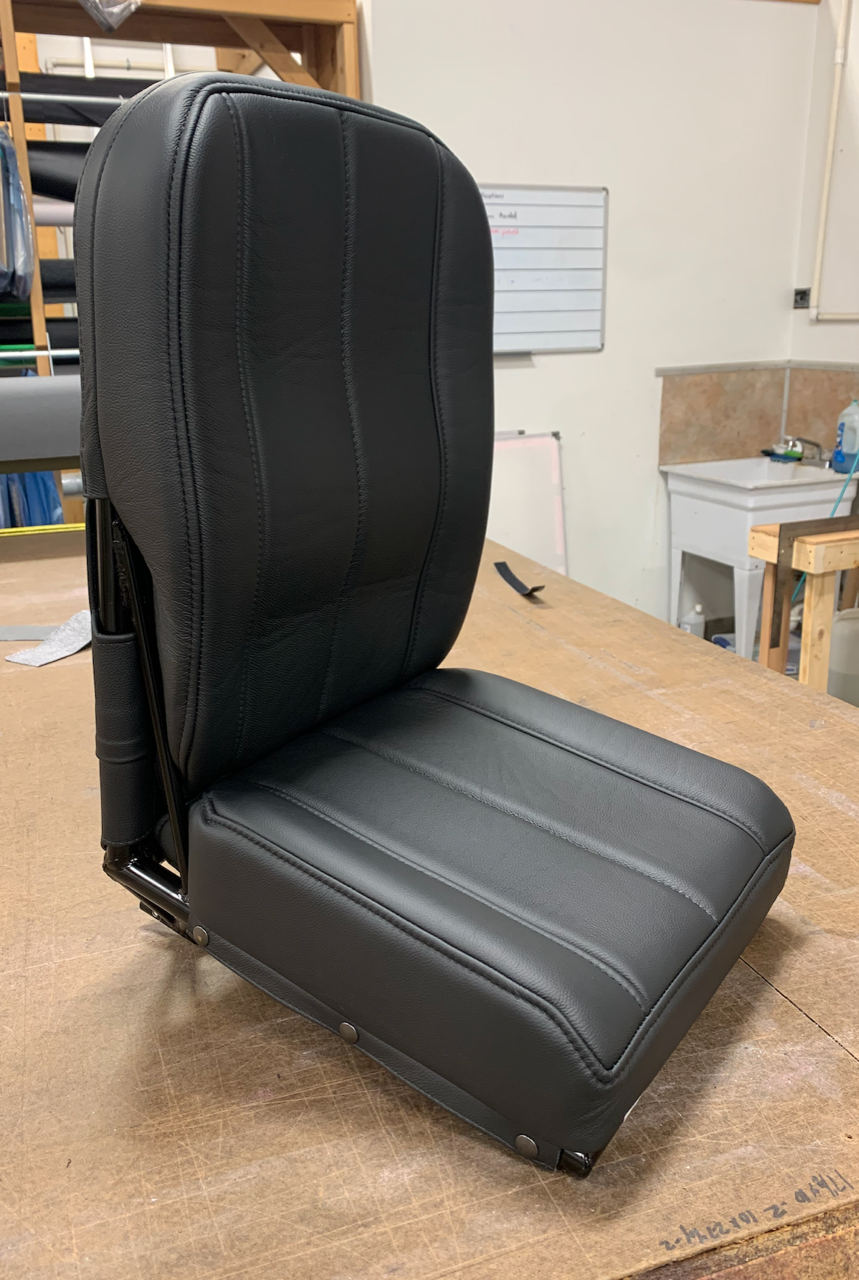
Which brings me to the purpose of this short article; how I upholstered my aircraft seats (your mileage may vary, batteries not included). I had considered (very seriously) just buying upholstered seats and carrying on. However, three things made me change my mind: 1) this would be a new skill that might be fun to learn, 2) I’m now retired so I have time, and 3) OMG it is expensive to have seats professionally done! I won’t lie, I found this the most challenging thing to learn yet. But it was actually fun and I am, well, not richer, but certainly not poorer by hundreds of dollars by doing it myself. I can’t give a step by step how-to with measurements and detailed instructions otherwise this article would be book length. However, I will show a bunch of pictures with descriptions of what is happening and notes on things to think about and avoid. Yes, even you can learn to do this.
The tools and materials:
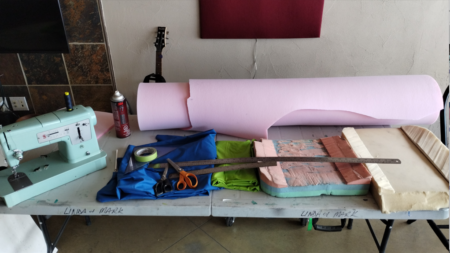
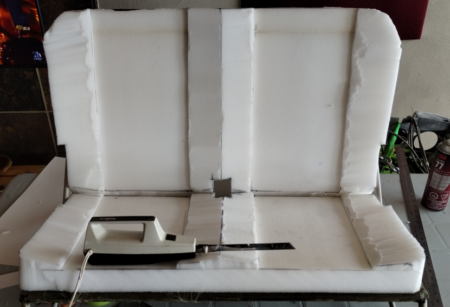
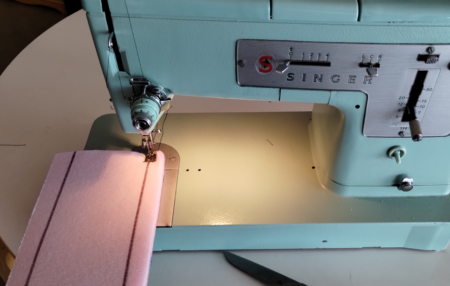
We have a 60 year old Singer sewing machine that we bought fully restored a couple of years ago. No fancy computer features but it is indestructible and works great. You’ll need pinking shears for the fabric, regular scissors for the foam, sewing clips, rulers, marking pens, paper/cardboard for templates, tape, spray contact cement and a work surface. I used an electric carving knife to carve up the foam for the seat parts.
For the fabric I used RipStop because it is quite inexpensive, is super tough, it won’t give me third degree burns on a sunny day like leather, and actually looks really good. You’ll need some backing foam (1/2” or 1cm) that has a backing material on it, and foam for the seat bases and back. I got the Confor Foam seat bases from Aircraft Spruce for the front seat bases and used 2” firm upholstery foam for the rest.
The Method:
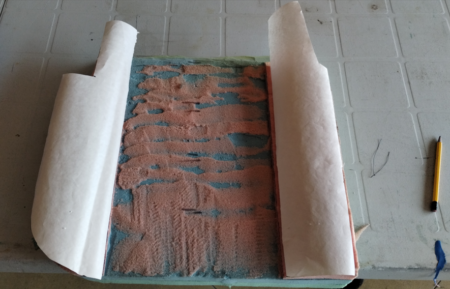
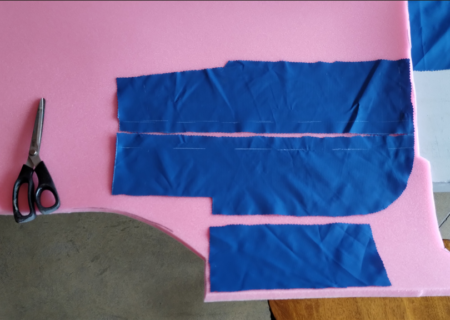
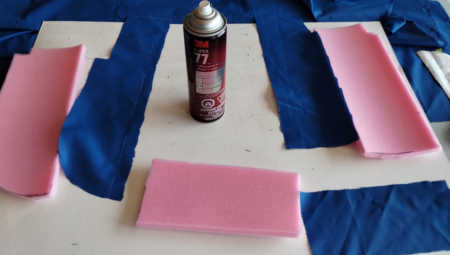
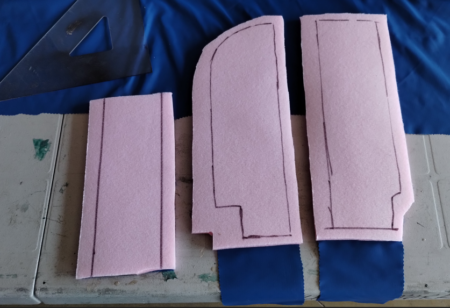
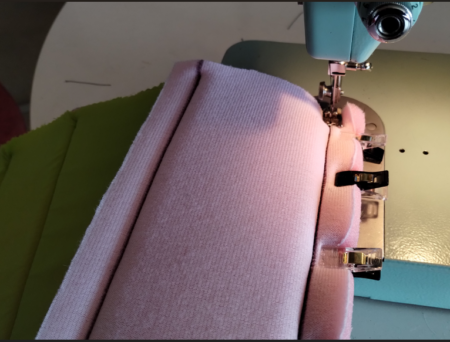
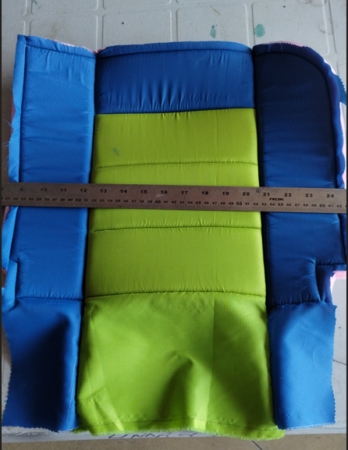
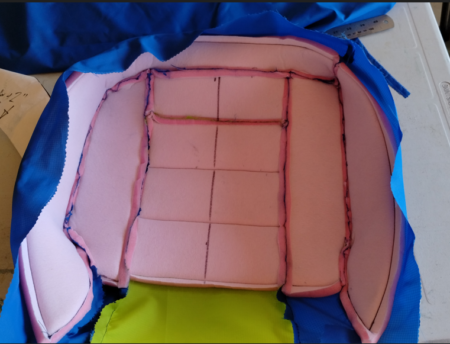
I made templates out of paper and cardboard for the various components of the seat cushions that were then used to cut out the fabric, backing foam, and to lay out the sewing lines. After a LOT of trial an error (mostly error), I added 3/4” on all sides to my fabric and backing foam patterns and just snipped off the excess at the end. Once the fabric pieces and backing foam were cut out, I used spray contact cement to apply the fabric to the foam (this is temporary to keep everything in place for initial sewing). I then used the paper template to mark on the back of the foam where I wanted to sew. Again, trial and error taught me to sew with the fabric side down as the feeder foot (or whatever it is called on the sewing machine) worked way better this way.
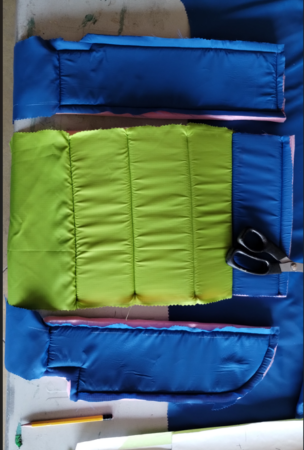
Once you get the various individual parts made you need to put them together. The trick is to overlay the existing sewn seams on the two sides such that when you sew the pieces together the seam disappears. Use LOTS of clamps. I put an extra 2” of material where the fabric would wrap around the back of the seat so there is material to pull on to tighten the fabric then staple. I used 1/4” birch ply with lightening holes as the backing material and stapled the fabric to the ply. The ply is quite light, and since the RipStop weighs almost nothing, the seats are not at all heavy. I will use Velcro to attach the seat components to the actual seat frames.
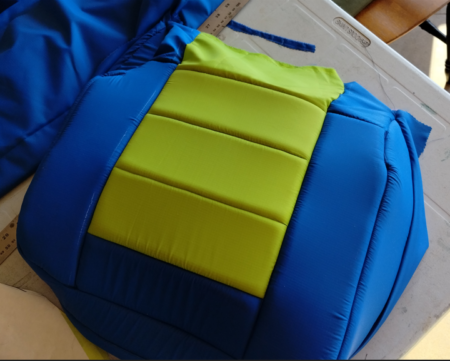
I realize this is hardly a “this is how to do it” article, but I hope it is an encouragement to try it yourself the next time you need seats for your airplane. The most expensive part of the whole thing were the Confor Foam seat bottoms ($200 CAN each!!). The rest was very inexpensive with the RipStop material < $5/running yard. Our own Michel Roy is the one who inspired me to do this with the seats he made for his Bearhawk using RipStop and between looking at his pictures and watching a BUNCH of YouTube videos, I was able to produce these: